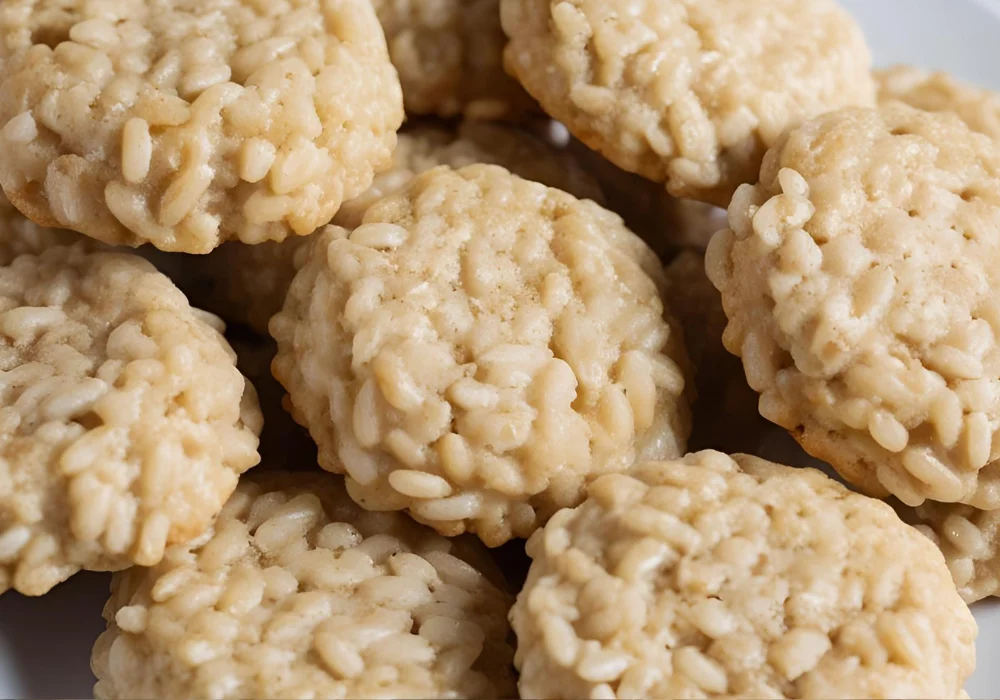
I love experimenting with different ingredients to create unique and delicious treats. One of my favorite discoveries is the Rice Cookie Recipe, a light and crispy cookie with a delightful crunch.
Using rice flour or puffed rice gives these cookies a delicate texture that melts in your mouth. I enjoy making them because they are simple, gluten-free, and have just the right balance of sweetness.
They pair perfectly with a cup of tea or coffee, making them a great snack for any time of the day. Whether you are looking for a new cookie to try or need a gluten-free option, this recipe is a must. Let’s get started and bake a batch of these crispy, irresistible cookies!
Can You Eat this Recipe every day?
I enjoy these rice cookies, but like any sweet treat, I eat them in moderation. They are lighter than traditional cookies, especially if made with rice flour, but they still contain sugar and butter.
Eating them every day might not be the best for a balanced diet. However, if I adjust the ingredients using less sugar, adding nuts or seeds for nutrition,
or replacing butter with a healthier alternative—I can make them a better everyday snack. It’s all about balance and enjoying treats in a mindful way!
How To Prepare Rice Cookie Recipe?
Preparation Time: 15 minutes
Cooking Time: 15 minutes
Total Time: 30 minutes
Course: Dessert
Difficulty: Easy
Cuisine: Fusion
Yield: Approximately 24 cookies
Equipment Needed:
- Mixing bowls
- Electric mixer or whisk
- Measuring cups and spoons
- Baking sheet
- Parchment paper
- Spatula
- Cooling rack
Ingredients:
- 1 cup (2 sticks) unsalted butter, softened
- 1 cup granulated sugar
- 1 large egg
- 1 teaspoon pure vanilla extract
- ½ teaspoon almond extract (optional)
- 2 cups rice flour
- ½ teaspoon baking powder
- ¼ teaspoon salt
- ½ cup chopped almonds or other nuts (optional)
Step-By-Step Instructions:
1. Preheat the Oven
Preheat your oven to 350°F (175°C). Line a baking sheet with parchment paper and set it aside.
2. Cream Butter and Sugar
In a large mixing bowl, cream together the softened butter and granulated sugar until the mixture is light and fluffy. This should take about 2-3 minutes with an electric mixer on medium speed.
3. Add Egg and Extracts
Add the egg, vanilla extract, and almond extract (if using) to the butter-sugar mixture. Beat until well combined and smooth.
4. Combine Dry Ingredients
In a separate bowl, whisk together the rice flour, baking powder, and salt.
5. Mix Dry and Wet Ingredients
Gradually add the dry ingredients to the wet mixture, mixing until just combined. If you’re adding chopped nuts, fold them in at this stage. The dough should be soft but manageable.
6. Shape the Cookies
Using a tablespoon or cookie scoop, portion out the dough and roll it into balls. Place them on the prepared baking sheet about 2 inches apart. Gently flatten each ball with your fingers or the back of a spoon to about ½-inch thickness.
7. Bake
Bake in the preheated oven for 12-15 minutes, or until the edges are lightly golden. The centers may appear slightly soft but will firm up as they cool.
8. Cool
Remove the cookies from the oven and let them cool on the baking sheet for 5 minutes. Then, transfer them to a cooling rack to cool completely.
Nutrition Facts Per Serving
- Calories: 120
- Total Fat: 7g
- Saturated Fat: 4g
- Cholesterol: 20mg
- Sodium: 30mg
- Total Carbohydrates: 13g
- Dietary Fiber: 0g
- Sugars: 6g
- Protein: 1g
Serving Suggestions
- Tea or Coffee Companion: These cookies pair wonderfully with a cup of tea or coffee, making them an ideal afternoon snack.
- Dessert Platter: Include them in a dessert platter alongside fruits and chocolates for a varied selection.
- Ice Cream Sandwiches: Use them as a base for mini ice cream sandwiches by adding a scoop of your favorite ice cream between two cookies.
Tips and Variations
- Flavor Enhancements: Add a teaspoon of ground cardamom or cinnamon to the dry ingredients for a spiced version.
- Citrus Zest: Incorporate a teaspoon of lemon or orange zest into the dough for a citrusy twist.
- Chocolate Drizzle: Once cooled, drizzle melted dark or white chocolate over the cookies for added decadence.
- Nut-Free Option: Omit the chopped nuts if you prefer a nut-free cookie.
- Storage: Store the cookies in an airtight container at room temperature for up to a week. For longer storage, freeze them for up to three months.
Health Benefits
These rice cookies are naturally gluten-free, making them suitable for those with gluten sensitivities or celiac disease. Rice flour is low in saturated fat and cholesterol, contributing to heart health.
Additionally, if you choose to add nuts, they provide healthy fats and protein, enhancing the nutritional profile of the cookies.
How To Store
I store rice cookies in an airtight container at room temperature to keep them fresh and crispy. They stay good for up to a week.
If I want to keep them longer, I refrigerate them for up to two weeks. For even longer storage, I freeze them in a sealed bag for up to three months.
When ready to eat, I let them sit at room temperature for a few minutes or warm them slightly in the oven for a fresh-baked taste.
Note
Ensure all your ingredients, especially the rice flour, are certified gluten-free if you’re catering to individuals with gluten intolerances.
Frequently Asked Questions
What kind of rice should I use for rice cookies?
You can use cooked white rice, brown rice, or even leftover sticky rice. Just make sure it’s fully cooked and cooled before mixing.
Can I use rice flour instead of cooked rice?
rice flour works well for a crispier texture. If using rice flour, you may need to adjust the liquid ingredients slightly.
Are rice cookies gluten-free?
They can be! If you use gluten-free rice and check that all other ingredients (like baking powder and flavorings) are gluten-free, the cookies will be naturally gluten-free.
Can I make these cookies vegan?
Swap out butter for plant-based butter and use a flax egg or chia egg instead of regular eggs.
Why are my rice cookies falling apart?
If they’re too crumbly, you may need to add a bit more binding—like an extra egg or a spoon of nut butter, depending on your recipe.
How do I store rice cookies?
Store them in an airtight container at room temperature for up to 4 days, or in the fridge for a week. You can also freeze them for up to 2 months.
Can I add flavors to the dough?
Absolutely! Cinnamon, vanilla, coconut flakes, or chocolate chips work wonderfully with rice cookies.
Can I use leftover rice?
Yes, leftover rice is perfect. Just make sure it’s not heavily seasoned or sauced before using.
Conclusion
This rice cookie recipe is a delightful way to enjoy a light, crispy, and unique treat. I love how simple it is to make, yet the results are always impressive.
Whether using rice flour for a delicate crunch or puffed rice for extra texture, these cookies never disappoint.
They are perfect for a quick snack, a tea-time treat, or even a homemade gift. Plus, they are a great gluten-free option for those with dietary needs.
Every bite is light, slightly sweet, and incredibly satisfying. If you haven’t tried making rice cookies yet, now is the perfect time. Bake a batch and enjoy their delicious crunch with every bite!
Rice Cookie Recipe
Ingredients
Equipment
Method
- Preheat your oven to 350°F (175°C). Line a baking sheet with parchment paper and set it aside.
- In a large mixing bowl, cream together the softened butter and granulated sugar until the mixture is light and fluffy. This should take about 2-3 minutes with an electric mixer on medium speed.
- Add the egg, vanilla extract, and almond extract (if using) to the butter-sugar mixture. Beat until well combined and smooth.
- In a separate bowl, whisk together the rice flour, baking powder, and salt.
- Gradually add the dry ingredients to the wet mixture, mixing until just combined. If you’re adding chopped nuts, fold them in at this stage. The dough should be soft but manageable.
- Using a tablespoon or cookie scoop, portion out the dough and roll it into balls. Place them on the prepared baking sheet about 2 inches apart. Gently flatten each ball with your fingers or the back of a spoon to about ½-inch thickness.
- Bake in the preheated oven for 12-15 minutes, or until the edges are lightly golden. The centers may appear slightly soft but will firm up as they cool.
- Remove the cookies from the oven and let them cool on the baking sheet for 5 minutes. Then, transfer them to a cooling rack to cool completely.