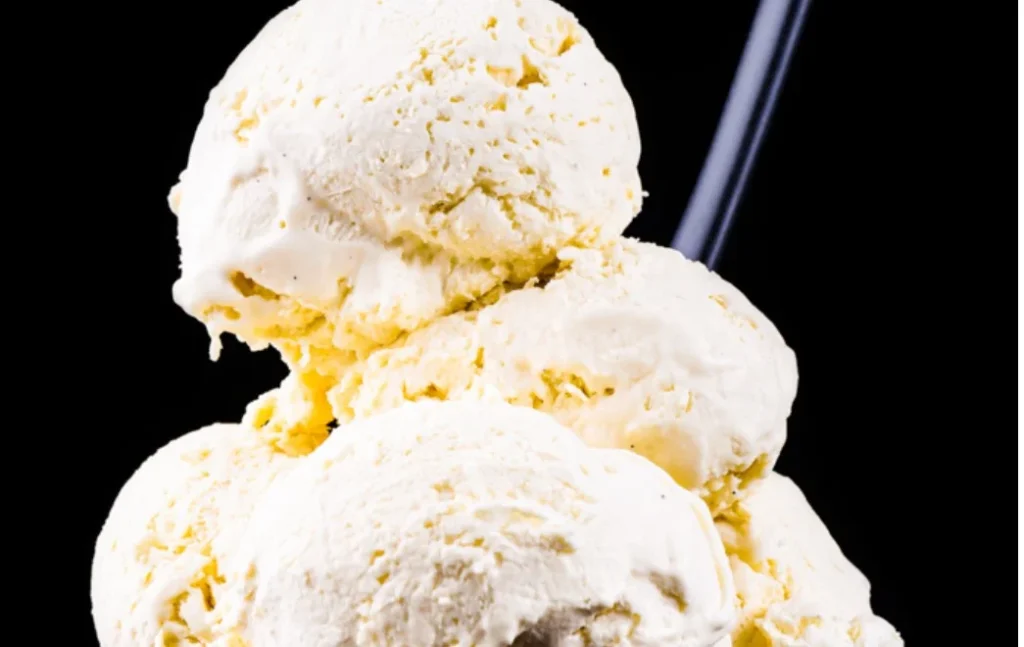
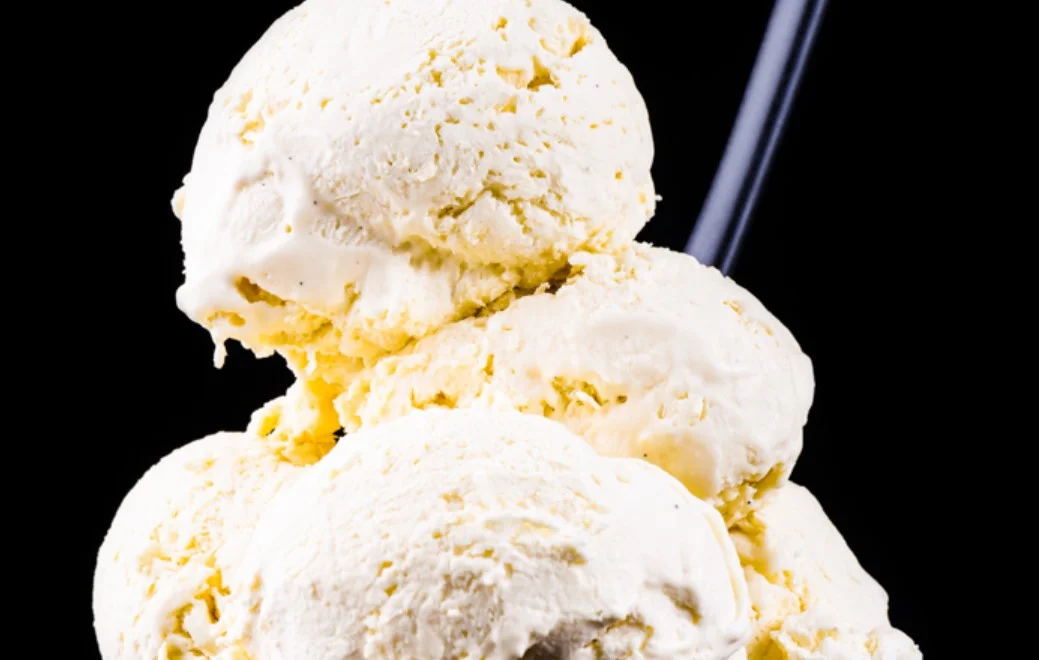
Vanilla ice cream has always been my go-to dessert when I want something simple yet indulgent. I love how its smooth, creamy texture and delicate vanilla aroma can stand alone or pair beautifully with almost any topping or dessert.

Making it at home lets me control the ingredients and create a flavor that feels richer and fresher than anything I could buy. Every batch reminds me why this timeless classic will always have a special place in my kitchen.
How To Make Vanilla Ice Cream?
Preparation Time: 20 minutes
Cooking Time: 10 minutes
Chilling Time: 4 hours
Total Time: 4 hours 30 minutes
Course: Dessert
Difficulty: Easy to moderate
Cuisine: Classic American-style
Yield: About 1 quart (roughly 4 cups)
Equipment Needed
- Medium saucepan
- Mixing bowl
- Whisk
- Fine-mesh sieve
- Ice cream maker (or freezer-safe bowl and sturdy spatula)
- Freezer-safe container with lid
Ingredients
- 2 cups heavy cream
- ¾ cup whole milk
- ¾ cup granulated sugar
- Pinch of fine salt
- 1 vanilla bean (split and seeds scraped) or 2 teaspoons pure vanilla extract
- 4 large egg yolks
Step-by-Step Instructions
1. Warm the Cream Base
Heat the cream, milk, half the sugar, salt, and the vanilla bean (with seeds) in the saucepan. Stir gently over medium heat. I stop once it almost simmers—it should steam and feel warm, but not come to a boil.
2. Beat the Yolks
In a mixing bowl, I whisk the egg yolks with the remaining sugar until they pale slightly and feel smooth.
3. Temper the Eggs
I pour a small amount of the warm cream into the yolks while whisking, then return the egg mixture to the saucepan. This keeps the yolks from scrambling.
4. Create the Custard
I stir slowly over low heat until the mixture thickens enough to coat the back of a spatula. It takes about five minutes. I stop right before it boils.
5. Strain and Chill
I remove it from heat and discard the vanilla bean pod. I strain the custard through the sieve into a clean bowl, cover it, and let it chill in the fridge for at least four hours—or overnight, to deepen the flavor and texture.
6. Churn the Ice Cream
Once cold, I pour the custard into my ice cream maker and churn according to its instructions. If I lack a machine, I freeze the mixture in a bowl and whisk it every 30 minutes to break up ice crystals.
7. Freeze Until Firm
I transfer the soft churned ice cream into a freezer-safe container, press plastic wrap directly on the surface, close the lid, and freeze until it’s firm—usually two more hours.
Nutrition Facts (Per ½-Cup Serving)
- Calories: ~220
- Total Fat: 16 g (Saturated: 10 g)
- Cholesterol: 80 mg
- Sodium: 45 mg
- Carbohydrates: 17 g (Sugars: 16 g)
- Protein: 3 g
Serving Suggestions
I enjoy serving my vanilla ice cream in a chilled bowl so it keeps its shape longer. On hot days, I like pairing it with fresh strawberries, blueberries, or sliced mango for a refreshing contrast.
When I crave something indulgent, I drizzle warm chocolate or caramel sauce over the top and sprinkle crushed cookies or nuts for texture.
Sometimes, I even tuck a scoop between two soft cookies for an instant ice cream sandwich. No matter how I serve it, this creamy vanilla base makes the perfect companion to almost any dessert.
Tips and Variations
- Use full-fat dairy for the creamiest mouthfeel.
- Boost vanilla flavor by combining a vanilla bean and extract.
- Faster churn: Chill your bowl and paddles beforehand to speed freezing.
- Dairy-free version: Use coconut cream and almond milk; thicken with cornstarch if you skip eggs.
- Flavor spin: Add a swirl of caramel, strawberry puree, or even cooked corn syrup during the final churn.
Health Benefits
Vanilla ice cream may be a treat, but it still offers a few benefits when made with real, wholesome ingredients.
The milk and cream provide calcium, which supports bone strength, and a small amount of protein that helps keep me satisfied. Egg yolks add vitamins like A and D, which are important for skin, eyes, and immune health.
Vanilla itself contains antioxidants that can help fight free radicals in the body. Of course, it’s still a dessert, so I enjoy it in moderation while appreciating the comfort and happiness it brings.
Note
I can tweak this base recipe endlessly. Want a hint of coffee? Stir in cooled espresso before churning. Crave extra crunch? Add toasted almonds or chopped chocolate right before freezing. The world of flavor’s yours to explore—with vanilla ice cream as the perfect canvas.
FAQ
Can I make vanilla ice cream without an ice cream maker?
Yes, I can. I freeze the custard base in a shallow container and stir it every 30 minutes until it’s creamy and set. This takes more effort, but it still works well.
How do I stop ice crystals from forming?
I always chill the custard completely before freezing and store it in an airtight container. Pressing plastic wrap directly on the surface helps keep it smooth.
Can I use vanilla extract instead of a vanilla bean?
Absolutely. I often use pure vanilla extract when I want a quicker option. I add it after cooking the custard so the flavor stays bright.
How long does homemade vanilla ice cream last?
I keep it for up to two weeks in the freezer, but it rarely lasts that long in my house because I can’t resist it.
Can I make it dairy-free?
Yes. I swap the milk and cream for coconut cream and almond or oat milk. It changes the flavor slightly, but it still turns out creamy and delicious.
Conclusion
Making vanilla ice cream at home gives me complete control over the flavor, texture, and quality of every scoop.
I love how a simple mix of cream, milk, sugar, and vanilla can turn into something so rich and satisfying. Each bite reminds me that homemade treats often taste better because they’re made with care.
Whether I enjoy it plain, with fresh fruit, or alongside a warm dessert, this recipe never fails to deliver comfort and joy in every spoonful.

Vanilla Ice Cream
Ingredients
Equipment
Method
- Heat the cream, milk, half the sugar, salt, and the vanilla bean (with seeds) in the saucepan. Stir gently over medium heat. I stop once it almost simmers—it should steam and feel warm, but not come to a boil.
- In a mixing bowl, I whisk the egg yolks with the remaining sugar until they pale slightly and feel smooth.
- I pour a small amount of the warm cream into the yolks while whisking, then return the egg mixture to the saucepan. This keeps the yolks from scrambling.
- I stir slowly over low heat until the mixture thickens enough to coat the back of a spatula. It takes about five minutes. I stop right before it boils.
- I remove it from heat and discard the vanilla bean pod. I strain the custard through the sieve into a clean bowl, cover it, and let it chill in the fridge for at least four hours—or overnight, to deepen the flavor and texture.
- Once cold, I pour the custard into my ice cream maker and churn according to its instructions. If I lack a machine, I freeze the mixture in a bowl and whisk it every 30 minutes to break up ice crystals.
- I transfer the soft churned ice cream into a freezer-safe container, press plastic wrap directly on the surface, close the lid, and freeze until it’s firm—usually two more hours.
