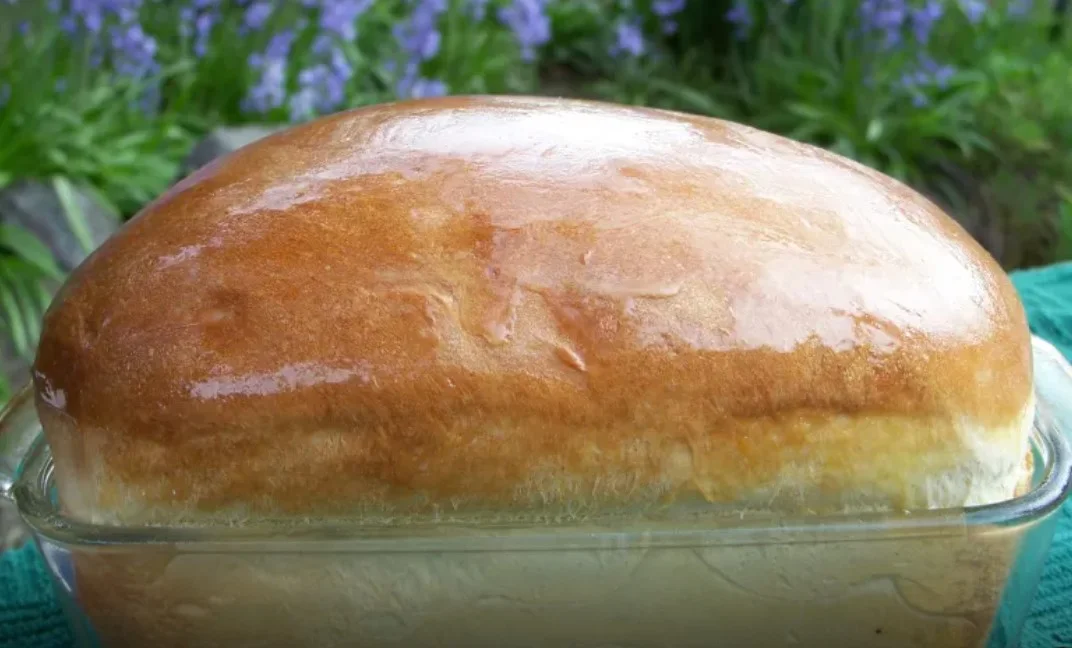
I love making soft, slightly sweet bread at home, and Hawaiian bread always comes to mind when I want something special. It has a light golden crust, a fluffy inside, and just the right touch of sweetness.

When I make it in my bread maker, I save time while still enjoying a warm loaf that feels homemade from start to finish.
This bread works well for sandwiches, French toast, or even just a slice with butter. The bread maker does most of the work, so I only need to measure, add the ingredients in order, and wait for the magic to happen.
How To Prepare Bread Maker Hawaiian Bread Recipe?
- Prep Time: 10 minutes
- Cooking/Baking Time: 3 hours (bread machine cycle)
- Total Time: 3 hours 10 minutes
- Course: Bread
- Difficulty: Easy
- Cuisine: Hawaiian / American
- Yield: 1 medium loaf (about 12 slices)
Equipment Needed
- Bread maker machine
- Measuring cups and spoons
- Small whisk or fork
- Bread knife
Ingredients
- ¾ cup pineapple juice (room temperature)
- 2 large eggs (room temperature)
- ¼ cup milk
- ¼ cup unsalted butter (softened)
- ⅓ cup sugar
- 1 teaspoon salt
- 4 cups bread flour
- 2 ½ teaspoons instant yeast
Step-by-Step Instructions
Step 1: Prepare the liquids
I pour the pineapple juice, milk, eggs, and softened butter into the bread maker pan. This makes the dough rich and slightly sweet.
Step 2: Add dry ingredients
Next, I add the bread flour, sugar, and salt. I always make sure the flour covers the liquids before sprinkling in the yeast on top.
Step 3: Set the bread maker
I choose the basic/white bread setting with a medium crust. My bread maker usually takes around 3 hours from start to finish.
Step 4: Let the bread bake
I resist the urge to lift the lid while the dough is mixing and rising. When the timer beeps, I carefully remove the loaf pan and let the bread cool for about 15 minutes before slicing.
Nutrition Facts (Per Slice, Approximate)
- Calories: 180
- Carbohydrates: 30g
- Protein: 5g
- Fat: 5g
- Fiber: 1g
- Sugar: 6g
Serving Suggestions
I love slicing this Hawaiian bread while it’s still warm and spreading a little butter over the top. The sweet flavor pairs beautifully with savory fillings, so I often make ham and cheese sandwiches with it. It also makes amazing French toast the next morning, especially when topped with maple syrup and fresh fruit.
When I serve it at dinner, I slice it thick and place it in a bread basket alongside soups, stews, or roasted meats. For a sweeter twist, I toast a slice, drizzle it with honey, and enjoy it with tea or coffee.
If I’m hosting guests, I sometimes cube the bread and serve it with a creamy dip or use it as a base for mini sliders. The soft, slightly sweet taste makes it versatile for both sweet and savory meals.
Tips and Variations
- For extra flavor: I sometimes add 1 teaspoon of vanilla extract or a pinch of nutmeg.
- Sweeter version: Adding 2 tablespoons of honey gives a deeper sweetness.
- Dinner rolls: I remove the dough before the final bake, shape it into rolls, and bake them in the oven at 350°F for 20 minutes.
Health Benefits
I enjoy making Hawaiian bread at home because I know what goes into it, and that makes it a healthier choice than most store-bought loaves. The pineapple juice brings natural sweetness along with vitamin C, which supports immunity and helps with digestion.
The eggs in the recipe add protein, healthy fats, and important nutrients like vitamin D and B vitamins. Milk provides calcium for stronger bones and a creamy texture that makes the bread softer. Since I use butter in moderation, the bread has a rich flavor without being overly heavy.
Another benefit of making this bread myself is the lack of artificial preservatives or unnecessary additives. I can control the amount of sugar and adjust it to suit my needs. While it’s still a sweet bread, it gives me energy, keeps me satisfied, and feels more wholesome than packaged alternatives.
Notes
I always check the dough consistency about 10 minutes into the mixing cycle. If it looks too sticky, I sprinkle in a little more flour. If it looks too dry, I add a teaspoon of warm milk. This small step makes a huge difference in the final texture.
FAQ
1. Can I make this Hawaiian bread without a bread maker?
Yes. You can mix and knead the dough by hand or with a stand mixer, let it rise until doubled in size, shape it into a loaf, and then bake it in the oven at 350°F (175°C) for about 30–35 minutes.
2. What can I use instead of pineapple juice?
If I don’t have pineapple juice, I use orange juice or apple juice. It changes the flavor slightly, but it still gives the bread a light sweetness.
3. How do I store Hawaiian bread?
I keep the bread in an airtight container or sealed bag at room temperature for up to 3 days. For longer storage, I freeze it in slices and toast them whenever I want fresh bread.
4. Why is my bread too dense?
This usually happens if the flour-to-liquid ratio is off. I check the dough after the first 10 minutes of mixing. If it’s too sticky, I add a little flour. If it’s too dry, I add a teaspoon of milk or juice.
5. Can I make rolls with this recipe?
Yes. I sometimes take the dough out before the baking cycle, shape it into rolls, and bake them in the oven at 350°F (175°C) for about 20 minutes.
6. Can I reduce the sugar?
Yes. If I want the bread less sweet, I reduce the sugar to 3 tablespoons. The bread will still rise and bake nicely.
7. What’s the best way to serve Hawaiian bread?
I love using it for sandwiches, sliders, and French toast. It also tastes amazing as a side with soups or roasted meats.
Conclusion
Making Hawaiian bread in my bread maker always feels comforting and rewarding. The sweet aroma of pineapple and fresh bread filling my kitchen makes the wait worth it every single time.
I love how soft and fluffy the loaf turns out, and the hint of sweetness makes it perfect for both everyday meals and special occasions. For me, this recipe is more than just bread it’s a little taste of the tropics baked right at home.
Whether I enjoy it warm with butter, as part of a sandwich, or as French toast for breakfast, it always brings a smile to my day. If you want a simple recipe that feels special, this bread is one you’ll want to bake again and again.
Bread Maker Hawaiian Bread Recipe
Ingredients
Equipment
Method
- I pour the pineapple juice, milk, eggs, and softened butter into the bread maker pan. This makes the dough rich and slightly sweet.
- Next, I add the bread flour, sugar, and salt. I always make sure the flour covers the liquids before sprinkling in the yeast on top.
- I choose the basic/white bread setting with a medium crust. My bread maker usually takes around 3 hours from start to finish.
- I resist the urge to lift the lid while the dough is mixing and rising. When the timer beeps, I carefully remove the loaf pan and let the bread cool for about 15 minutes before slicing.