When I want to feel like a kid again, I pull out my Nostalgia ice cream maker. There’s something magical about hearing it churn while I wait (impatiently) for that first creamy scoop.
Making ice cream at home feels like a little celebration. It lets me control the ingredients, play with flavors, and enjoy something that’s both delicious and deeply personal.
Today, I’m sharing a few of my go-to recipes that I love making in my Nostalgia ice cream maker. They’re simple, nostalgic, and always hit the spot.
How To Make Nostalgia Ice Cream Maker Recipe?
🕒 Quick Look
- Prep Time: 10 minutes
- Churn Time: 25–30 minutes
- Freeze Time (Optional): 2 hours
- Total Time: 35–40 minutes (up to 2 hours if hardening)
- Course: Dessert
- Cuisine: American
- Difficulty: Easy
- Yield: About 1.5 quarts
🧰 Equipment I Use
- Nostalgia Electric Ice Cream Maker
- Mixing bowls
- Whisk or electric mixer
- Measuring cups and spoons
- Rubber spatula
- Freezer-safe container with lid
🛒 Ingredients
- 2 cups heavy cream
- 1 cup whole milk
- ¾ cup granulated sugar
- 1 tbsp pure vanilla extract
- Pinch of salt
🔪 Step-by-Step Instructions
1. Mix the Base
I combine the milk and sugar in a bowl and whisk until the sugar dissolves. Then I stir in the heavy cream, vanilla extract, and a pinch of salt.
2. Chill the Mixture
If I have time, I chill the base in the fridge for 30 minutes. It helps with texture and faster churning.
3. Pour and Churn
I pour the mixture into the canister of my pre-frozen Nostalgia ice cream maker, place it in the bucket with ice and rock salt, then let it churn for about 25–30 minutes.
4. Serve or Freeze
Once it’s thick and creamy, I serve it soft-serve style or transfer it to a container and freeze for 2 hours if I want a firmer scoop.
🍓 Fun Variations I Love
- Strawberry Swirl: I fold in ½ cup of fresh mashed strawberries right before the churning ends.
- Peach Ice Cream: I stir in 1 cup diced, peeled peaches near the end.
🔍 Nutrition Facts (Per ½ cup serving, Vanilla Base Only)
- Calories: 220
- Fat: 14g
- Saturated Fat: 9g
- Carbohydrates: 22g
- Protein: 3g
- Sugar: 20g
🍽️ Serving Suggestions
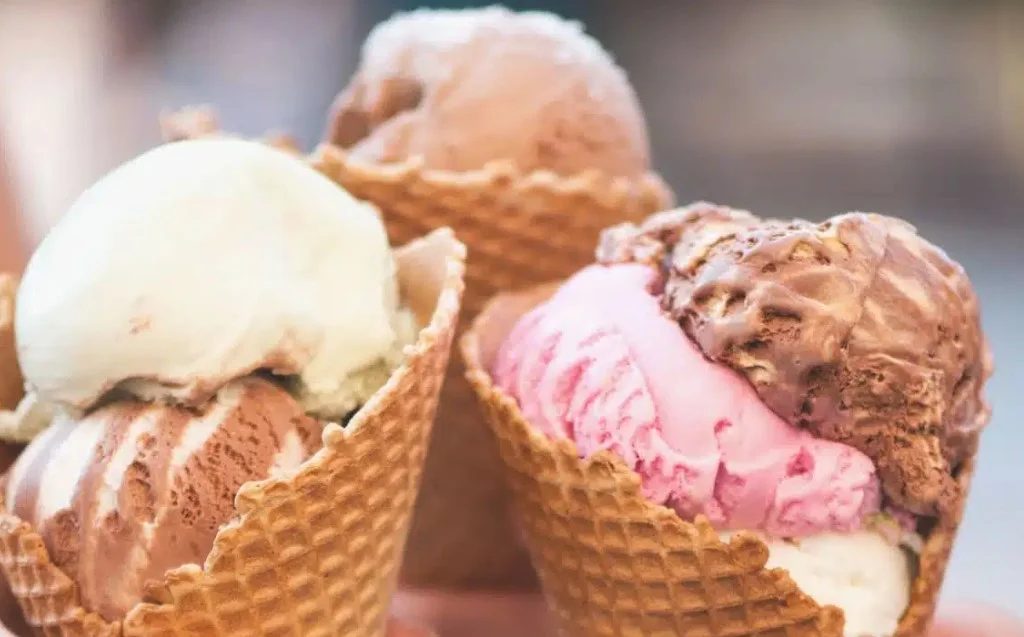
I love serving it in waffle cones or old-school glass dishes. Sometimes I drizzle hot fudge or caramel on top or pair it with warm brownies or fresh berry compote.
For a summer party, I scoop it between homemade cookies and freeze for quick ice cream sandwiches.
💡 Tips and Tricks
- Freeze the canister: I always freeze my ice cream canister at least 12–24 hours in advance.
- Don’t overfill: I never go past the max fill line. Ice cream expands while churning.
- Add-ins last: I wait until the last 5 minutes of churning to add any mix-ins like fruit or candy.
- For extra creamy texture: I use more cream than milk or stir in a tablespoon of corn syrup.
🥗 Health Benefits (Yes, Really)
Even though it’s a treat, homemade ice cream gives me a little more control over what goes in:
- No preservatives
- Less sugar if I want
- Fresh dairy and real ingredients
- Optional dairy-free swaps like coconut milk or almond milk
Everything in moderation, right?
📝 Note
I always make sure the canister is completely dry before freezing. Even a drop of water can turn into a block of ice and mess with the churning. I also avoid stopping the machine too early—if the texture is still soupy, I give it a few more minutes.
❓ FAQ – Nostalgia Ice Cream Maker Recipe
How long does it take to make ice cream in my Nostalgia ice cream maker?
It usually takes about 25 to 30 minutes of churning. If I want a firmer texture, I freeze it for another 2 hours after churning.
Do I need to freeze the ice cream canister beforehand?
Yes. I always freeze the canister for 12 to 24 hours before using it. That’s the key to getting the perfect creamy texture.
Can I make dairy-free ice cream with it?
Absolutely. I’ve used coconut milk, almond milk, and oat milk with great results. I just make sure to use a little more fat (like coconut cream or nut butter) for a creamier texture.
What can I add to my ice cream?
I love adding crushed cookies, chocolate chips, chopped fruit, or swirls of jam. I always wait until the last 5 minutes of churning to mix them in so they don’t sink or get mushy.
Why is my ice cream too soft after churning?
That’s totally normal. I serve it as soft-serve right away or pop it in the freezer for 1–2 hours to firm it up. Just make sure it’s in an airtight container to prevent ice crystals.
Can I reduce the sugar in the recipe?
Yes. I’ve tried reducing the sugar by about 25% without any problem. Just keep in mind, sugar helps with texture, so cutting too much can make it icy.
What’s the best way to clean the ice cream maker?
After I use it, I rinse the canister in warm water (never hot!), dry it completely, and put it back in the freezer. I wash the paddle and lid with mild soap and a sponge.
Can I store the ice cream in the canister?
I don’t recommend it. The canister needs to go back in the freezer empty and dry. I always transfer the ice cream into a freezer-safe container with a tight lid.
🧾 Conclusion
Making ice cream with my Nostalgia machine feels like pressing pause on the world. Whether I’m creating a classic vanilla scoop or swirling in something wild like caramel pretzels, it’s my kind of fun.
These recipes bring back memories—and help me make new ones with every creamy bite. If you’ve been thinking about pulling out your ice cream maker, this is your sign.
Nostalgia Ice Cream Maker Recipe
Ingredients
Equipment
Method
- I combine the milk and sugar in a bowl and whisk until the sugar dissolves. Then I stir in the heavy cream, vanilla extract, and a pinch of salt.
- If I have time, I chill the base in the fridge for 30 minutes. It helps with texture and faster churning.
- I pour the mixture into the canister of my pre-frozen Nostalgia ice cream maker, place it in the bucket with ice and rock salt, then let it churn for about 25–30 minutes.
- Once it’s thick and creamy, I serve it soft-serve style or transfer it to a container and freeze for 2 hours if I want a firmer scoop.