I love finding ways to bring a little magic into my baking—especially when I can tie it to something cosmic. That’s exactly what inspired me to make these Solar Eclipse Cookies Recipe.
When I first saw a solar eclipse, I was in total awe of how the moon and sun created this surreal moment in the sky. I wanted to turn that experience into something I could share in my kitchen—and eat, of course!
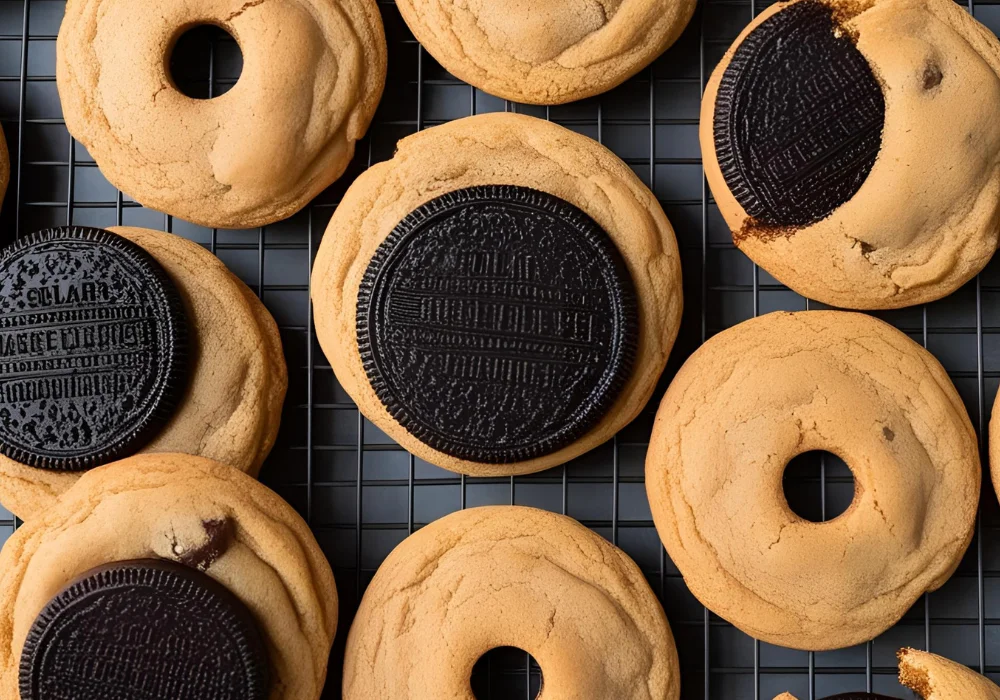
These cookies blend rich buttery flavor with a simple design that mimics the stages of a solar eclipse. They’re perfect for a space-themed party, a science activity with kids, or just for fun when a celestial event is coming up. I’m going to walk you through each step so you can bake these right in your own kitchen. Let’s get into it!
🌘 How To Make Solar Eclipse Cookies Recipe
🕒 Overview
Preparation Time: 30 minutes
Cooking Time: 10 minutes
Total Time: 40 minutes
Course: Dessert
Difficulty: Easy
Cuisine: American
Yield: 24 cookies
🧰 Equipment Needed
- Mixing bowls
- Electric mixer
- Measuring cups and spoons
- Rolling pin
- Round cookie cutters (various sizes)
- Baking sheets
- Parchment paper
- Cooling rack
- Piping bags and tips
- Food-safe paintbrushes (optional)
🧂 Ingredients
For the Cookies:
- 1 cup (2 sticks) unsalted butter, softened
- 1 cup granulated sugar
- 1 large egg
- 1 teaspoon vanilla extract
- 2½ cups all-purpose flour
- ½ teaspoon baking powder
- ¼ teaspoon salt
For the Royal Icing:
- 4 cups powdered sugar
- 3 tablespoons meringue powder
- 6 tablespoons warm water
- Black and yellow food coloring
🔧 Step-by-Step Instructions
1. Prepare the Cookie Dough
In a large mixing bowl, cream together the softened butter and granulated sugar until light and fluffy. Add the egg and vanilla extract, mixing until well combined.
2. Combine Dry Ingredients
In a separate bowl, whisk together the all-purpose flour, baking powder, and salt. Gradually add the dry ingredients to the wet mixture, mixing until a dough forms.
3. Chill the Dough
Divide the dough into two equal portions, flatten into discs, and wrap in plastic wrap. Refrigerate for at least 1 hour to firm up.
4. Roll and Cut the Cookies
Preheat the oven to 350°F (175°C). On a lightly floured surface, roll out one disc of dough to about ¼-inch thickness. Use round cookie cutters to cut out circles, and place them on a parchment-lined baking sheet.
5. Bake the Cookies
Bake the cookies for 8-10 minutes, or until the edges are lightly golden. Allow them to cool on the baking sheet for 5 minutes before transferring to a cooling rack to cool completely.
6. Prepare the Royal Icing
In a mixing bowl, combine powdered sugar, meringue powder, and warm water. Beat on low speed until the icing forms stiff peaks. Divide the icing into two bowls, coloring one with black food coloring and the other with yellow.
7. Decorate the Cookies
Using piping bags fitted with small round tips, outline and flood the cookies with yellow icing to represent the sun. Once the yellow icing has set slightly, use the black icing to create the moon’s silhouette, depicting various phases of the eclipse. For added detail, use a food-safe paintbrush to blend the edges where the sun and moon meet, creating a realistic eclipse effect.
🍽️ Serving Suggestions
I like to serve these Solar Eclipse Cookies Recipe when I want to impress without making things too complicated. They’re perfect for a solar eclipse viewing party, science-themed birthday, or even a classroom treat if you’re teaching kids about space.
If I’m hosting, I usually set them out on a black or dark blue platter to make the colors pop. A little edible glitter or star-shaped sprinkles around the cookies really brings out that “galaxy” vibe.
They go great with simple drinks like milk, lemonade, or even a hot cup of tea. If I want to get a little fancy, I’ll pair them with a dark chocolate mocha—it balances the sweetness just right.
And don’t forget to snap a few photos before everyone grabs them—these cookies love the camera.
💡 Tips and Variations
- Flavor Variations: Add a teaspoon of lemon or orange zest to the cookie dough for a citrusy twist.
- Color Variations: Experiment with different shades of yellow and black to represent various stages of the eclipse.
- Texture: For a softer cookie, reduce the baking time by a minute or two.
- Storage: Store the decorated cookies in an airtight container at room temperature for up to a week.
🩺 Health Benefits
I won’t pretend cookies are health food—but when I bake at home, I know exactly what goes into them. That’s already a big win for me. I skip the preservatives, artificial colors, and excess sugar you’d usually find in store-bought cookies.
These Solar Eclipse Cookies Recipe use simple, real ingredients—like butter, flour, eggs, and sugar. If I want to make them a little lighter, I sometimes use whole wheat flour for extra fiber or cut back on the sugar just a bit. I’ve also used natural food coloring when I want to avoid artificial dyes.
And honestly? The biggest health benefit is joy. Baking helps me relax, and sharing these with friends or kids makes the moment special. A happy mind and a homemade treat go a long way.
🧊 How to Store
Once I finish decorating my Solar Eclipse Cookies Recipe, I always let the icing dry completely. That way, nothing smudges when I store them. I keep them in an airtight container at room temperature.
They stay fresh for up to 5 days—sometimes longer if the weather’s cool and dry. I layer them with parchment paper so the icing stays intact and the cookies don’t stick together.
If I want to make them ahead of time, I freeze the plain cookies (before decorating) in a sealed container or zip bag. They last up to 2 months in the freezer. When I’m ready to decorate, I just let them thaw at room temp first. Works like a charm every time.
📝 Note
Ensure that the royal icing is completely dry before stacking or storing the cookies to prevent smudging the designs. If you’re new to royal icing, practice on a piece of parchment paper before decorating the actual cookies.
🌟 Conclusion
Baking these Solar Eclipse Cookies Recipe felt like creating a little piece of the sky right in my kitchen. I enjoyed every step—from mixing the dough to decorating each one like a tiny eclipse.
These cookies didn’t just turn out delicious, they started conversations and brought a spark of curiosity to the table. If you’re planning to watch a solar eclipse or just want to add something unique to your dessert tray, give this recipe a try.
I know I’ll be making them again the next time the sky puts on a show. And who says cookies can’t be both fun and educational?