 Techniques
What Makes Pie Crust Shrink in the Pan, and How Do You Prevent It?
 By the CookClear writers
Checked against test kitchen and food science sources
 Clear Answer
Pie crust shrinks because stretched gluten pulls back like a rubber band in the heat, and warm butter melts before the crust sets, letting the sides slide down. Prevent it by resting the dough, chilling the shaped shell for at least 30 minutes, and baking with weights pressed against the sides. A thicker rim with a little extra overhang helps too.
Most shrinking is caused before the pie ever goes in the oven. If you know what happened at the counter, you can usually fix it on the next crust.
What is happening inside the dough?
Flour and water make gluten. Every time you mix, knead, or roll, those gluten strands get longer, tighter, and more elastic. Pie dough wants only a little of that structure, enough to hold together, not enough to act like bread dough.
 On the menu10 questions
When you roll dough out and immediately press it into a pan, the gluten is still under tension. In the oven, heat firms up the proteins and the stretched strands contract toward their relaxed length. The crust pulls in from the rim and creeps down the walls.
The second factor is fat. Butter melts at a lower temperature than shortening, as King Arthur Baking points out, and if the butter is soft when the pie goes in, it turns liquid before the flour has set around it. The sides lose their support and slump down toward the bottom. That is why an all-butter crust is more likely to sag than one made with some shortening. It is the same melting issue that makes cookies spread flat.
Why did my pie crust shrink?
Usually one or two of these habits are behind it. Match what you saw to the likely cause.
| What you see | Likely cause | Fix |
|---|---|---|
| Walls pulled in from the rim | Rolled straight from mixing, so the gluten was still tight | Rest the dough before rolling |
| Crust snaps back after fitting | Dough was stretched or tugged to reach the rim | Let it fall into the pan; patch short spots with a scrap |
| Tough, dense crust that contracts | Overworked dough, re-rolled scraps, or fat cut in too finely | Handle less and leave pea-size pieces of fat |
| Sticky dough that shrinks and steams | Too much water, which builds gluten faster | Add water a spoonful at a time |
| Sides slumped despite resting | Skipped the chill after shaping | Refrigerate the shaped shell at least 30 minutes |
| Rim sank with no overhang | Trimmed flush, so nothing anchored the edge | Leave about 3/4 inch and fold it under |
| Blind-baked walls fell | No weights pressing on the sides | Fill with weights and push them to the walls |
How long should pie dough rest, and where?
There are really two rests: one after mixing and one after shaping. The first relaxes the gluten you built while mixing (the same reason pancake batter benefits from resting), and the second relaxes the gluten you stretched while rolling and fitting.
The times vary a little between sources but land in the same range.
| Stage | What to do | Time | Source |
|---|---|---|---|
| After mixing | Wrap the disk and refrigerate | At least 1 hour | The Kitchn |
| After shaping in the pan | Refrigerate | At least 30 minutes | King Arthur Baking, Sally's Baking |
| After shaping (longer option) | Refrigerate, then freeze | 40 minutes, then 20 minutes | America's Test Kitchen |
| Make-ahead option | Freeze the shaped shell | 1 to 2 hours, or overnight | The Kitchn |
| Blind bake | 375°F with weights | About 20 minutes | King Arthur Baking, America's Test Kitchen |
| Finish (fully baked shell) | Remove weights, keep baking | 15 to 20 minutes more | King Arthur Baking |
The fridge rest after shaping is the one people skip, and it is the one that does the most to prevent shrinkage. It cools the butter back to firm, and it gives the gluten in the walls time to let go of the tension you put in while fitting the pan.
A short freeze after the fridge rest is the extra insurance. America's Test Kitchen chills its shells 40 minutes in the fridge, then freezes them for 20 minutes to set the shape before baking.
How do you fit dough into the pan without stretching it?
Let gravity do the work here instead of your fingers.
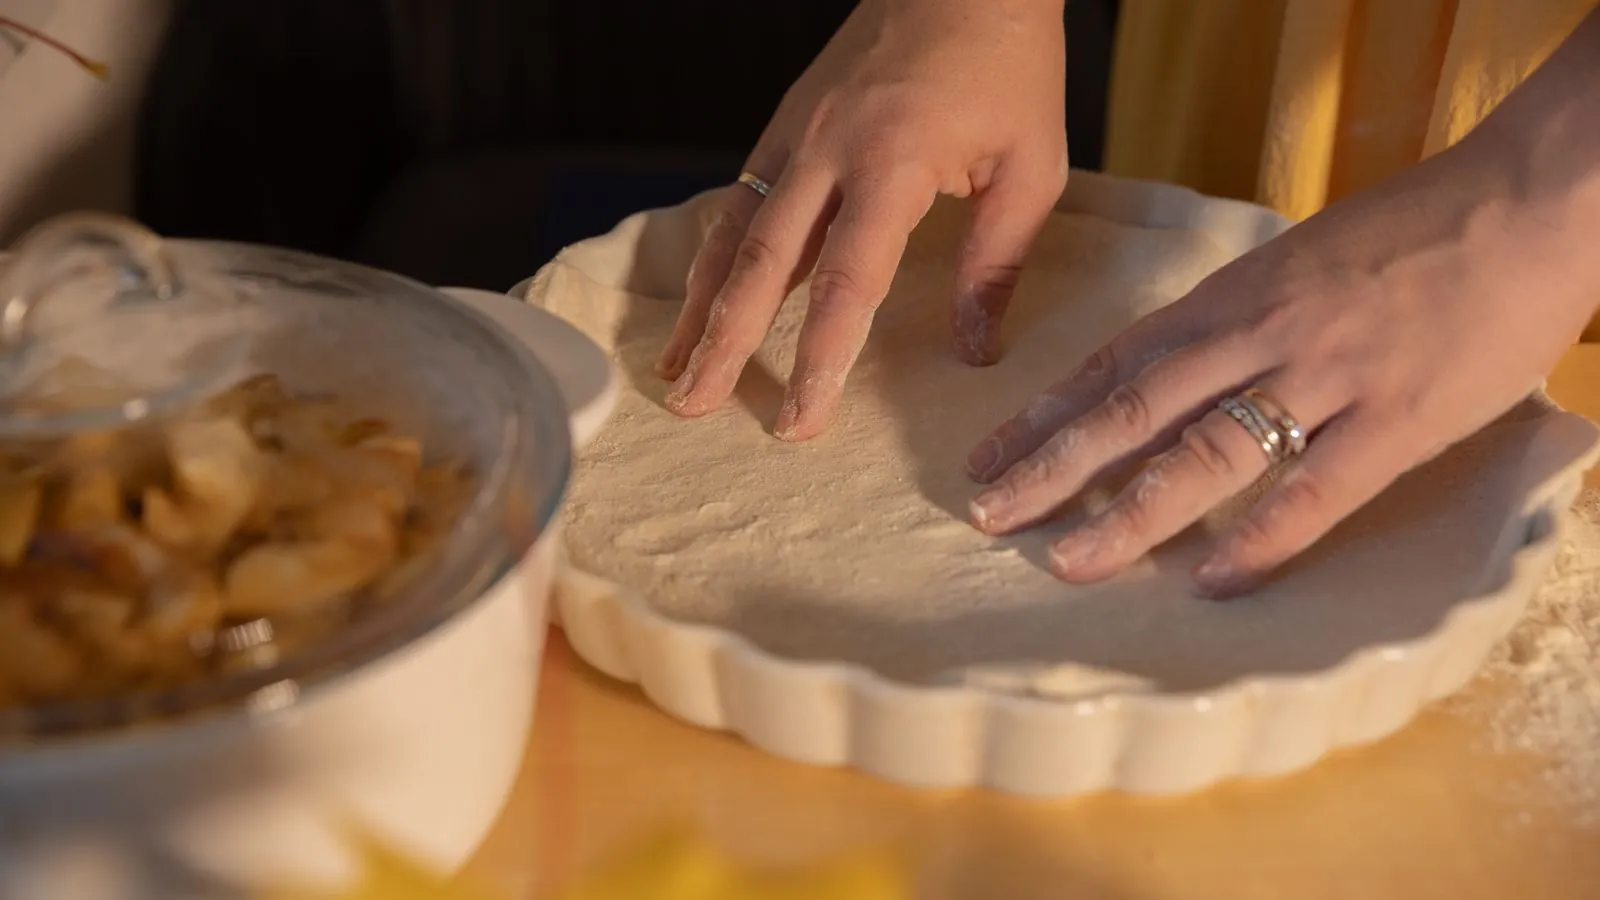
- Roll the round larger than you think. You want enough dough to cover the bottom, climb the sides, and still hang over the rim.
- Transfer loosely. Roll the dough around the pin or fold it into quarters, then unroll or unfold it over the pan.
- Lift and drop the dough. Lift the edge of the dough with one hand and use the other to ease it down into the corner where the bottom meets the wall. Work around the pan this way. The dough should slump into place.
- Leave an overhang. The Kitchn recommends about 3/4 inch (2 cm) beyond the rim.
- Fold the overhang under. Tuck it so it sits on top of the rim, which makes a thicker edge that resists shrinking.
- Patch short spots. If a spot comes up short, press a scrap onto it instead of pulling dough from somewhere else.
- Crimp firmly. A pinched or fluted edge gives the rim more structure. Some bakers, including Sally's Baking, press extra strips of dough around the edge to build it up further.
- Chill before baking. Refrigerate at least 30 minutes so the gluten relaxes and the butter firms back up.
If the dough cracks as you fit it, it is too cold. Let it sit for a few minutes rather than forcing it, because forcing it stretches it.
Do pie weights really make a difference?
Yes, for a blind-baked shell they are the single most effective tool after chilling. The weights hold the walls against the pan until the dough has baked long enough to hold itself up.
Line the chilled shell with parchment, a paper coffee filter, or foil, then fill it. King Arthur Baking fills the shell about two-thirds full. America's Test Kitchen uses about 2 cups of weights, and dried beans, pennies, or rice all work in place of ceramic weights. Push the weights out toward the sides so they lean against the walls instead of piling in the middle.
Bake at 375°F for about 20 minutes, until the dough under the liner no longer looks wet. Then lift out the liner and weights. If you are going to fill and bake the pie again, a few more minutes is enough. For a fully baked shell, King Arthur bakes another 15 to 20 minutes until golden. For a fruit pie, ripe but firm peaches give off less juice into the blind-baked shell.
Dock the bottom with a fork after you take out the weights, not before. Sally's Baking makes this point: once the sides are set, pricking the bottom lets steam escape without letting the walls fall.
The upside-down trick
King Arthur Baking also describes a method for crusts that like to slump, especially all-butter ones. You sandwich the dough between two pie pans and bake it upside down at 375°F for 20 minutes, so gravity pulls the walls down onto the pan instead of away from the rim. Then you flip it, remove the top pan, prick the bottom, and bake another 15 to 20 minutes. It takes two matching pans, but it is very good at keeping tall sides.
Is the recipe itself part of the problem?
Sometimes. A crust can be handled perfectly and still shrink a bit if the formula is working against you.
All-butter crusts have the best flavor but are the softest at oven temperature. Swapping some of the butter for shortening raises the melting point of the fat, so the crust holds its crimp longer. If you love all-butter, keep it and lean harder on chilling and weights. If you only have salted butter, salted butter works with less added salt.
Extra water makes dough easier to roll but builds gluten faster. If your dough feels sticky or tacky, you probably added too much. Weighing flour on a kitchen scale keeps the ratio consistent. It should look a little shaggy and only just come together. Spooned and leveled, all-purpose flour lands near 120 grams per cup, a good figure to weigh against.
Overmixed fat also causes shrinking. Cutting the butter in until it disappears coats more of the flour, which sounds good, but it also gives you a denser, more elastic dough. Leave some pea-size pieces.
Re-rolled scraps have been worked twice. They are fine for patches and decorations, but a whole bottom crust made from re-rolled scraps is more likely to pull in.
Why does a filled pie shrink less than a blind-baked shell?
When a pie goes in with its filling, the filling acts like a weight. It presses against the walls and keeps them in place while the dough sets. That is why shrinking is mostly a blind-baking complaint, the kind you notice with custard, cream, and icebox pies that need a pre-baked shell. If yours gets a whipped topping, cream that won't stiffen is a separate fix.
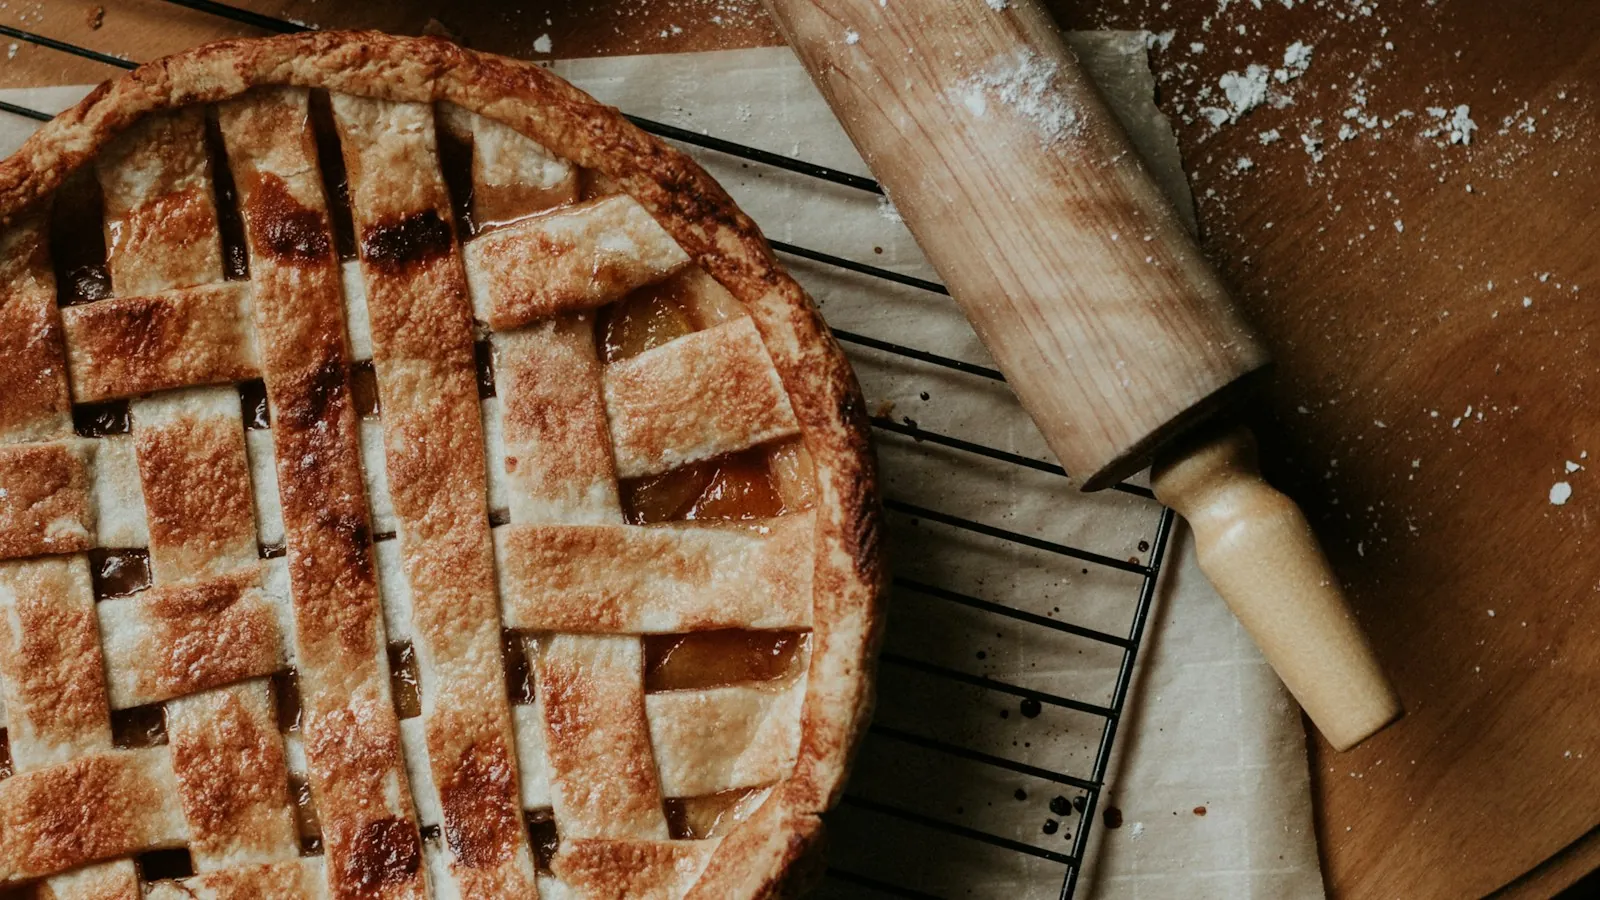
A double-crust pie can still shrink at the edge, though. If the top and bottom crusts are not sealed and crimped well, the top can pull back from the rim and leave a gap. Press the two layers together firmly, crimp them, and chill the assembled pie before it goes into the oven.
What can you do if the crust already shrank?
If the walls slid partway down during blind baking, you have a few options depending on how bad it is.
- Minor shrinking (under half an inch): Use it. Fill slightly lower than you planned so nothing spills over the edge.
- Thin spots or small cracks: Smear on a little raw dough and bake for a few more minutes, or brush the inside with beaten egg and bake briefly to seal it before adding a wet filling.
- Walls collapsed badly: Turn it into a tart-style pie with a lower filling, or crumble it for a crumb topping or parfait. Then make the next crust with a longer rest and weights against the sides.
Pressing a hot crust back up the pan rarely works. The dough has already set in its new shape and will crack.
A quick checklist for your next crust
Most people only need to change two or three habits, and the same short list of fixes carries over to other baking techniques.
- Rest the dough at least 1 hour after mixing.
- Roll it big and let it fall into the pan without stretching.
- Leave about 3/4 inch of overhang, fold it under, and crimp.
- Chill the shaped shell at least 30 minutes, with a short freeze if you have time.
- Line it, fill it with weights pushed toward the walls, and bake at 375°F for about 20 minutes.
- Remove the weights, dock the bottom, and finish baking.
 Seeing a pie shell kept from sliding down the pan
Fitting dough without stretching it and packing weights against the walls are hand skills that are tricky to picture from text. Sally's Baking Recipes shows chilling, weighting, and par-baking a shell.
How to Par-Bake Pie Crust
By Sally's Baking Recipes on YouTube. Their method may vary a little from ours. Watch on YouTube
- Watch how the dough is eased into the pan, and compare it with the advice to fit it without stretching.
- Notice how the weights are packed against the sides and compare that with pushing them out toward the walls.
- Compare the rim and overhang of the shell with the thicker rim and extra overhang that helps resist shrinking.


