 Cooking Times
How Long Does Butternut Squash Take to Roast Until It's Caramelized?
 By the CookClear writers
Checked against USDA safe temperatures and test kitchen timing
 Clear Answer
One-inch cubes of butternut squash take 20 to 30 minutes at 425°F, or 25 to 35 minutes at 400°F, to turn soft inside with browned, caramelized edges. Halves take longer: about 45 to 60 minutes at 400°F, cut side down. The exact number depends on how big your pieces are, how crowded the pan is, and how hot your oven really runs.
Soft and caramelized are two separate goals, and they don't always arrive together. Softness comes from time. Caramelization comes from heat and contact with the hot pan, and the method here gets you both on the same sheet.
Roasting times by cut and oven temperature
Cube size changes the timing more than anything else. Smaller pieces cook through quickly, but they can go from browned to scorched in a few minutes. Bigger pieces stay creamier inside and give you more margin.
 On the menu10 questions
Here are typical ranges for cubes at 400°F:
| Cut | Oven temp | Approximate time |
|---|---|---|
| 1/2-inch cubes | 400°F | About 20 minutes |
| 1-inch cubes | 400°F | 25 to 35 minutes |
| 1 1/2-inch cubes | 400°F | 35 to 40 minutes |
| 2-inch cubes | 400°F | 40 to 45 minutes |
| Halves, cut side down | 400°F | 45 to 60 minutes |
| Halves | 350°F | About 1 1/2 hours |
And here is how temperature shifts the timing for the most common cut, 1-inch cubes:
| Oven temp | 1-inch cubes |
|---|---|
| 350°F | 35 to 45 minutes |
| 375°F | 30 to 40 minutes |
| 400°F | 25 to 35 minutes |
| 425°F | 20 to 30 minutes |
| 450°F | 15 to 25 minutes |
Start checking at the low end of each range, as you should with any chart of cooking times. Ovens vary, and a squash that's been sitting in a cold garage or the fridge will take a bit longer than one at room temperature.
Which temperature gives the best caramelization?
For browned, sweet edges, 400°F to 425°F is the sweet spot. At 350°F and 375°F the squash softens nicely, but the surface tends to steam and stay pale before it ever gets a chance to brown. You end up with tender squash that tastes a little flat.
At 450°F you get color fast, but the timing window is tight. Smaller cubes can blacken at the corners before the centers turn soft, especially on a dark pan. If you go that hot, cut 1-inch pieces or larger and check early.
America's Test Kitchen's method for half-inch slices uses 425°F on the lowest rack, with the squash roasting about 25 to 30 minutes, then rotating the pan for another 6 to 10, then flipping each piece and roasting 10 to 15 minutes more. That adds up to roughly 41 to 55 minutes, which is longer than most cube charts suggest. The extra time browns both sides deeply, which makes it a good model when you want more color than a few spots.
Step by step: soft centers, browned edges
- Heat the oven to 425°F with a rack in the lower third. The bottom of the oven is closest to the heat source, which helps the pan side brown.
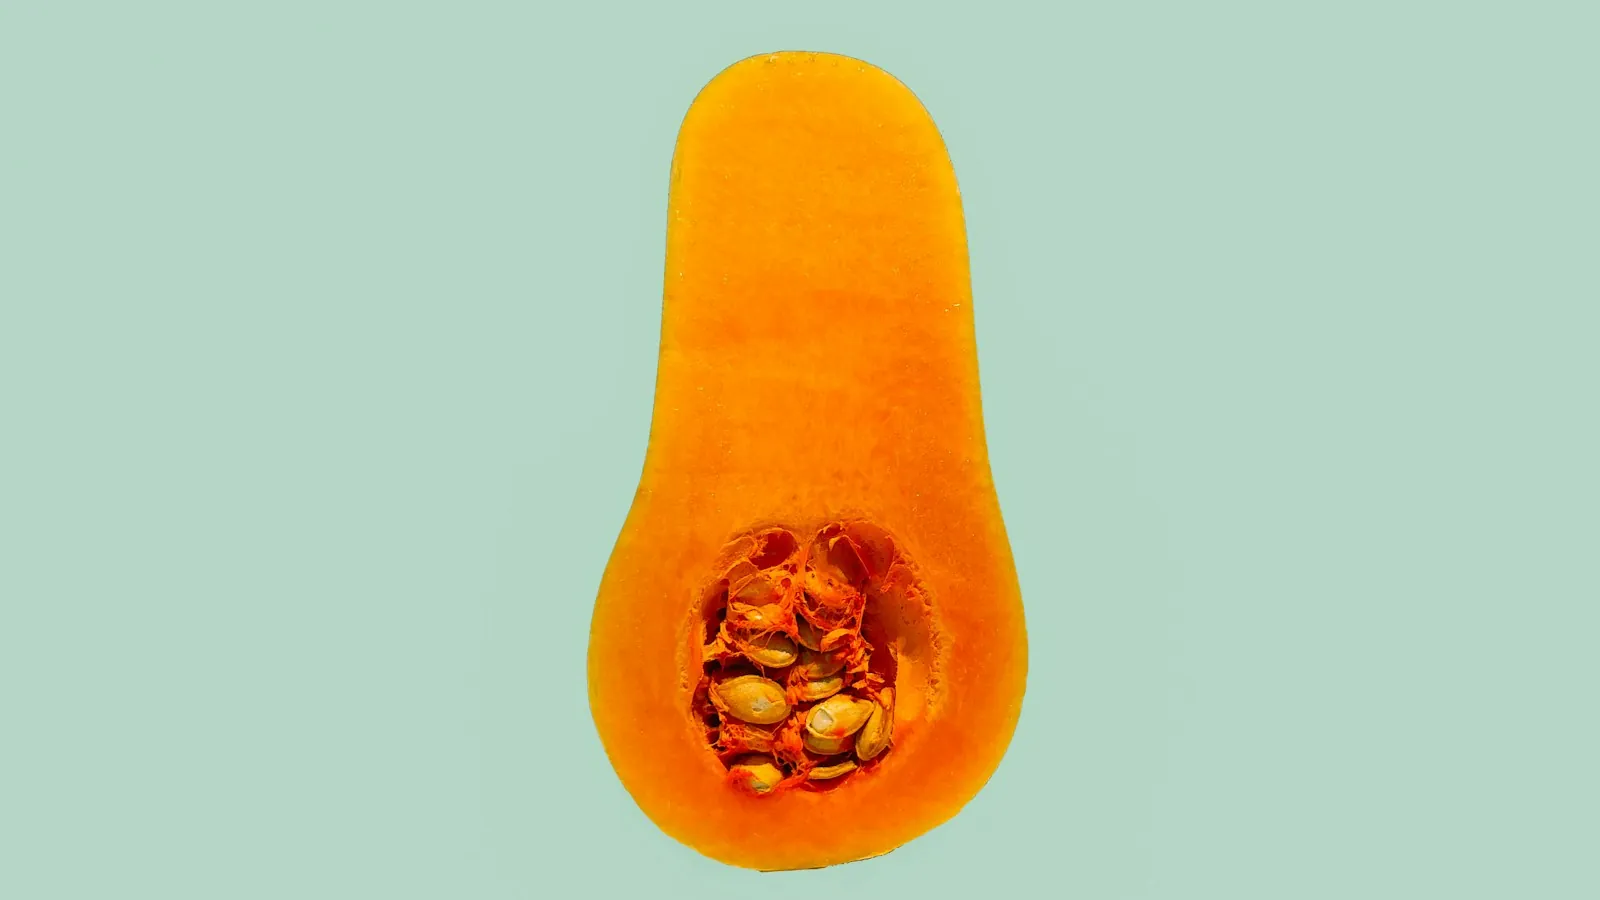
- Peel, halve, and seed the squash. A sturdy Y-peeler works better than a knife on the thick skin. Scoop out the seeds and stringy pulp with a spoon.
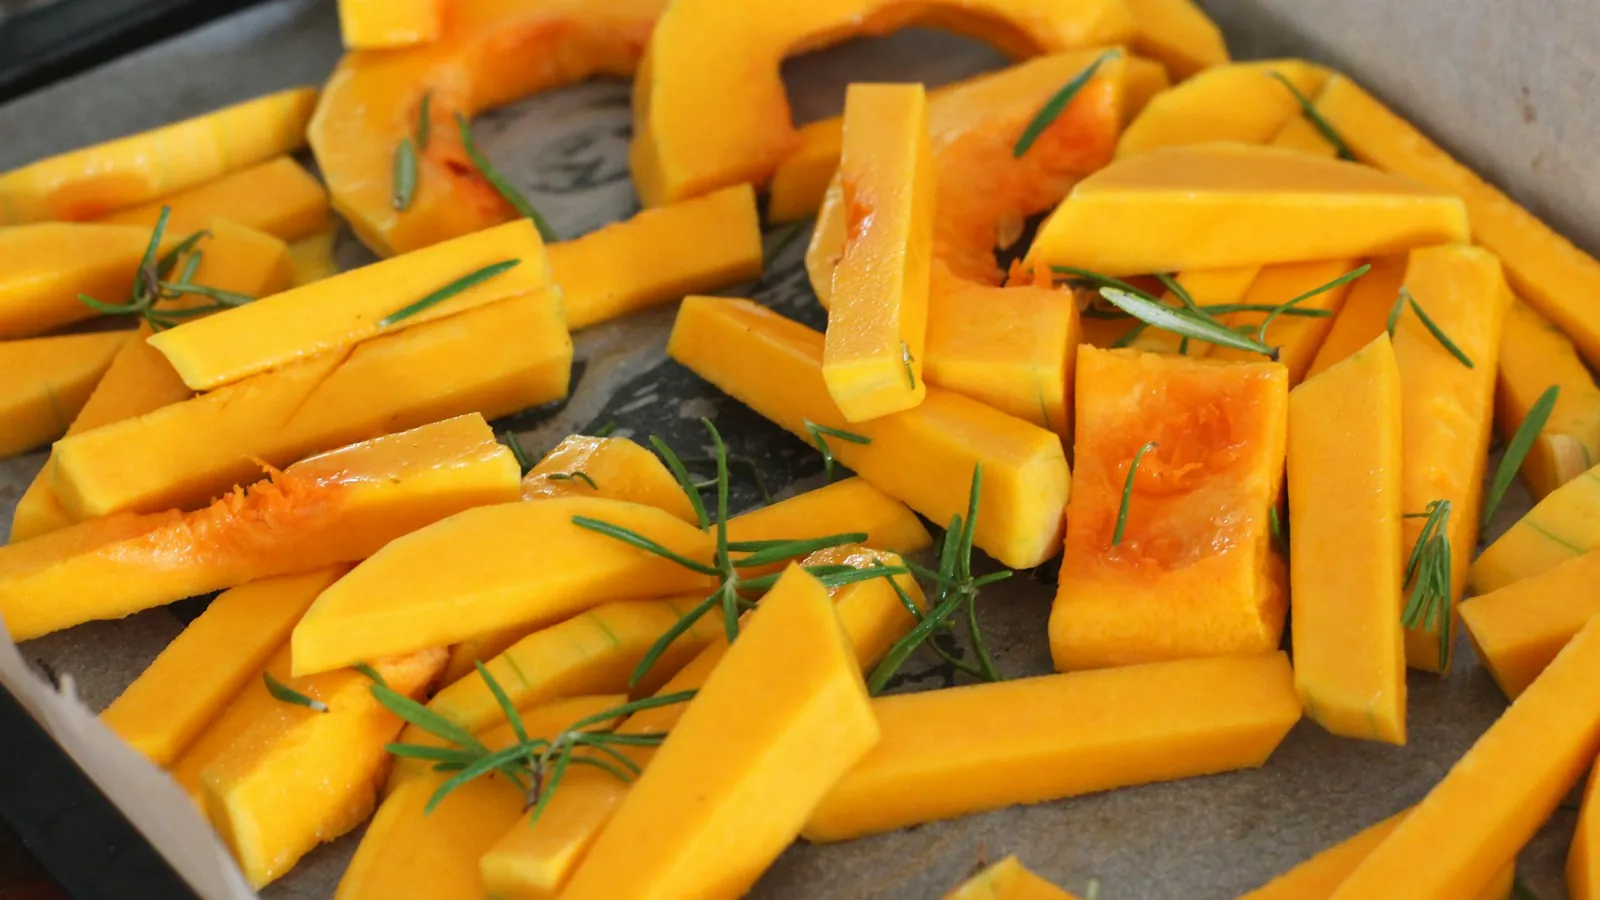
- Cut even 1-inch cubes. The neck gives you neat cubes; the bulb end is curved, so do your best to keep those pieces close to the same size.
- Toss with oil and salt. About 2 tablespoons of olive oil and 1 teaspoon of kosher salt is plenty for a medium squash. Every surface should look lightly glossy, not drenched.
- Spread them out on a rimmed sheet pan. Leave a little space between pieces. Use two pans if you need to.
- Roast 15 minutes, then flip. A thin metal spatula slides under the browned side better than tongs.
- Roast another 5 to 15 minutes, until a fork slides in with no resistance and several sides are deep golden brown.
If you want a sweeter finish, brush on a tablespoon of real maple syrup in the last 5 to 10 minutes. Added sugar burns quickly at 425°F, so don't put it on at the start.
Why your squash comes out mushy and pale
Pale, soft, slightly wet squash is the most common complaint, and it almost always comes back to steam. Butternut squash holds a lot of water. When it heats, that moisture has to escape. If the pieces are packed tight, the water vapor gets trapped between them, and the squash steams instead of roasting. The same thing makes other roasted vegetables soggy.
The usual causes:
- A crowded pan. Pieces touching each other steam. Pieces with space around them brown.
- Too low a temperature. At 350°F the water leaves slowly, so the surface stays damp.
- Foil or a glass dish. Glass heats slowly, and foil can trap moisture underneath. A bare metal sheet pan, or one lined with parchment, browns better.
- Too much oil. A pool of oil fries the bottoms and leaves the tops soggy. A light coat does more.
- Not flipping. The side touching the pan does most of the browning. Flipping gives a second side the same chance.
Mushy squash is still perfectly good to eat. Mash it with butter, blend it into soup, or stir it into risotto.
How do you tell when roasted squash is done?
Go by texture and color as well as the clock. Squash doesn't need to hit a specific internal temperature the way meat does.
Check these signs:
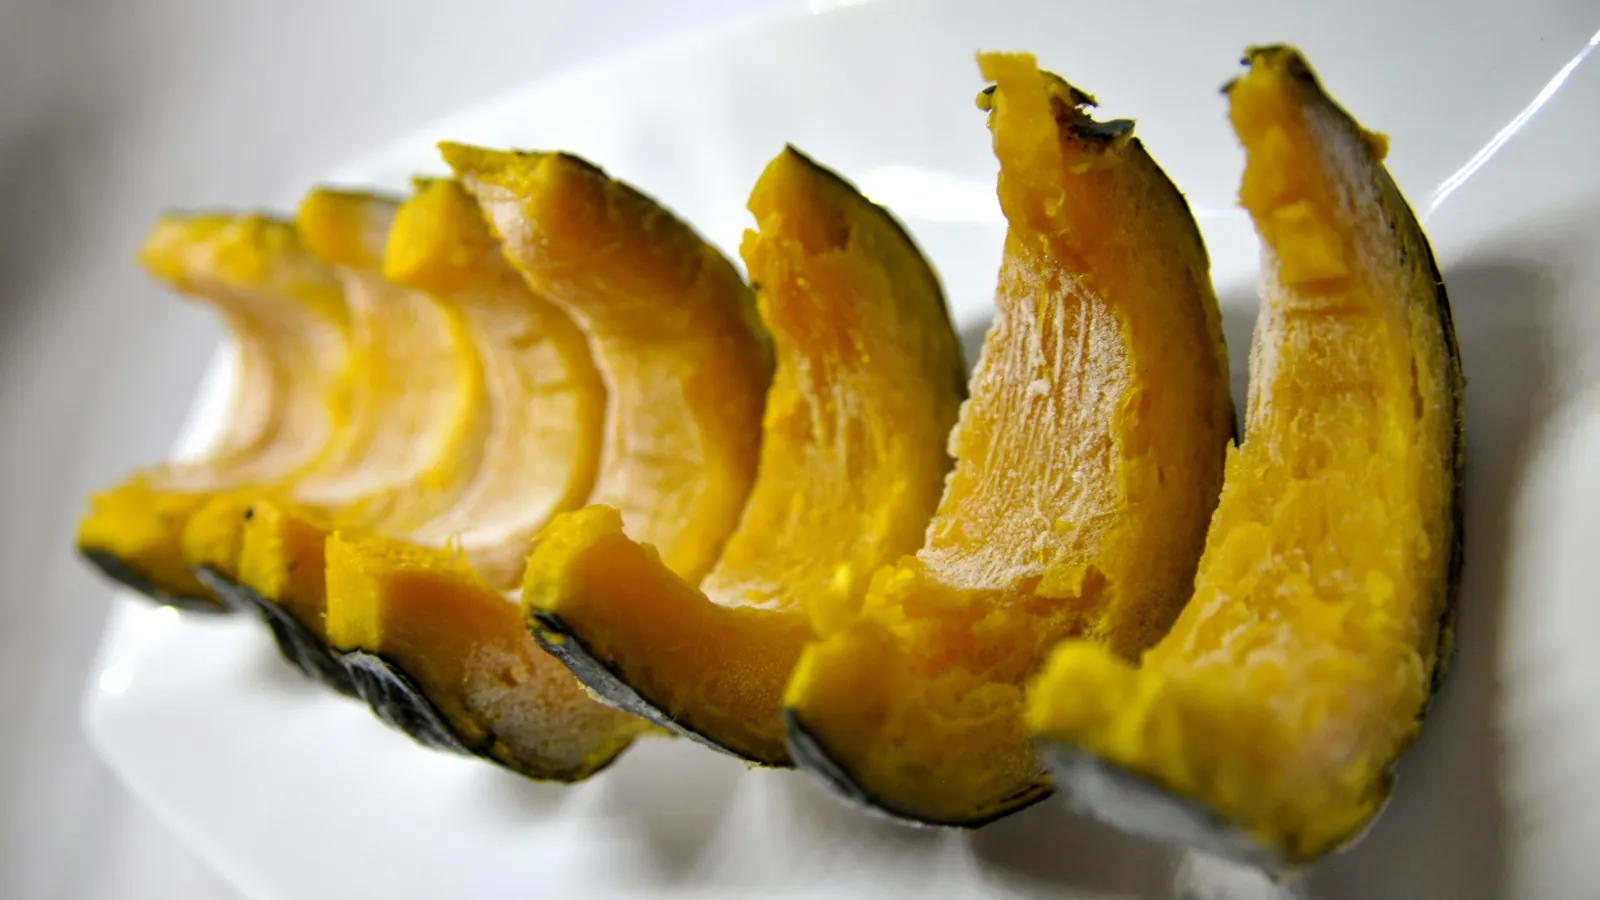
- A fork or paring knife slides in with no push. If you feel any firmness in the center, give it 5 more minutes.
- The pan side is deep golden to mahogany. A few nearly dark spots on the edges are where the best flavor lives.
- The edges look slightly shrunken or wrinkled. That means water has cooked off and the sugars are concentrating.
Taste one. Properly roasted squash should taste noticeably sweeter and nuttier than steamed squash, with a creamy center and a slightly chewy, browned outside.
Should you roast squash halves or cubes?
Halves are less work. You don't peel anything. You just cut the squash lengthwise, scoop out the seeds, rub the cut sides with oil, and roast. The trade-off is time and texture: you need 45 to 60 minutes at 400°F, and you get one browned surface instead of several.
Roast halves cut side down if you want the flesh soft and creamy with some browning where it meets the pan. This is the better choice for soup, mash, pie filling, or baby food, where you'll scoop the flesh out anyway.
Cubes are the better choice when the squash is the side dish itself. More surface area means more browned edges per bite. They also cook in about half the time of halves. If you're short on time, slices about 1/2 inch thick split the difference: quicker than halves, easy to flip, and lots of contact with the pan.
Can you roast squash ahead of time?
Yes, and it reheats well. Let roasted squash cool, then get it into the fridge within 2 hours of coming out of the oven, or within 1 hour if your kitchen is above 90°F. That's the USDA rule for leftovers, and it applies to vegetables too.
Stored in a covered container, roasted squash keeps 3 to 4 days in the fridge. For longer storage, freeze it in a single layer on a sheet pan, then move it to a freezer bag. It keeps best quality for 3 to 4 months. Frozen cubes soften when thawed, so they're better for soup, mash, and pasta fillings than for a crisp-edged side dish.
To reheat roasted squash, spread the cubes on a sheet pan and put them back in a 400°F oven for about 10 minutes. That brings back some of the browned texture that a microwave would turn soft. USDA guidance is to reheat leftovers to 165°F.
A few things that change the timing
Even with a good chart, a few variables can push you outside these ranges.
Pan color. Dark sheet pans absorb more heat and brown faster. Light aluminum pans brown more slowly. With a dark pan, check 5 minutes early. A pan that warps in a hot oven also browns unevenly.
Oven accuracy. Many home ovens run hotter or cooler than the dial says. If your squash always takes much longer than expected, an inexpensive oven thermometer will tell you why.
Squash size and freshness. Older squash that's been stored a while can be a little drier and may brown slightly faster. Very large squash often have thicker flesh at the neck, which makes for bigger cubes unless you cut carefully.
Two pans at once. If you roast two sheets on different racks, swap their positions halfway through. The top pan usually browns less on the bottom, and the bottom pan can scorch.
Other vegetables on the same pan. Onions, Brussels sprouts, and carrots cut to a similar size roast in roughly the same window. Potatoes and beets usually take longer, so cut them smaller or start them first. A whole baked sweet potato runs on a longer clock too.
Seasoning that works with the caramelized flavor
Butternut squash is sweet and mild, so it takes well to both savory and warm flavors. Salt is the one non-negotiable, since it brings out sweetness and keeps the squash from tasting bland.
Savory combinations that hold up at 425°F: olive oil, salt, black pepper, and chopped fresh sage or thyme. Smoked paprika and garlic powder in place of fresh add depth without burning. Add fresh garlic only in the last 10 minutes, or it will turn bitter.
For something sweeter, use cinnamon, a little nutmeg, and maple syrup or brown sugar added near the end. A squeeze of lemon or a spoonful of plain yogurt after roasting cuts the sweetness nicely if you find plain roasted squash too rich.
Finish with something crunchy if you have it: toasted pepitas, chopped pecans, or a sprinkle of crumbled feta or goat cheese.
 What does done roasted squash look like?
Soft and caramelized are easy to confuse in text, so it helps to see the color of the edges and how the pieces sit on the pan. Cozy Peach Kitchen shows plain butternut squash from peeling to roasting.
ROASTED BUTTERNUT SQUASH | how to peel, prep and cook
By Cozy Peach Kitchen - Easy Vegetarian Recipes on YouTube. Their method may vary a little from ours. Watch on YouTube
- Compare the size of the cubes with the 1-inch target and notice how much space sits between pieces on the pan.
- Look at the pan side of the squash for the deep golden to mahogany color described above.
- Watch how the cut pieces look when they are glossy but not drenched, matching the light coat of oil recommended.


