 Cooking Times
What Baked Chicken Breast Temperature and Time Keep It From Drying Out?
 By the CookClear writers
Checked against USDA safe temperatures and test kitchen timing
 Clear Answer
Bake boneless chicken breasts at 425°F for about 16 to 22 minutes, depending on thickness, and take them out when the thickest part reads 160 to 162°F. Let them rest 5 minutes and carryover heat brings them to 165°F, the USDA safe minimum for poultry. High heat and a thermometer do more to prevent dry chicken than any marinade or brine.
Most dry chicken is simply overcooked. A breast pulled at 175°F instead of 165°F loses noticeably more moisture, and the clock alone can't tell you which one you have.
Why does a hotter oven give you juicier chicken?
A lean boneless breast has almost no fat or connective tissue to protect it. The longer it sits in the oven, the more time the outer layers spend well above 165°F while the center catches up. At 350°F, an average breast takes 25 to 30 minutes, and by the time the middle is done, the outer half inch is chalky.
 On the menu11 questions
At 425°F the whole process finishes faster. The outside browns a little, the inside reaches temperature sooner, and there's less total time for moisture to squeeze out of the muscle fibers. You get a thinner band of overcooked meat around a tender center.
Going hotter than 450°F starts to cause problems with thick breasts. The surface can dry and darken before the middle is ready, especially on the thin tapered end. For most home ovens, 400 to 425°F is the sweet spot.
How long should chicken breast bake at each temperature?
Times depend far more on thickness than on weight. A flat 6-ounce breast cooks faster than a plump 8-ounce one, and a 10-ounce supermarket breast can take twice as long as a small one. Use these ranges as a starting point for boneless, skinless breasts placed straight from the fridge, then confirm with a thermometer.
| Oven temp | 6 oz breast (about 3/4 inch thick) | 8 oz breast (about 1 inch thick) | 10 to 12 oz breast (1 1/4 inch or more) |
|---|---|---|---|
| 350°F | 22 to 26 min | 25 to 30 min | 32 to 40 min |
| 375°F | 20 to 24 min | 22 to 27 min | 28 to 35 min |
| 400°F | 17 to 20 min | 20 to 24 min | 25 to 30 min |
| 425°F | 15 to 18 min | 18 to 22 min | 22 to 27 min |
| 450°F | 13 to 16 min | 16 to 20 min | Pound thinner first |
Start checking about 3 minutes before the low end of the range. Ovens run hot or cold by 25°F more often than people think, and a dark sheet pan cooks faster than a light one or a glass dish. Treat any cooking time the same way: a range to start, a thermometer to finish.
Bone-in, skin-on split breasts need longer: roughly 35 to 45 minutes at 400 to 425°F. The bone slows heat transfer and the skin acts as a shield, which is why these are more forgiving.
What internal temperature means the chicken is done?
The USDA safe minimum for all poultry, including breast meat, is 165°F measured in the thickest part. At that temperature, Salmonella and other bacteria are killed instantly, so there's no hold time to worry about.
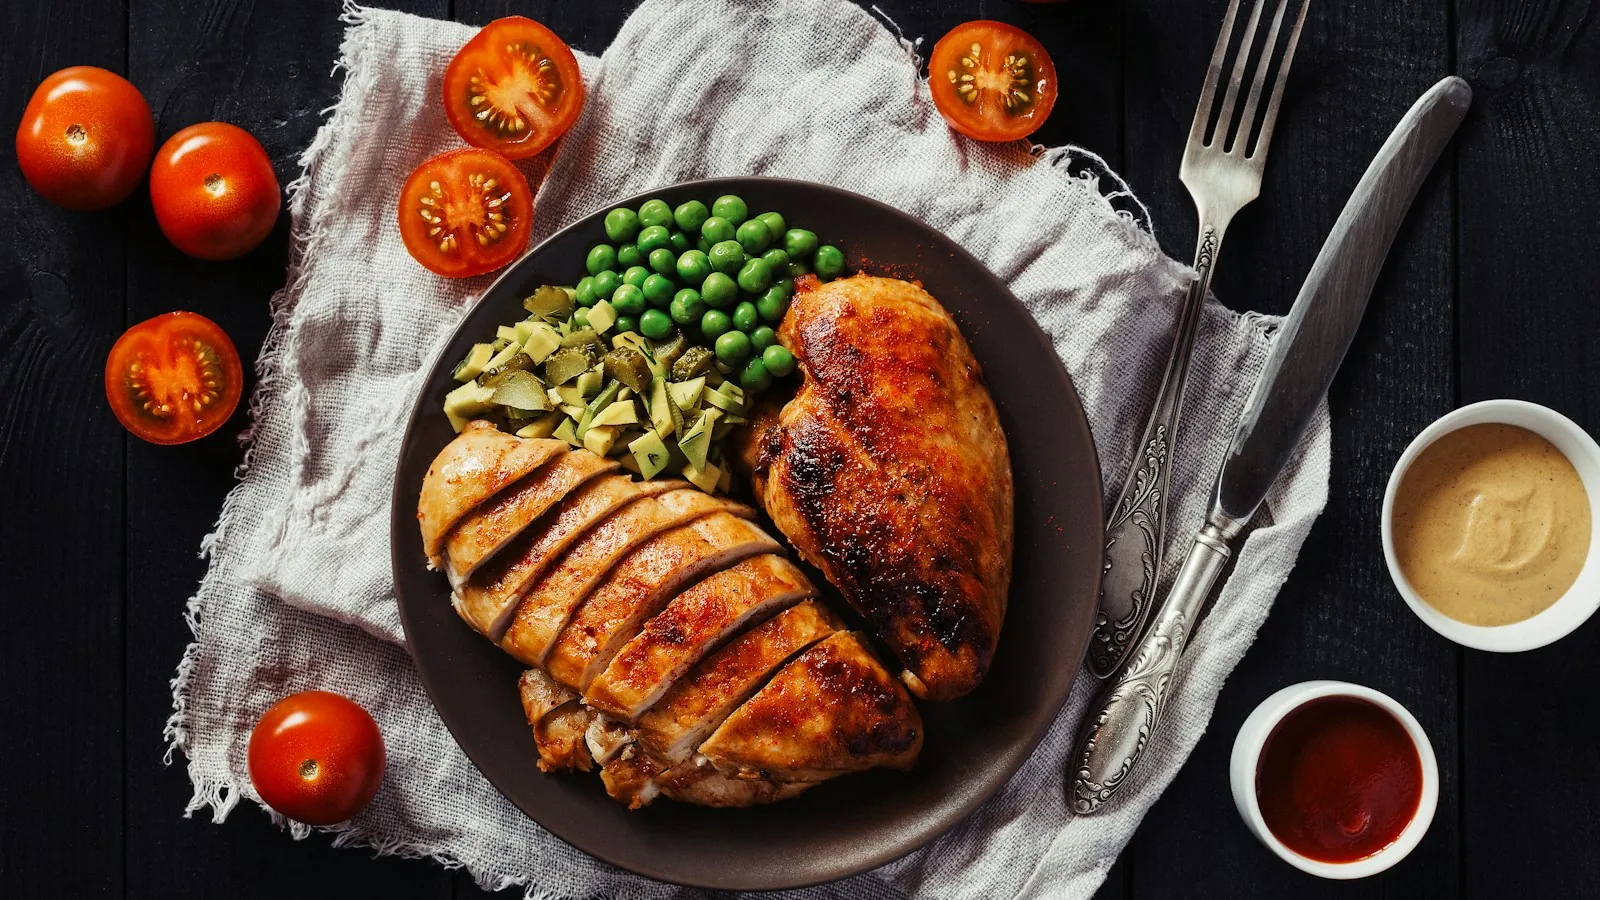
The trick is that meat keeps cooking after it leaves the oven. Heat stored in the outer layers keeps moving toward the center, so a breast pulled at 160 to 162°F usually climbs 3 to 5 degrees as it rests. That means you can take it out a little early and still serve it at 165°F.
Check it again after resting. If it hasn't reached 165°F, put it back in the oven for a few minutes. Thin breasts carry over less than thick ones, so a cutlet under 3/4 inch should come out closer to 163 or 164°F.
Where to put the thermometer
- Insert the probe from the side, not the top, so the tip sits in the middle of the thickest section.
- Avoid touching the pan, which reads hotter than the meat.
- If there's a bone, keep the tip off it, since bone conducts heat differently.
- Check two breasts if they're different sizes. The biggest one decides when the batch is done.
An instant-read digital thermometer costs less than a pack of chicken.
Does pounding or butterflying the breast really help?
Yes, and it might matter more than the oven setting. A typical store-bought breast is thick at one end and thin at the other. By the time the fat end hits 165°F, the thin end has been sitting at 180°F or more.
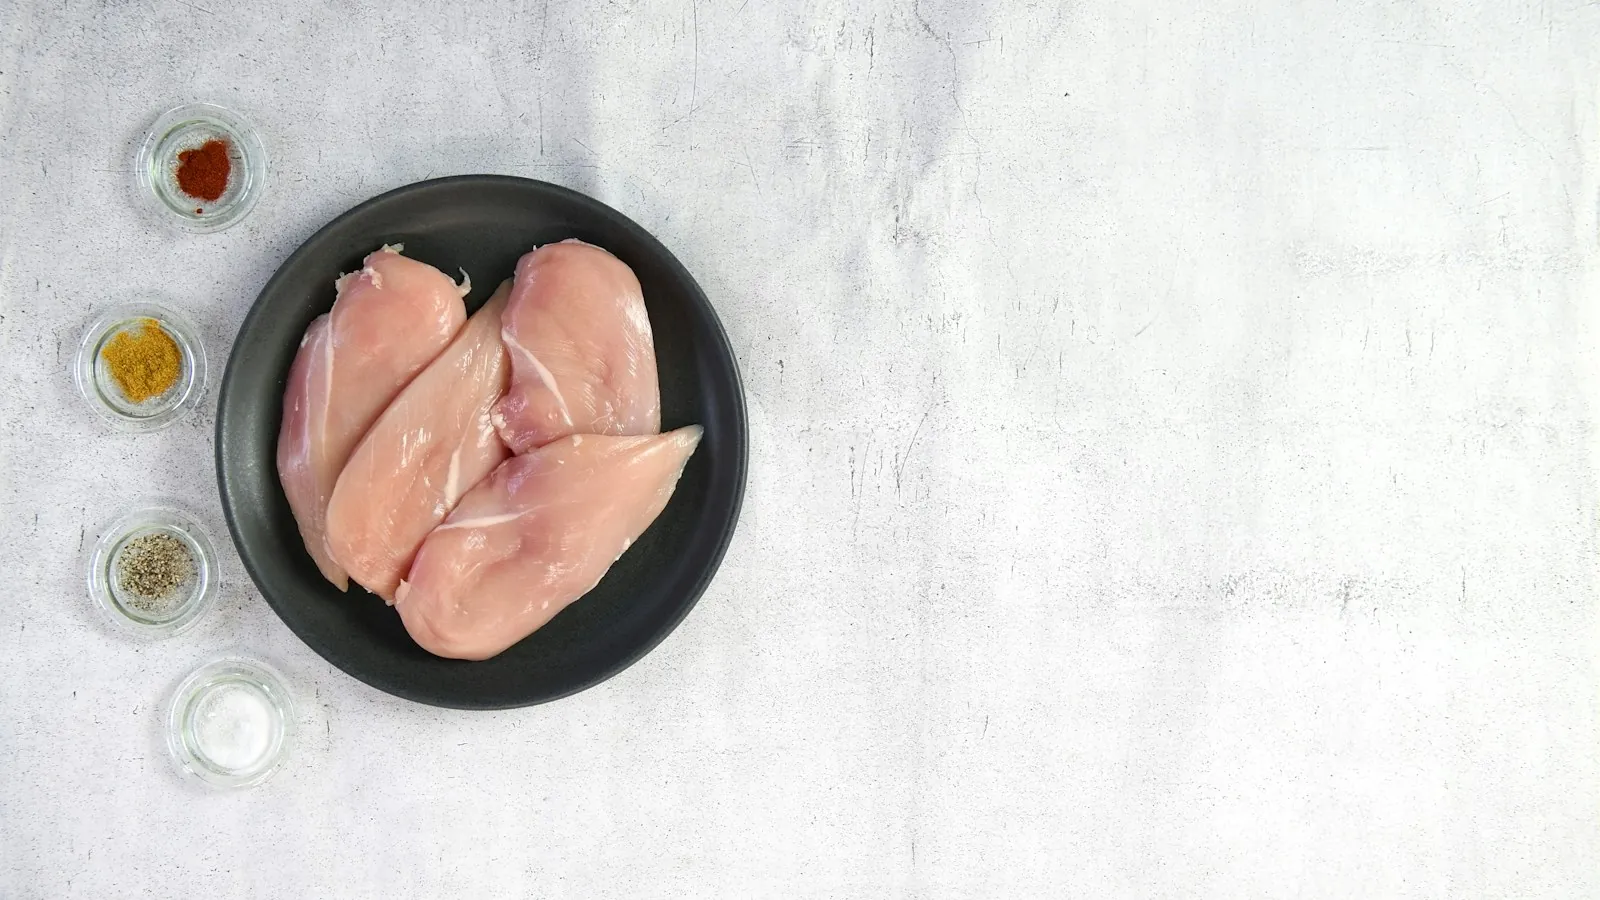
Pounding the breast to an even 3/4 inch fixes that. Put it in a zip-top bag or between sheets of plastic wrap and tap the thick end with a meat mallet, rolling pin, or the bottom of a heavy pan. Use gentle, even strokes; the goal is an even thickness.
For very large breasts (10 ounces and up), slicing them in half horizontally into two thinner cutlets works even better. Each piece cooks in 12 to 15 minutes at 425°F, and the texture stays tender all the way through.
Should you brine chicken breast before baking?
Brining gives you a buffer. Salt changes the structure of the muscle proteins so they hold on to more water as they cook, which means a brined breast that slightly overshoots 165°F still eats juicier than an unbrined one.
You have two easy options:
- Wet brine: Dissolve 1/4 cup kosher salt (Diamond Crystal) or 3 tablespoons Morton kosher salt in 4 cups of cold water. Soak breasts 30 minutes to 2 hours in the fridge. Longer than that and the texture turns spongy.
- Dry brine: Sprinkle about 1/2 teaspoon kosher salt per pound of chicken over all sides and refrigerate uncovered for 1 to 24 hours. The salt draws out moisture, dissolves in it, and gets reabsorbed.
Dry brining is less messy and helps browning because the surface ends up drier. If you skip brining entirely, salt the chicken at least 15 minutes before it goes in the oven. Even that short time helps the seasoning penetrate.
Pat brined chicken dry before oiling it. If you wet-brined, skip or reduce any salt in your spice rub.
How to bake chicken breast step by step
This is the method that works for most weeknights with 2 to 4 boneless breasts.
- Heat the oven to 425°F with a rack in the middle. Give it a full 15 minutes to preheat.
- Even out the thickness. Pound to about 3/4 inch, or slice large breasts in half horizontally.
- Season. Pat dry, rub with about 1 teaspoon of oil per breast, then season with salt, pepper, and whatever spices you like (paprika, garlic powder, and dried oregano is a reliable mix).
- Space them out. Use a rimmed sheet pan or a baking dish large enough that the breasts don't touch. Crowded chicken steams instead of roasting.
- Bake. Start checking at 15 minutes for 3/4-inch breasts, 18 minutes for 1-inch breasts.
- Pull at 160 to 162°F in the thickest part.
- Rest 5 minutes, loosely tented with foil, then confirm 165°F before slicing.
- Slice across the grain into 1/2-inch pieces. Cutting the fibers short makes each bite feel more tender.
Resting the meat finishes the cooking through carryover heat and lets the juices settle so less runs out onto the cutting board.
Should chicken breast bake covered or uncovered?
Uncovered, for nearly every situation. Foil traps steam, which keeps the surface pale and soft, and it doesn't make the inside juicier. Moisture loss in chicken comes from the proteins tightening as they heat, not from evaporation off the top.
Covering makes sense in one case: when you're baking chicken in a sauce, such as a casserole or chicken in tomato sauce, and you want to keep the liquid from reducing too much. Even then, uncovering for the last 10 minutes improves the color.
If the tops look like they're browning too fast on a thick breast, lay a loose sheet of foil over them for the final few minutes, but only when you need to.
What about frozen chicken breasts?
You can bake chicken breasts straight from frozen, and the USDA confirms it's safe as long as they reach 165°F. Plan on about 50 percent more time. An 8-ounce frozen breast at 400°F takes roughly 30 to 35 minutes instead of 20 to 24.
The texture won't be quite as good. The outside sits in the oven longer while the frozen core thaws, so you get a wider dry band. Individually frozen breasts work much better than a solid block, and seasoning sticks better if you brush on oil after the first 10 minutes.
When you have time, thaw overnight in the refrigerator, the same slow fridge thaw used for a holiday bird. For a faster thaw, seal the breasts in a zip-top bag and submerge them in cold water, changing the water every 30 minutes. Never thaw chicken on the counter, since the outside can sit in the 40 to 140°F danger zone where bacteria multiply quickly.
Why did my baked chicken still come out dry?
If the oven temperature was right and the chicken still turned out dry, one of these is the likely cause:
- Cooking by time alone. The time chart is a range because chicken breasts vary so much. A thermometer is the only reliable test.
- Cutting in to check. Slicing into a breast to look at the color lets juice escape, and color doesn't reliably tell you doneness anyway. Chicken can look slightly pink at 165°F or white well before it's safe.
- Skipping the preheat. Chicken that goes into a cold oven warms slowly and spends more time drying out before the surface ever browns.
- Baking in a deep dish packed tight. High sides and crowding trap steam and slow cooking.
- Slicing right away. Cutting immediately after the oven sends more juice onto the board.
How to store and reheat leftovers without drying them out
Refrigerate cooked chicken within 2 hours of taking it out of the oven (1 hour if your kitchen is above 90°F). Stored in a covered container, it keeps 3 to 4 days in the fridge or about 4 months in the freezer for best quality.
Reheating is where a lot of good chicken gets ruined. Leave the breast whole if you can, add a tablespoon of broth or water to the dish, cover it, and warm it at 325°F for 10 to 15 minutes until it reaches 165°F. In the microwave, use 50 percent power and cover the dish with a damp paper towel.
Cold, sliced leftovers are often better used cold: on salads, in wraps, or stirred into a simmering chicken soup right at the end so they only heat through.
 What juicy baked chicken breast looks like inside
Juiciness is easy to lose by a few degrees, and a pale or dry-looking cut tells you more than a timer does. Downshiftology shows the breast from seasoning through slicing.
BAKED CHICKEN BREAST | juicy, tender, easy, and oh, so flavorful!
By Downshiftology on YouTube. Their method may vary a little from ours. Watch on YouTube
- Notice how the breast is spread out on the pan with space around it, rather than crowded together.
- Watch for the thermometer reading near 160 to 162°F, then compare it with the 165°F target after resting.
- Compare the sliced surface with the advice above on resting; juices that stay in the meat mean the rest was long enough.


