Techniques
What Keeps Breading From Falling Off Chicken When You Fry It?
 By the CookClear writers
Checked against test kitchen and food science sources
 Clear Answer
Pat the chicken dry, shake off the excess at every stage, press the final coat on firmly, and rest the breaded pieces on a rack in the fridge for at least 30 minutes before frying. Breading falls off when wet chicken, loose flour between the meat and coating, or skipping that rest keeps it from bonding.
The rest of the problems come from what happens in the pot: crowding, flipping too early, and poking at the pieces with tongs. Each one is easy to spot once you know what to look for.
What holds the coating on?
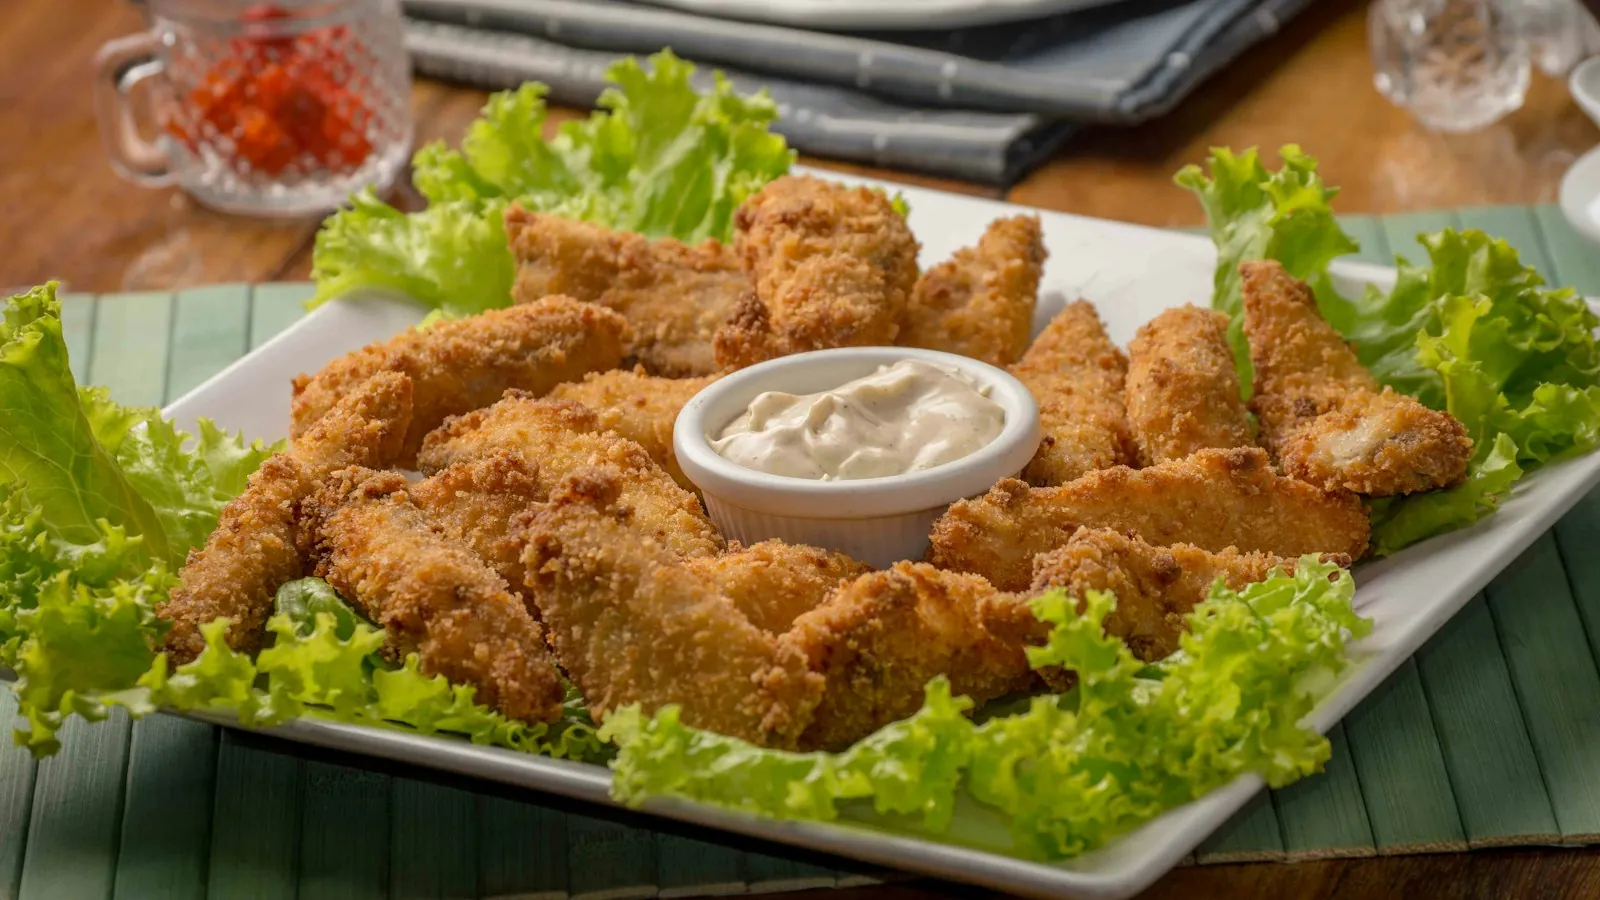
Breading sticks to chicken because of a thin layer of glue between the meat and the crust. In a standard setup, that glue is flour hydrated by the moisture on the chicken, then egg or buttermilk, then the outer flour or crumbs. When everything bonds into one layer, it fries into a single shell that moves with the meat.
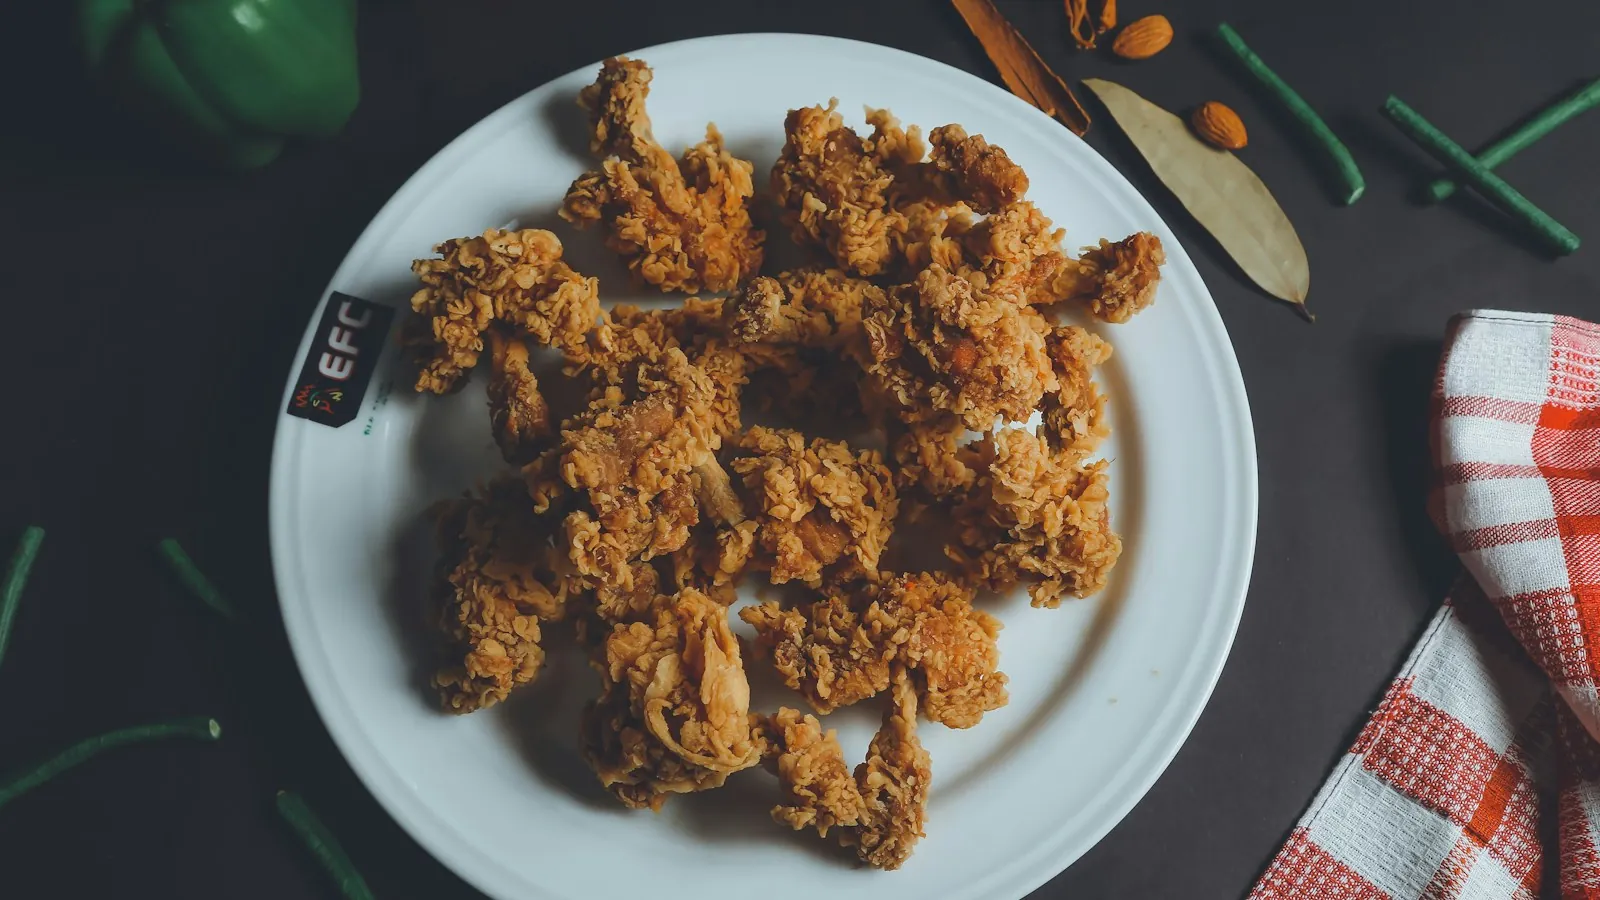
When it fails, the shell forms but never attaches. Steam from the chicken builds up underneath, pushes the crust away, and you get that sad moment when the whole coating lifts off in one piece and the bare chicken slides out like a hand from a glove.
The goal: no slippery layer underneath, no thick pasty layer underneath, and a coating that has had time to set before it meets hot oil.
The usual causes, side by side
| What you see | Most likely cause | Fix |
|---|---|---|
| Coating peels off in one big sheet | Chicken wasn't dried, or skin was slick with marinade | Pat dry with paper towels before the first dredge |
| Gummy, pasty layer under the crust | Too much flour in the first coat | Shake off excess until only a thin dusting remains |
| Bald patches after frying | Breading wasn't pressed on, or pieces touched in the pan | Press the final coat firmly; leave space between pieces |
| Crust flakes off when you flip | Turned too early, or flipped with tongs gripping the crust | Wait until the bottom is set and golden; turn gently |
| Coating soggy and slipping off on the plate | Oil too cool, or pot crowded | Fry in smaller batches at about 350°F; drain on a rack |
| Coarse crumbs falling off in bits | Crumbs too large to bond | Crush crumbs finer, or use panko pressed in well |
Usually two of these happen at once, most often wet chicken plus no rest.
Does the chicken really need to be dry first?
Yes, and this is the step people skip most often. A wet surface forms a slick film that flour can't grip. The flour turns to paste in spots and stays loose in others, and neither bonds well.
If you brined the chicken or soaked it in a thin marinade like soy sauce or pickle juice, lift each piece out, let it drip, then pat it with paper towels. You want the surface tacky, not glistening.
Buttermilk is the exception that confuses people. For Southern-style chicken, you go straight from the buttermilk into seasoned flour without drying, and that works because buttermilk is thick and clingy. It acts as the glue itself. A thin, watery marinade doesn't do the same job.
How thick should each layer be?
Thinner than you think, at least at the start. The first flour layer only needs to be a dry dusting, enough to soak up surface moisture and give the egg something to hold. If you can see clumps or a white crust of loose flour, tap the piece against the side of the bowl until most of it falls away.
Loose flour under the egg causes a lot of failed breading. It never hydrates, so it stays powdery, and powder makes a slip layer. The whole crust floats on it.
The egg layer should also be thin. Let each piece drip for a few seconds before it goes into the final coating. A heavy, dripping egg layer turns gummy and steams the coating off from the inside.
The final layer, whether seasoned flour, crumbs, or panko, is where you can be generous. Press it on with your palm instead of just rolling the piece around.
A dredging setup that holds
Here's the order that keeps coatings in place for cutlets, tenders, and bone-in pieces alike:
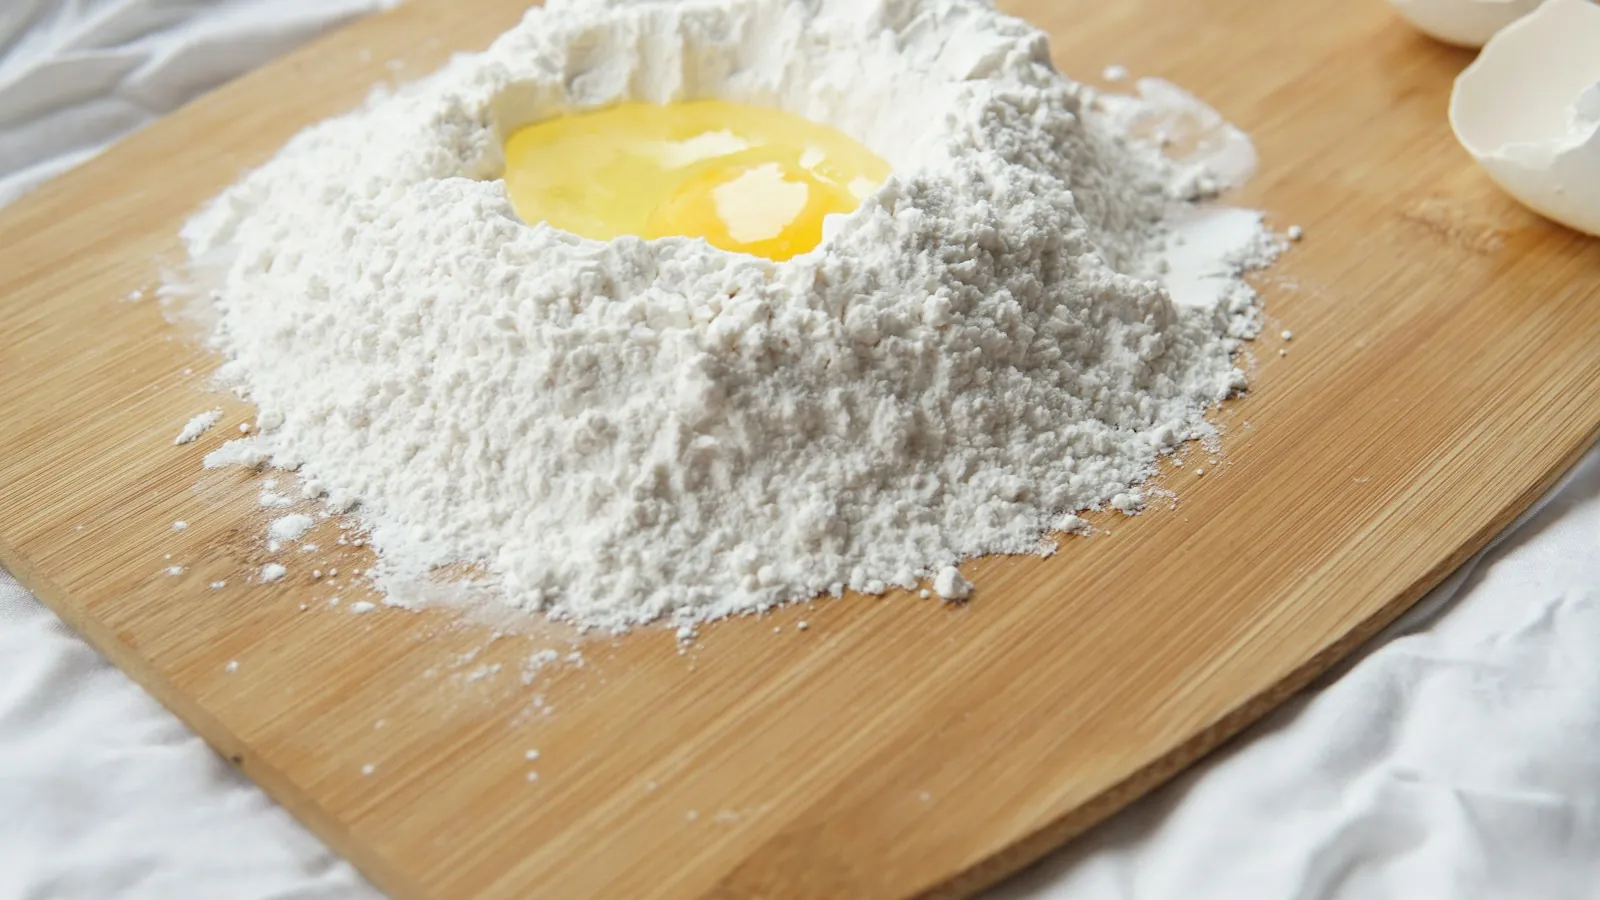
- Dry the chicken. Pat every piece with paper towels until the surface no longer shines.
- Season the meat or the flour. Salt in the flour is fine. Salting the meat long in advance is fine too, but pat it dry again since salt pulls moisture to the surface.
- Dust with flour and shake hard. Aim for a thin, even, almost translucent layer.
- Dip in egg wash or buttermilk. Let it drip for a few seconds over the bowl.
- Press into the final coating. Pile coating over the top, press down with your palm, flip, and press again.
- Set on a wire rack. A rack over a sheet pan lets air reach the bottom so the underside doesn't go soggy.
- Rest in the fridge for at least 30 minutes. You can bread a few hours ahead and keep it chilled until you fry, well within how long raw chicken keeps.
Use one hand for the dry bowls and the other for the wet bowl. It keeps your fingers from building up a thick paste of flour and egg that tears the coating off as you handle each piece.
Why resting the breaded chicken makes such a difference
Fresh breading is just dry bits sitting on a damp surface. Given some time, moisture from the chicken and the egg works its way into the flour and crumbs, hydrating the starch. That turns the separate layers into one sticky, cohesive coat.
Meanwhile, the cool, dry air of the refrigerator dries the outside slightly. You end up with a coating that is bonded to the meat underneath and a little firm on the surface, which is what you want going into the oil.
Thirty minutes is a good minimum. If you're short on time, even 10 or 15 minutes on the counter helps compared with frying straight from the bowl, but keep raw chicken out of the fridge for well under the USDA's 2-hour limit, and less than 1 hour if your kitchen is above 90°F.
For crunchy Southern-style chicken, many cooks also drizzle a few tablespoons of buttermilk into the dry flour and rub it in with their fingers to form little clumps. Those shaggy bits cling to the chicken and fry into the craggy texture you see at fried chicken shops. Resting still helps that style stick.
What you do in the pot matters too
You can bread perfectly and still lose the coating once the chicken hits the oil. These are the frying habits that cause it.
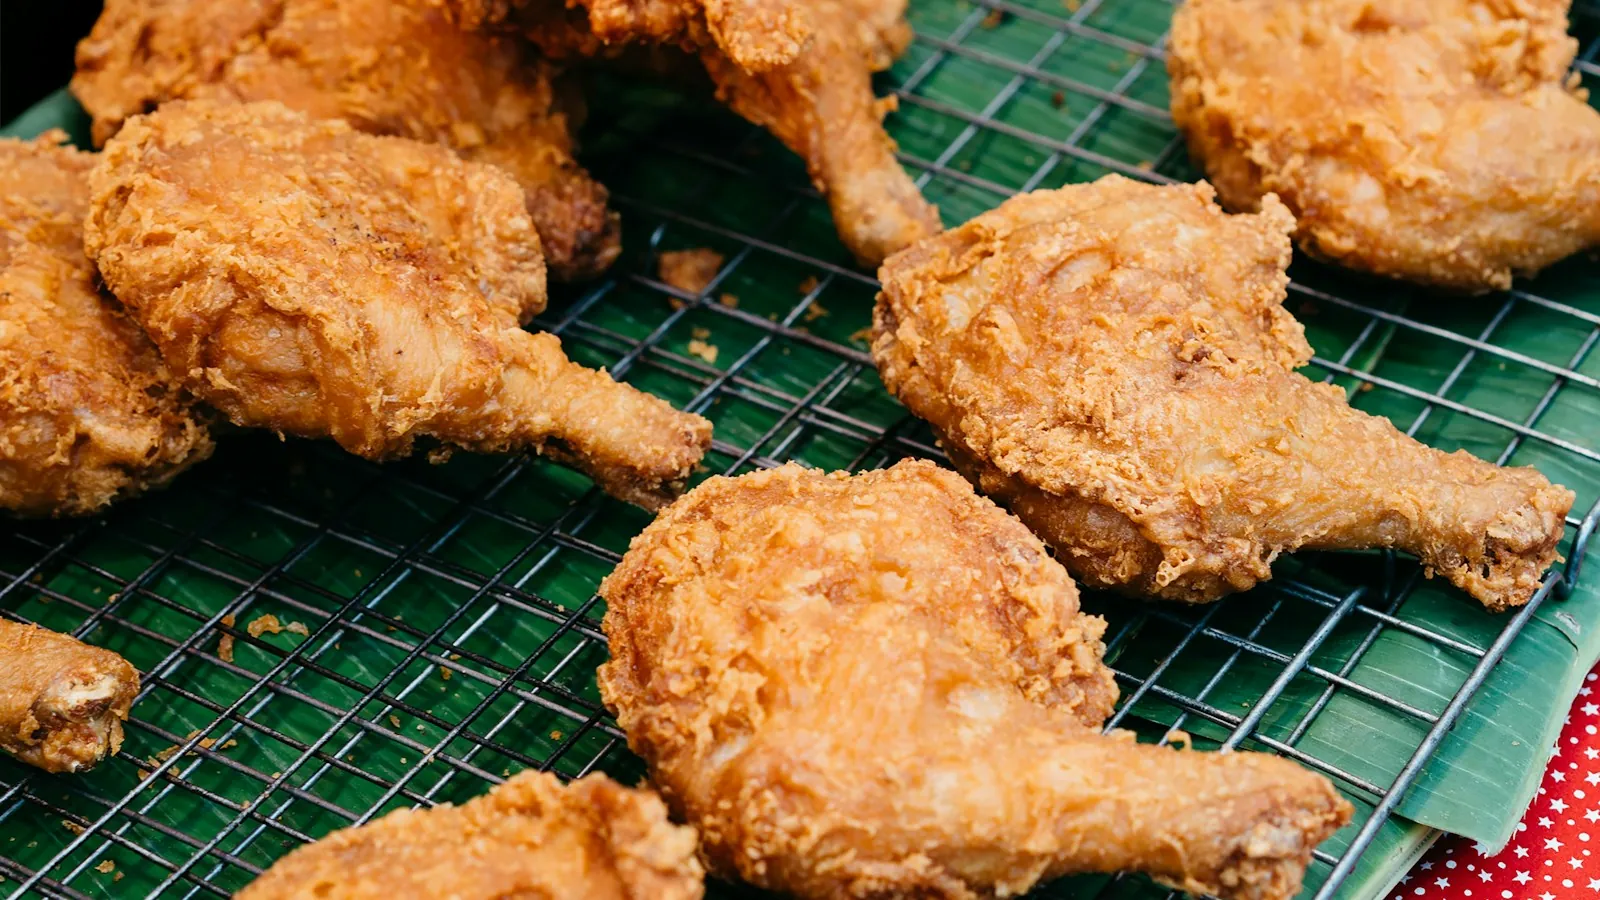
Crowding the pot. Too many pieces at once drops the oil temperature, so the crust sits in lukewarm oil, absorbs grease, and softens instead of setting. Fry in batches with space between pieces, and let the oil recover before the next round. Most fried chicken recipes aim for around 350°F. No thermometer? A wooden spoon or a cube of bread will tell you when the oil is hot enough.
Moving the pieces too soon. The first minute or two is when the crust sets. If you nudge, flip, or stir during that window, the soft coating smears off against the pan or the other pieces. Lay each piece in, away from you, and leave it alone until the underside is golden and releases easily.
Pieces touching each other. When two pieces press together in the oil, they fuse slightly. Pulling them apart later rips off a patch of breading from both.
Grabbing with tongs. Tongs pinch through a delicate crust. Use a spider or slotted spoon to lift and turn, or grip by the bone end on drumsticks and wings.
Flipping more than needed. One turn is usually enough for cutlets and tenders. Bone-in pieces may need a couple, but each flip is a chance for damage, so keep them few.
Does the type of chicken change anything?
A little. Skin-on pieces have their own fat and loose skin, and the breading sticks to the skin rather than the meat. If the skin slides around on the piece, the coating goes with it. Patting the skin very dry and pressing the coating into all its folds helps. If you'd rather skip the coating, crisping thigh skin on its own works well.
Boneless, skinless cutlets are smoother and more prone to the sheet-peel problem, because there's nothing textured to grab. These benefit most from a thorough pat-dry, a thin flour layer, and a full rest.
Thick pieces cause trouble too. A thick breast takes a long time to cook through, so the outside fries much longer and the steam pressure under the coating keeps building. Pounding breasts to an even thickness, or cutting them into tenders, shortens the cook time and puts less stress on the crust.
Whatever you fry, it needs to reach 165°F inside, the USDA safe minimum for poultry. Check the thickest part with an instant-read thermometer, away from the bone.
When should you use batter instead of breading?
If you keep fighting with a dredge on a particular cut, a wet batter is an alternative. Batter, like the kind for tempura or beer-battered chicken, wraps the piece in a continuous liquid coat that sets almost instantly in hot oil. There's no separate glue layer to fail.
The tradeoff is texture. Batter gives a smoother, lighter shell, while a dredge gives the craggy crunch most people want from fried chicken. For a dredge with some batter-like grip, a common middle path is to dip in seasoned flour, then a thin batter of flour, egg, and water, then back into the flour. That double coat holds tightly and still fries up rough and crunchy. That double coat is a good one to learn alongside other frying techniques.
A few smaller things that help
Some details won't fix a coating on their own, but they tip the odds in your favor:
- Cornstarch in the flour. Swapping a portion of the flour for cornstarch makes a crisper, lighter shell that sets faster in the oil.
- Finer crumbs. If you use breadcrumbs, crush large or uneven ones in a bag. If you're out, other crumb options work too. Small crumbs bond better than big chunks.
- Room to drain. Set fried pieces on a wire rack, not a plate. Trapped steam under a piece softens the bottom crust and loosens it.
- Fresh dredge. Once the flour bowl gets lumpy with egg and buttermilk drips, sift it or start a fresh batch. Wet clumps stick unevenly and fall off as pellets.
- Cold chicken into hot oil. Chicken straight from the fridge after resting holds its coating better than chicken that has warmed up and gone sweaty on the counter.
 Is your chicken coating set before it hits the oil?
Whether a coating will stay put is easier to judge by watching the handling than by reading about it. Chef John of Food Wishes takes a buttermilk fried chicken from dredge to finish.
Buttermilk Fried Chicken
By Food Wishes on YouTube. Their method may vary a little from ours. Watch on YouTube
- Notice how firmly the final coating is pressed on, and compare it with the palm press and flip described in the dredging order.
- Compare the thickness of the flour layer with the thin, almost translucent dusting recommended before the egg or buttermilk.
- Watch how the pieces are handled in the pot, and check whether crowding, early flipping, or poking with tongs happens.