 Cooking Times
How Long Do You Roast a Whole Chicken, and How Do You Check the Thigh?
 By the CookClear writers
Checked against USDA safe temperatures and test kitchen timing
 Clear Answer
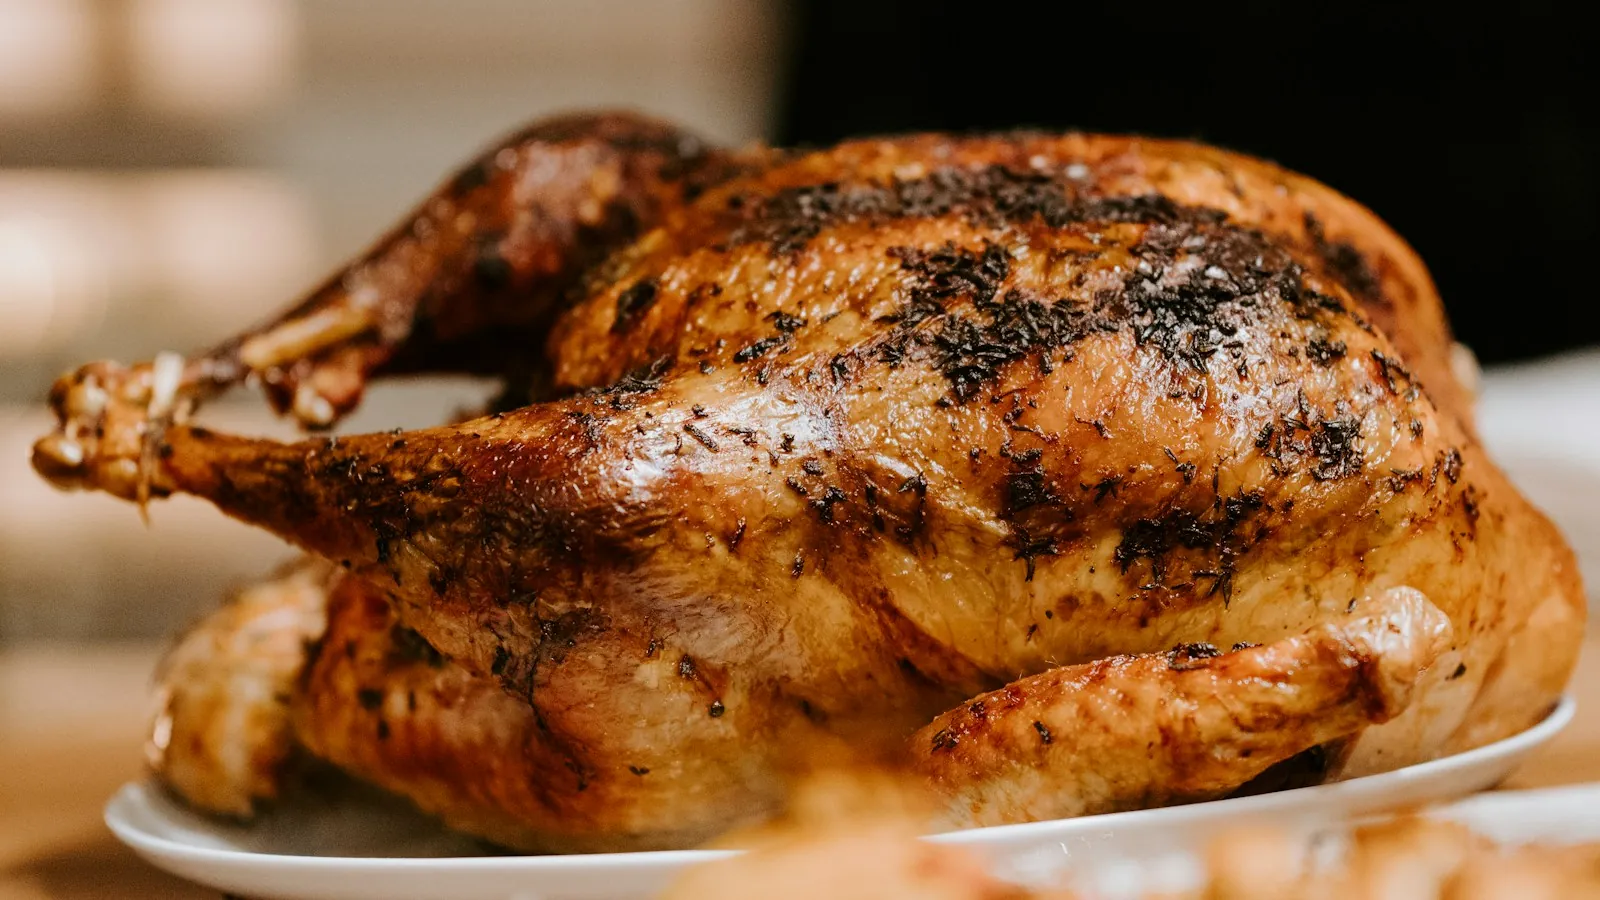
A typical 3 to 4 pound whole chicken takes about 1 1/4 to 1 1/2 hours at 350°F, according to USDA's roasting chart, and a 5 to 7 pound roaster takes 2 to 2 1/4 hours. The thigh is done, for safety, when a thermometer in its thickest inner part reads 165°F. For the best texture, though, most test kitchens pull the bird when the thigh hits about 175°F.
Use the clock to know when to start checking and the thermometer to know when to stop, since any chart of cooking times is an estimate.
Roasting times by bird size
These are USDA's figures for an unstuffed whole chicken at 350°F. Treat them as the window when you start checking.
 On the menu10 questions
| Bird | Weight | Time at 350°F (unstuffed) |
|---|---|---|
| Cornish hen | 18 to 24 oz | 50 to 60 minutes |
| Broiler-fryer (standard grocery chicken) | 3 to 4 lb | 1 1/4 to 1 1/2 hours |
| Roasting hen | 5 to 7 lb | 2 to 2 1/4 hours |
| Capon | 4 to 8 lb | 2 to 3 hours |
If you stuff the bird, USDA says to add 15 to 30 minutes, and the stuffing itself has to reach 165°F too. That's one reason a lot of cooks skip stuffing the cavity and bake the dressing in a separate dish. The bird cooks faster and more evenly when hot air can move through it.
Plenty of recipes roast hotter than 350°F for browner skin, and that shortens the time. America's Test Kitchen's weeknight method, for example, puts a 3 1/2 to 4 pound chicken into a 450°F oven in a preheated skillet for 25 to 35 minutes, then turns the oven off and lets it coast another 25 to 35 minutes. Whatever the oven temperature, the thermometer reading decides when it's done. When you're planning for a crowd, allow more per person for a whole bird than for boneless cuts, since bones and skin count toward the weight.
Why is the thigh the part you check?
The thigh is the thickest, densest muscle on the bird, and it sits tucked against the body where heat reaches it last. On a whole chicken, the breast usually races ahead while the thigh lags behind. If the thigh is done, the rest of the bird almost always is.
USDA's instructions say to check the innermost part of the thigh and wing and the thickest part of the breast. In practice, the thigh is your deciding reading and the breast is your "am I overcooking this" reading.
Where exactly to put the thermometer in a whole chicken
Where you put the probe counts for more than which thermometer you own. A reading taken in the wrong spot can be off by a lot in either direction.
- Find the inner thigh. Look at the spot where the thigh meets the body, on the inside, toward the breast. That's the thickest, slowest-cooking meat.
- Go in from the side, parallel to the bone. Push the probe in horizontally so the tip ends up in the middle of the meat, not poking out the other side.
- Stay off the bone. Bone conducts heat differently and will give you a false reading. If you hit bone, pull back a little.
- Check both thighs. The side of the bird that faced the back of your oven is often hotter. Go with the lower number.
- Take a breast reading too. Insert at the thickest part, from the neck end, aiming for the center.
If you use a leave-in probe, set it in the thigh before the chicken goes in the oven. You won't need to open the door to check, which keeps the oven hot.
165°F or 175°F: what "done" means for dark meat
165°F is USDA's safe minimum for all poultry, white meat and dark. At 165°F the thigh is safe to eat. It's just not at its best yet.
Dark meat has more connective tissue and fat than breast meat. At 165°F the thigh can still feel a little rubbery and cling to the bone. Take it higher and that tissue keeps softening, so the meat turns tender and pulls away cleanly. America's Test Kitchen's standard is 160°F for the breast and 175°F for the thighs.
Some cooks go further. In a Milk Street piece, the writer roasted thighs to 175°F and to 195°F and found the hotter thigh better in both texture and flavor. That kind of temperature works great for braised or separately cooked legs. On a whole bird, though, waiting that long will dry out the breast.
| Part | Safe minimum (USDA) | Common target for best texture |
|---|---|---|
| Breast | 165°F | about 160°F, per ATK |
| Thigh | 165°F | about 175°F |
A note on that 160°F breast target: USDA's guidance for poultry is 165°F. Test kitchens that pull the breast at 160°F are counting on the meat continuing to climb a few degrees while it rests, and on the thigh being well above 165°F anyway. If you want to follow the safety number to the letter, wait for 165°F in the breast.
Can you trust clear juices or a wiggly leg?
Not really. The old rules (juices run clear, the leg wiggles freely, the meat isn't pink) are the reasons a lot of roast chickens end up underdone or overcooked.
America's Test Kitchen tested the clear-juice rule directly. In one bird, the juices ran clear when the breast was only 145°F and the thigh 155°F, well short of done. In another bird, cooked to 170°F in the breast and 180°F in the thigh, the juices still came out pink. The color comes from myoglobin, a protein whose color change depends on things like how the chicken was raised and processed. It doesn't track temperature closely enough to rely on.
Meat color near the bone is just as unreliable a signal, for the same reason. A loose leg joint is a reasonable hint that you're getting close, and nothing more. If you don't have a thermometer yet, this is the dish that justifies buying one.
Why the breast is overcooked by the time the thigh is ready
This is the central problem with roasting a whole bird. You want the breast at 160 to 165°F and the thighs at 175°F, but they're attached to each other and they sit in the same oven. A few tricks close the gap:
- Start in a preheated pan. ATK's weeknight method sets the chicken in a skillet that's already hot, so the thighs, which touch the metal, get a head start on the breast.
- Spatchcock it. Cutting out the backbone and flattening the bird puts the legs out at the edges where they get more heat, and the whole thing cooks faster. The Milk Street writer notes even this doesn't fully solve the gap, but it helps.
- Let the breast start cold. Some cooks rest a bag of ice on the breast for a short while before roasting so it starts cooler than the legs.
- Turn the bird. Starting it on one side, then the other, then breast up, gets more direct heat to the legs early.
If you mostly cook thighs on their own and want the skin shattering crisp, a hotter, drier setup gives you crackly chicken thigh skin. And if breasts are your usual weeknight cut, they cook much faster: baking chicken breast at 425°F takes about 16 to 22 minutes.
How long should the chicken rest?
Rest a whole chicken before carving. ATK's weeknight recipe calls for 20 minutes uncovered on a carving board. Leaving it uncovered keeps steam from softening the skin you worked to brown.
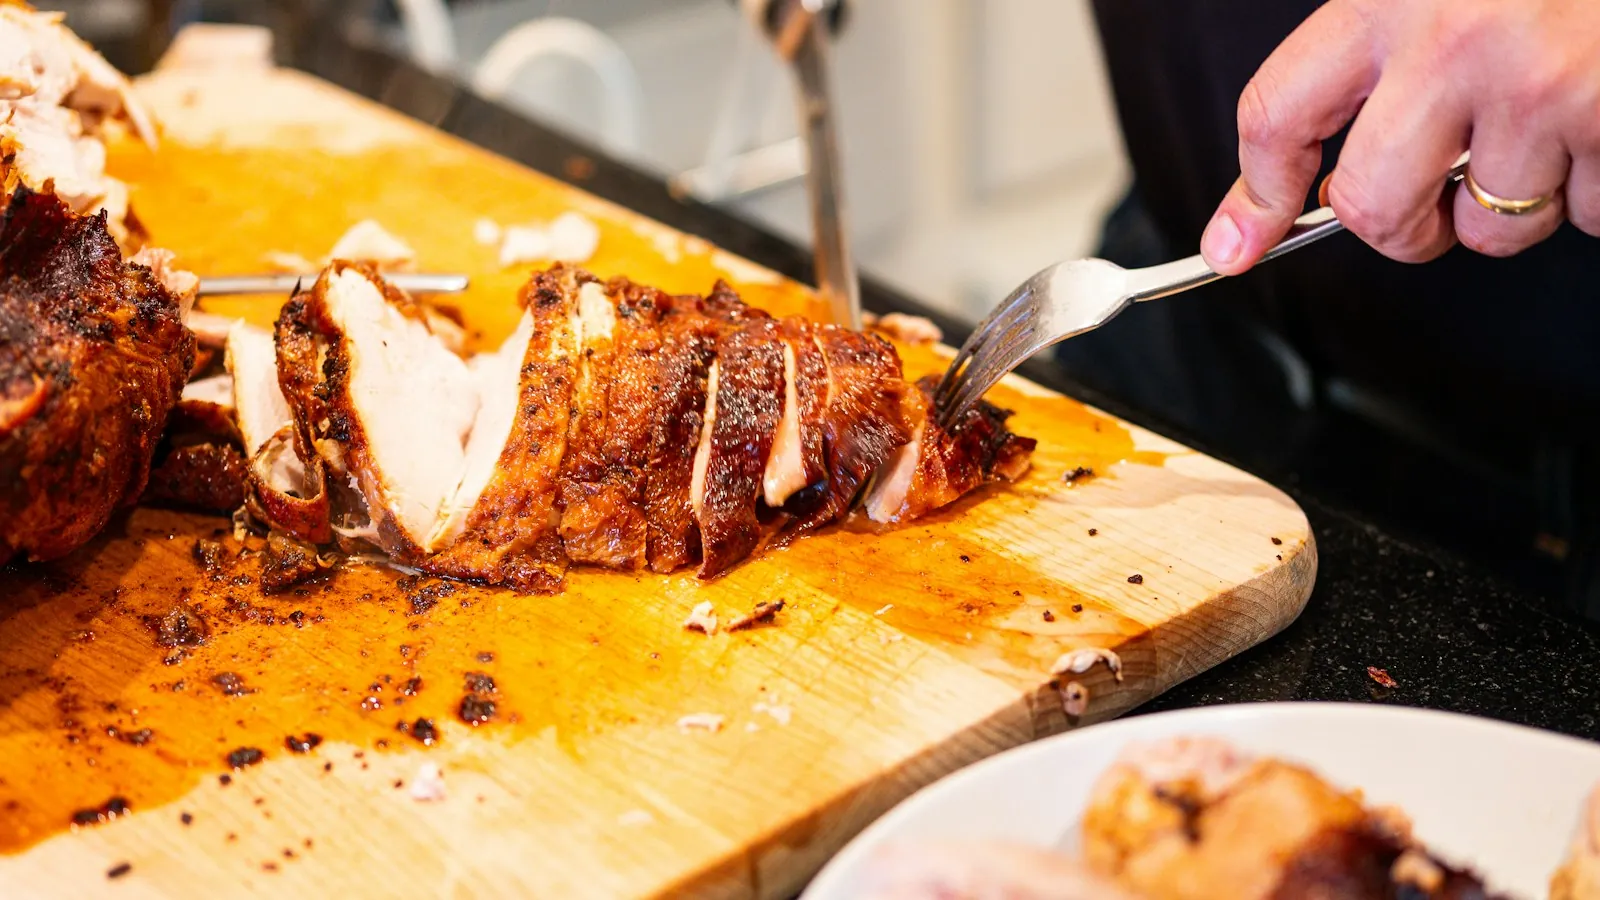
Resting does two things, much as it does for a steak off the grill. Juices that were pushed toward the center have a chance to settle, so less of them run onto the board when you cut. The temperature also keeps climbing a little from leftover heat in the outer layers, which is why recipes often pull the bird a few degrees shy of the target. Use your thermometer after resting if you want to confirm.
Twenty minutes also happens to be about how long it takes to make a pan sauce from the drippings or finish a side.
What if the thigh isn't done but the breast is?
It happens, especially with bigger birds or ovens that run cool. You have a few options, and none of them require putting the whole bird back in for 20 minutes.
- Carve off the legs and return them to the oven. Separate the leg quarters at the joint, set them skin side up on a sheet pan, and roast until the thigh reads 175°F. The breast can rest meanwhile.
- Tent the breast with foil. If you'd rather keep the bird whole, shield the breast loosely and keep roasting. Foil slows browning and heat on top while the thighs catch up.
- Finish leg pieces in a hot pan. Skin side down in a skillet over medium heat works well for a small amount of leftover pink.
Keep track of time, too. If the carved chicken is sitting out, USDA's 2-hour rule applies: cooked poultry shouldn't be at room temperature, in the 40 to 140°F danger zone, for more than two hours.
Quick checklist for your next roast chicken
- Pat the bird dry (after thawing it in the fridge, if frozen) and let the oven preheat fully.
- Use USDA's chart for a starting window: 1 1/4 to 1 1/2 hours at 350°F for a 3 to 4 pound chicken, less at higher temperatures.
- Start checking the inner thigh 15 to 20 minutes before the low end of that window.
- Pull it when the thigh reads 165°F minimum, ideally around 175°F, and the breast is at least 160 to 165°F.
- Rest it uncovered, about 20 minutes, then carve.
 Judging a roast chicken by thigh, not clock
Doneness on a whole bird is hard to judge from numbers alone, because the skin color and leg movement look convincing long before the thigh is ready. Seeing where the probe goes and how the bird looks at the finish makes the breast and thigh problem easier to picture.
How to Properly Roast a Chicken | Kenji's Cooking Show
By J. Kenji López-Alt on YouTube. Their method may vary a little from ours. Watch on YouTube
- Notice where the thermometer enters the inner thigh and compare that spot with the placement steps above, parallel to the bone.
- Compare the skin color with the 165°F and 175°F thigh targets, and remember that color alone does not tell you the number.
- Look for how the cook handles the breast so it does not dry out while the thigh catches up.


