 Techniques
What's the Trick to Crispy Chicken Thigh Skin With Juicy Meat Inside?
 By the CookClear writers
Checked against test kitchen and food science sources
 Clear Answer
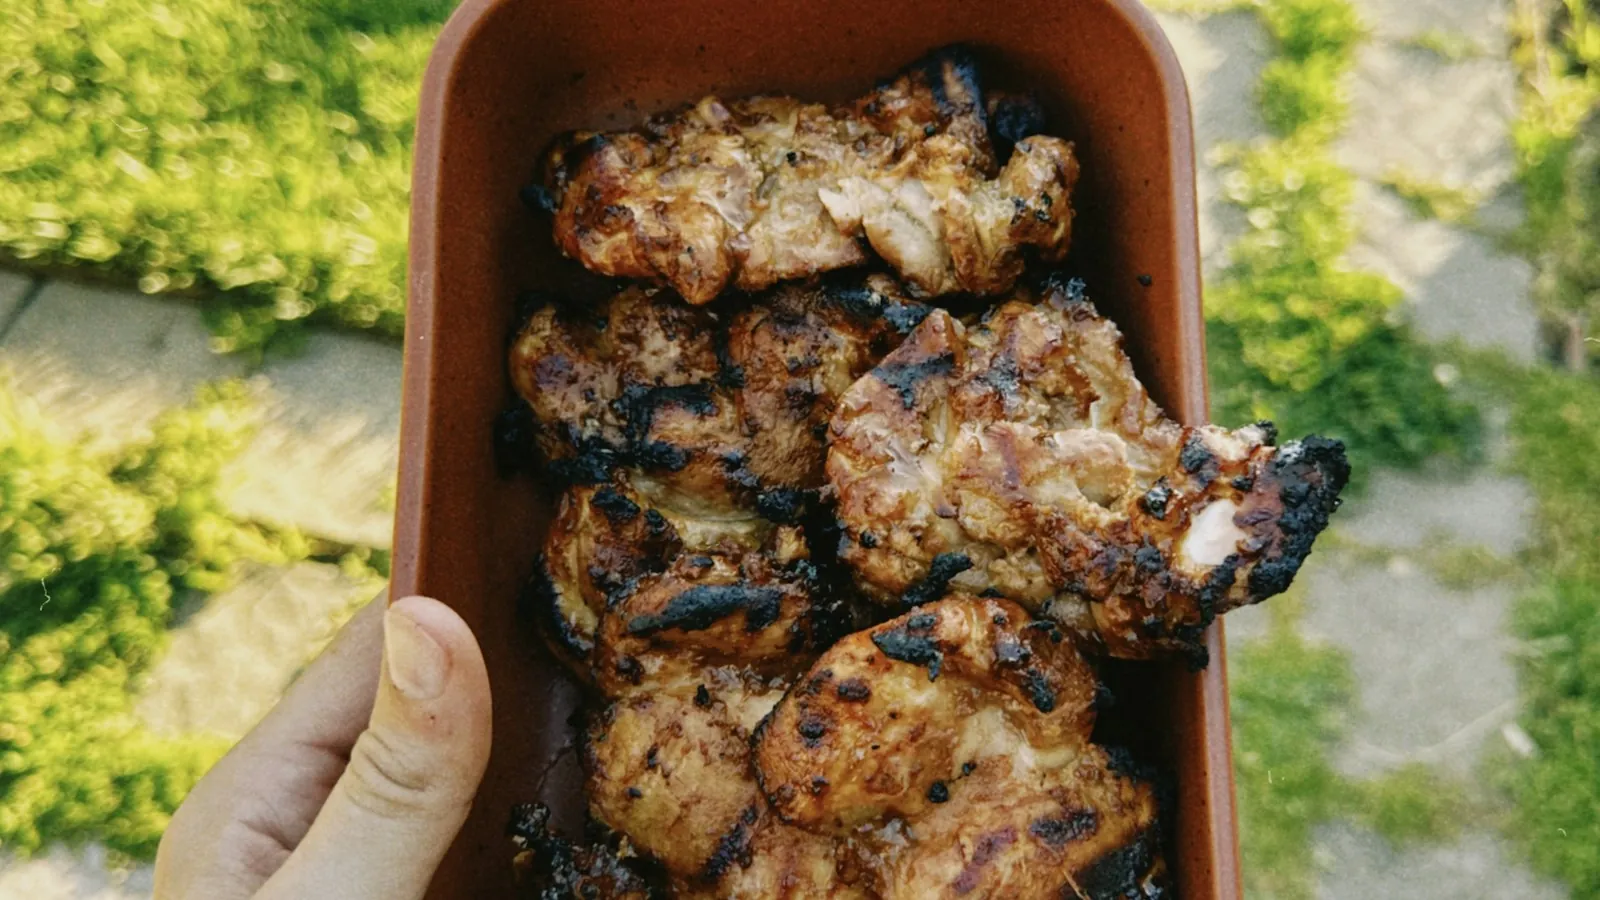
The trick is bone dry skin, salted at least a few hours ahead, then rendered slowly skin side down in a cold pan or a hot oven until the fat melts out and the skin turns brittle. Thighs are safe at 165°F but stay juicy and get more tender up to about 175 to 190°F. That extra window gives the skin time to crisp.
The more common problem is flabby, chewy skin on a thigh pulled off the heat too early for fear of overcooking it.
Why doesn't thigh meat dry out the way breast meat does?
Thigh meat is dark meat. It has more fat and a lot more connective tissue (collagen) than breast meat. When collagen is held at higher temperatures for a while, it melts into gelatin, which coats the muscle fibers and makes the meat taste moist even as it loses some water.
 On the menu9 questions
Breast meat has very little collagen to fall back on, so every degree past 160 to 165°F makes it drier. A thigh at 165°F is safe but can still feel a little rubbery near the bone. At 175 to 185°F it turns tender and juicy. Many cooks push bone-in thighs to 190°F or even 195°F with good results.
The skin needs time to render, and thigh meat can take that time without drying out.
| Internal temp | What thigh meat is like |
|---|---|
| 165°F | Safe (USDA minimum for all poultry). Can be slightly springy near the bone. |
| 170 to 175°F | Juicy, more tender, fully opaque. Good target for boneless thighs. |
| 175 to 190°F | Most cooks' sweet spot for bone-in thighs. Collagen has softened. |
| 195°F and up | Starts to get stringy and dry around the edges, especially on boneless. |
Check the temperature in the thickest part of the thigh, close to but not touching the bone. Bone conducts heat differently and throws off the reading.
What actually makes chicken skin crisp?
Raw chicken skin is mostly water, fat, and protein. To get it crackly you need to do three things: drive off the water, melt out as much fat as you can, and brown what's left.
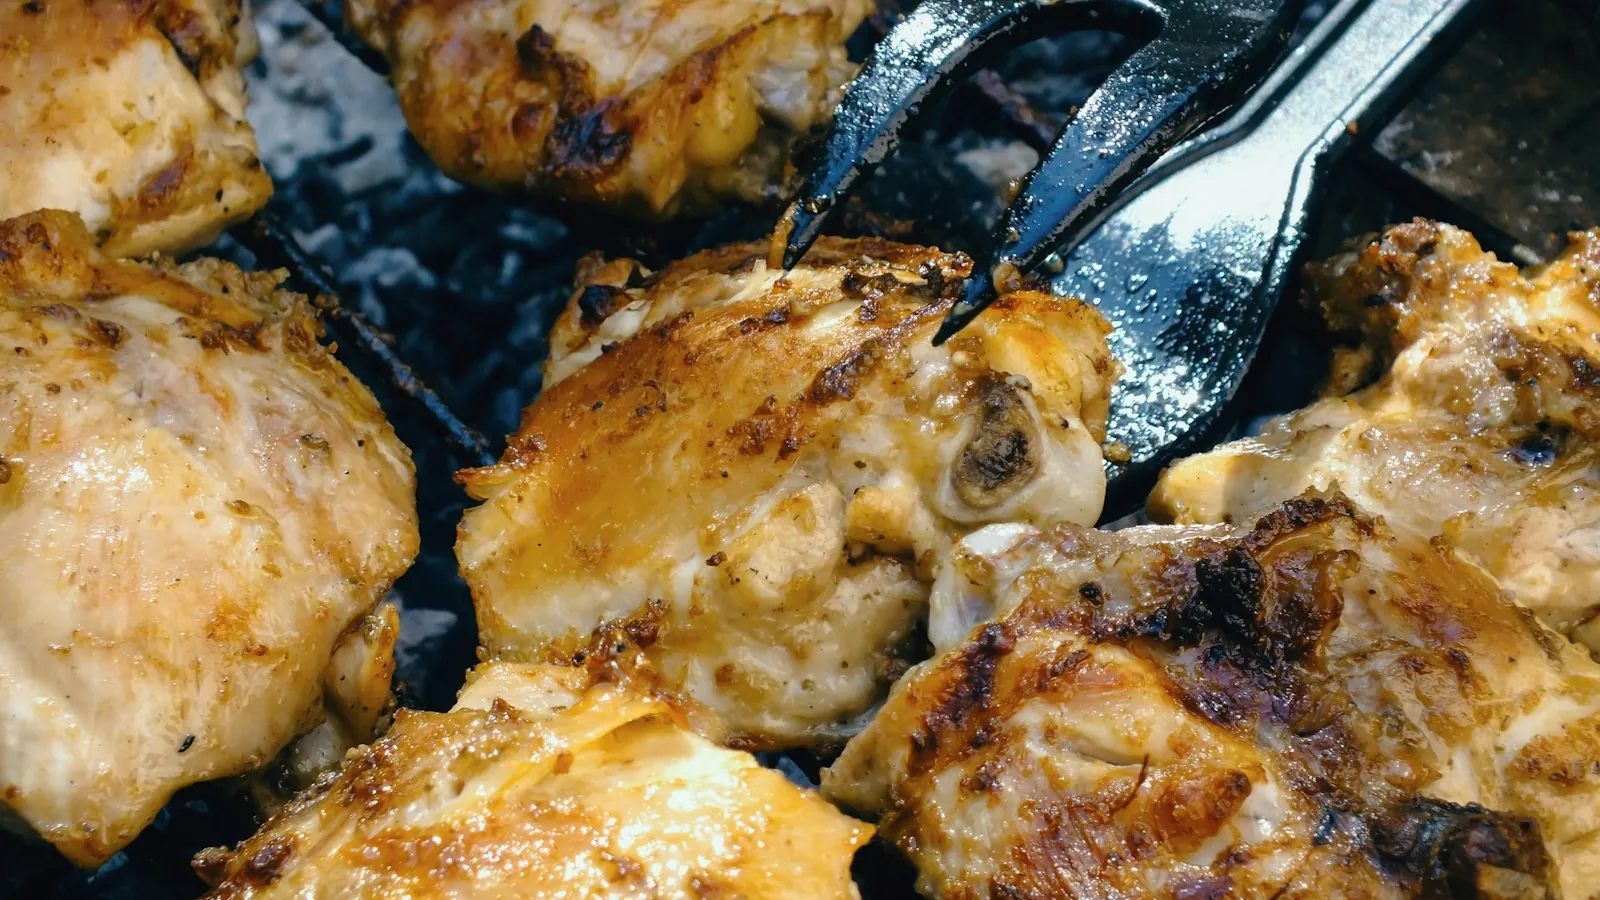
Water is the main enemy. As long as there's moisture in or on the skin, its temperature stalls around the boiling point (212°F), and browning reactions need higher heat than that to really get going. That's why wet skin steams and turns pale and leathery before it ever crisps.
Fat is the second problem. Thigh skin sits on a thick layer of fat. If you cook fast and hot, the surface browns before that fat has melted out, and you end up with skin that looks good but is soft and greasy underneath. Slow, steady heat from below lets the fat render into the pan, and then the thin skin that remains fries in its own fat.
How should you prep the skin before cooking?
A thigh that goes into the pan dry and salted will crisp far more easily than one taken straight from the package.
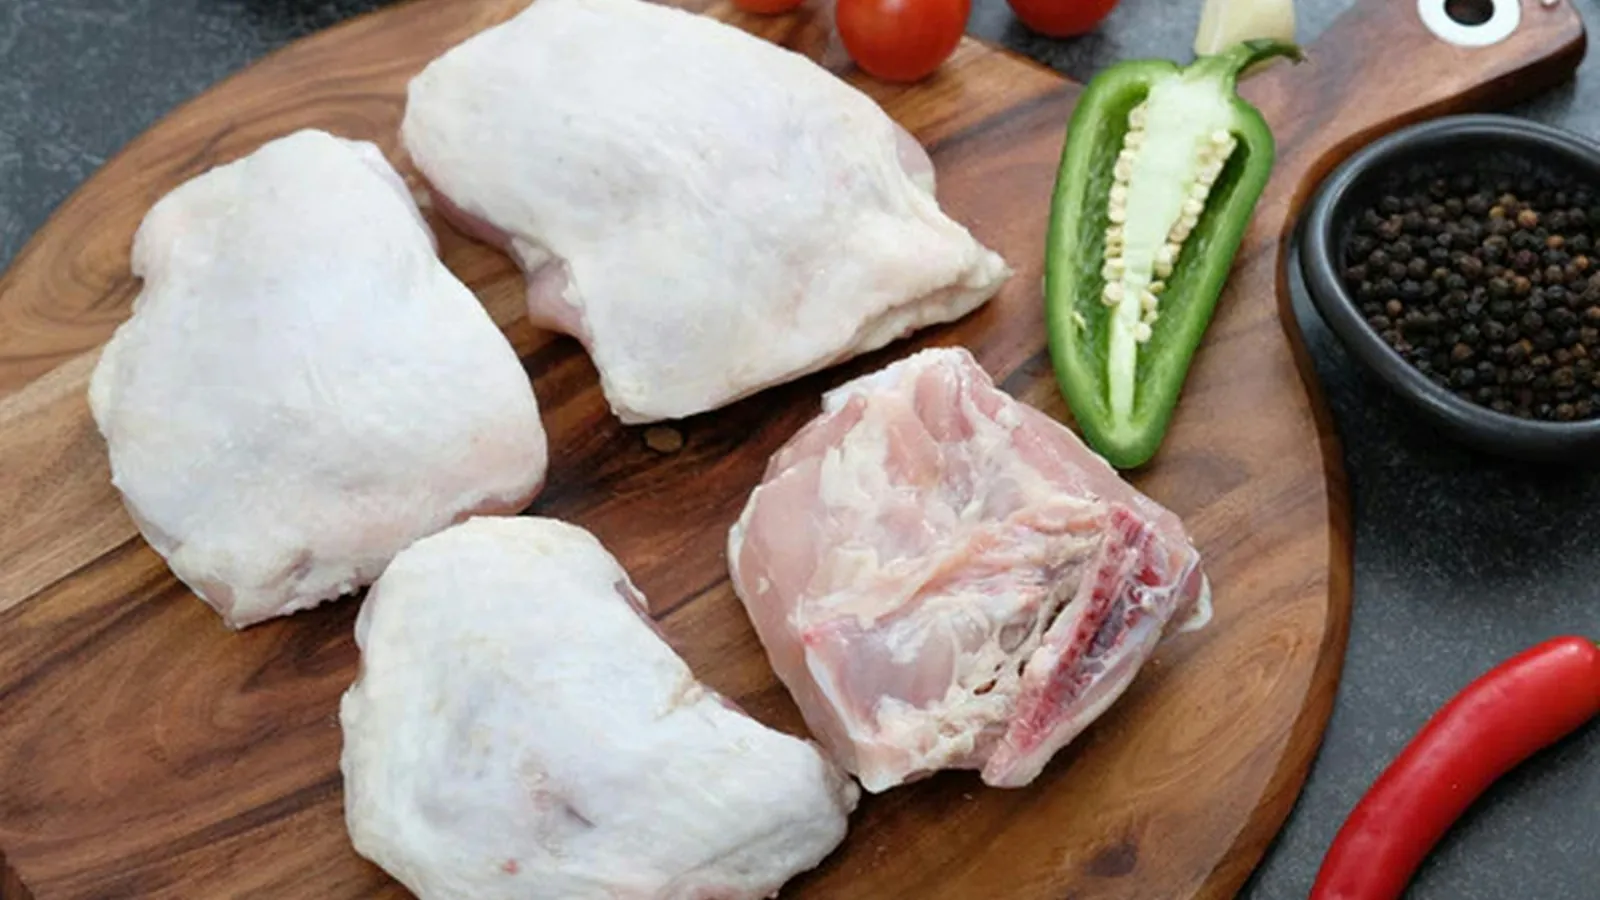
- Pat it dry. Use paper towels on both sides, pressing firmly. Get into the folds where the skin tucks under.
- Trim the overhang. Cut off loose flaps of skin and big chunks of fat hanging past the edge of the meat, but leave the skin covering the top. Overhanging skin curls and never touches the pan.
- Salt it. Use about 3/4 to 1 teaspoon of kosher salt per pound of chicken (a bit less if you use table salt, which is denser). Season both sides.
- Air dry it in the fridge. Set the thighs skin side up on a rack over a sheet pan, uncovered, for at least 4 hours and up to 24. The salt draws moisture out, which then gets reabsorbed into the meat, and the cold circulating air dries the skin surface.
- Optional: add baking powder. Mix about 1/2 teaspoon of baking powder (not baking soda) per pound into the salt before you season. It raises the skin's pH, which helps browning, and it helps form a thin, bubbly, crisp surface.
If you don't have hours, even 30 minutes uncovered in the fridge after salting helps. Pat the skin dry again right before cooking, since salt will pull some moisture to the surface.
A food-safety note on air drying: keep the chicken on the lowest shelf so juices can't drip onto anything else, and keep your fridge at 40°F or below. Raw chicken should be cooked within 1 to 2 days of buying it, so plan the drying time inside that window.
Is starting chicken thighs in a cold pan really better?
For pan-cooked thighs, yes, it's the most reliable method there is. When you lay the thighs skin side down in a cold skillet and then turn on the heat, the fat starts melting before the skin has a chance to seize up and brown. By the time the pan is truly hot, there's a layer of rendered fat for the skin to fry in.
Here's how to do it with bone-in, skin-on thighs:
- Place the dried, salted thighs skin side down in a cold 12-inch cast iron or stainless skillet. Four to six thighs fit without crowding. Add no oil, or at most a teaspoon to get things started.
- Set the burner to medium. Within a few minutes you'll hear a gentle sizzle that slowly gets louder.
- Leave them alone. Don't poke or lift them. Press each one flat with a spatula once or twice in the first 5 minutes so the whole skin touches the pan.
- Cook skin side down for about 15 to 25 minutes, adjusting the heat so it's a steady, active sizzle without smoke. If the pan fills with more than 1/4 inch of fat, carefully spoon some off.
- When the skin is deep golden and releases on its own, flip the thighs. Cook the meat side 5 to 10 minutes, until the thickest part reads 175 to 185°F.
- Move them to a rack, skin side up, and rest for 5 minutes.
Boneless, skin-on thighs follow the same plan but go faster: usually 10 to 15 minutes on the skin and 3 to 5 on the second side. Aim for 170 to 175°F.
Some cooks set a second heavy pan or a foil-wrapped brick on top for the first part of the cook. It keeps the skin flat and in full contact, which gives you even browning instead of a crisp center and soft edges. Take the weight off for the last few minutes so steam can escape.
Can you get crispy skin in the oven?
You can, and it's easier when you're cooking a whole tray. The key is high heat and air around the chicken.
Arrange the prepped thighs skin side up on a wire rack set over a rimmed sheet pan, or skin side up directly in a preheated cast iron skillet. Roast at 425 to 450°F for 35 to 45 minutes for bone-in thighs. They're done when the skin is deep brown and taut and the meat reads 175 to 185°F.
A rack lets fat drip away and keeps the bottom from stewing. Without a rack, the thighs sit in their own juices and the edges of the skin go soft.
For the crispiest oven result, many test kitchens combine the two methods: sear the thighs skin side down in an ovenproof skillet on the stove for 5 to 10 minutes to start rendering, then flip skin side up and finish in a 450°F oven. Many test kitchens follow this approach.
| Method | Heat | Bone-in time | Best for |
|---|---|---|---|
| Cold-start skillet | Medium, stovetop | 20 to 35 min total | 4 to 6 thighs, best skin |
| Sear then oven | Medium-high, then 450°F | 30 to 40 min total | Even browning, hands-off finish |
| Oven on a rack | 425 to 450°F | 35 to 45 min | Big batches |
| Air fryer | 380 to 400°F | 22 to 28 min | 2 to 4 thighs, quick |
Air fryer times vary a lot by model. Start checking at about 20 minutes and go by temperature.
What mistakes leave chicken skin soft?
Skin that stays soft after careful drying usually traces back to one of these habits:
- Crowding the pan. Thighs packed edge to edge trap steam. Leave at least half an inch between pieces, or cook in batches.
- Flipping too early. If the skin sticks, it isn't ready. Properly rendered skin lets go of the pan without a fight.
- Saucing over the skin. Glazes, pan sauces, and marinades all soften skin quickly. Spoon sauce onto the plate and set the chicken on top, or brush a glaze only in the last couple of minutes.
- Covering it while it rests. Tenting with foil traps steam. Rest the chicken uncovered, skin side up, on a rack.
- Pulling it at 165°F. On thighs, that's usually before the skin has finished rendering. Trust the higher range.
Do you need to rest chicken thighs?
A short rest helps the meat more than the skin. Five minutes lets the juices settle so less runs out when you cut in. Thighs are small, so their temperature will only climb a few degrees during the rest.
Rest them on a wire rack or a cutting board, skin side up. Never set crisp skin face down on a plate, where it'll sit in steam and juices and go soft in minutes.
Leftovers keep in the fridge for 3 to 4 days. Refrigerate them within 2 hours of cooking (1 hour if it's above 90°F where you are). To bring back some crunch, reheat skin side up in a 400°F oven or an air fryer for 8 to 12 minutes, until the inside reaches 165°F. The microwave will make the skin rubbery.
Does the kind of thigh matter?
It does, a little. Air-chilled chicken (it says so on the label) tends to have drier skin than water-chilled chicken, which soaks up some water during processing. If you can find it, air-chilled gives you a head start.
Bone-in, skin-on thighs are the easiest to get right. The bone slows cooking, which gives the skin more time to render before the meat is done. Boneless, skin-on thighs are harder to find and cook faster, so keep the heat a notch lower and watch them closely.
Size matters too. Very large thighs (over 8 ounces) take longer to cook through, and the skin can scorch before the center is ready. For those, the sear-then-oven method is the safer bet. The same render-then-crisp idea works for duck legs and pork belly, and other cooking techniques build on it too.
 Hearing skin crisp in a cast iron skillet
Sizzle, color and the moment skin lets go of the pan are cues better seen and heard than read. America's Test Kitchen pairs a hot skillet with a hot oven for crisp skin and juicy meat.
How to Make Crispy-Skinned Cast-Iron Baked Chicken
By America's Test Kitchen on YouTube. Their method may vary a little from ours. Watch on YouTube
- Compare how dry the skin looks going into the pan with the pat-dry and air-dry prep described above.
- Notice the skin color and whether it releases cleanly before the thighs are flipped, as the cold pan method above advises.
- Look at how the cooked thighs rest, and compare it with the advice to rest them skin side up and uncovered.


