 Kitchen Tools
What Can a Dutch Oven Do That a Regular Pot Can't Handle as Well?
 By the CookClear writers
Checked against manufacturer instructions and test kitchen reviews

 Clear Answer
A Dutch oven does deep searing, long oven braises, and crusty no-knead bread better than a regular pot, thanks to its heavy walls and tight lid. For everyday braising, stewing, and simmering, any heavy pot with a thick base, a tight-fitting lid, and handles that can go into a 350°F oven works almost as well. A thin, lightweight stockpot is the one that genuinely falls short.
So start with the pot you already own. What is it made of, and can it go in the oven? Answer those two questions and you'll know whether to buy anything.
What actually makes a Dutch oven different?
A Dutch oven is a wide, fairly shallow pot with thick walls, a thick base, a heavy lid, and two loop handles. Most are cast iron, either bare (seasoned) or coated in enamel. The whole thing, lid included, is built to move from the burner into the oven.
 On the menu9 questions
Each of those features has a job:
- Mass. Cast iron is heavy and holds a lot of heat. When you drop in 2 pounds of cold beef, the pot's temperature dips less and recovers faster, so the meat browns instead of steaming.
- Even, gentle heat. Thick walls radiate heat from the sides as well as the bottom. In the oven, that means the whole pot cooks at a steady pace without hot spots.
- A tight, heavy lid. Very little steam escapes, so liquid reduces slowly over a 3-hour braise and you rarely need to top it up.
- Oven safety. It has no plastic handles or knobs to melt. This is the feature most regular pots lack.
- Wide and short shape. More floor space for browning in fewer batches, and less depth for liquid to sit unused.
A typical stockpot is the opposite: tall, narrow, thin-walled, and often light enough to lift full with one hand. That design is great for bringing 6 quarts of water to a boil fast, and poor at almost everything a Dutch oven does well.
Dutch oven, stockpot, or saucepan: how they compare
The table rates the three common big pots on the jobs people usually buy a Dutch oven for.
| Job | Dutch oven (cast iron) | Heavy stainless pot (clad, oven-safe) | Thin stockpot |
|---|---|---|---|
| Searing meat before a stew | Excellent, holds heat well | Good, may need smaller batches | Poor, scorches in spots and steams the rest |
| Long oven braise (3+ hours at 300 to 325°F) | Excellent | Good if lid fits snugly | Risky, uneven and often not oven-safe |
| Stovetop soup or chili | Excellent | Excellent | Fine, stir more often |
| Boiling pasta or blanching | Slow to heat, heavy to drain | Good | Best tool for it |
| No-knead bread at 450 to 500°F | Excellent | Works if rated that hot | Usually not rated for it |
| Deep frying | Very good, stable oil temperature | Good | Oil temperature swings more |
| Acidic sauces (tomato, wine) | Enameled: fine. Bare cast iron: limit long simmers | Excellent | Fine |
| Weight when full | Heavy, often 13 to 18 lb | Moderate | Light |
Most cooks should look hardest at the middle column. A good tri-ply or multi-clad stainless pot with metal handles covers most of what a Dutch oven does. It won't hold heat quite as stubbornly, but it also weighs half as much and boils water faster. For the smaller pans, compare skillets and saucepans the same way: buy for the jobs you do.
When will a regular pot do the job just fine?
For a lot of cooking, the pot makes less difference than you'd think. Liquid caps the temperature at about 212°F at sea level, so once something is simmering, a thick or thin pot gives you broadly the same result as long as you keep the heat steady and stir.
A regular pot handles these well:
- Brothy soups and stocks. Chicken noodle, minestrone, vegetable soup. You're mostly simmering liquid, which any pot can do.
- Chili and stews on the stovetop. Keep the burner at low to medium-low and stir every 10 to 15 minutes so the bottom doesn't catch.
- Pasta, potatoes, corn, and blanched vegetables. A tall stockpot is better here.
- Rice and grains. A heavy saucepan with a snug lid is all you need.
- Short braises. Chicken thighs in sauce for 35 to 45 minutes on the stove will come out fine in a sturdy pot.
If you do these things most weeks and rarely braise in the oven or bake bread, a Dutch oven would be a nice upgrade, and you can cook well without one.
Where a Dutch oven earns its spot
The differences show up at the two temperature extremes: very hot (searing, bread) and very long (oven braises).
Searing in quantity. Browning is where flavor in a stew comes from. Thin pots develop hot spots right over the burner, so the fond in the center burns while meat near the edges turns gray. A heavy pot browns more evenly and keeps going when you add the next batch.
Oven braising. Pot roast, short ribs, pork shoulder, coq au vin. The usual method is to sear on the stove, add liquid, cover, and move the whole pot into a 300 to 325°F oven for 2.5 to 4 hours. Oven heat surrounds the pot on all sides, so nothing scorches on the bottom and you don't have to babysit it. You need a pot that is fully oven-safe and has a lid that seals well, which is exactly what a Dutch oven is.
No-knead and crusty bread. The covered pot traps the steam that comes off the dough during the first 20 to 30 minutes, which keeps the crust soft long enough for the loaf to spring up. Then you uncover it to brown. This needs a preheated pot at 450 to 500°F, and most regular pots (and many lids) are not rated for that.
Frying. A heavy pot keeps oil steadier at 350 to 375°F when you add food, so you get crisper results with fewer temperature swings. Fill it no more than halfway with oil, so it has room to bubble up.
How to check if the pot you already own is good enough
Before buying anything, look at what's in your cabinet. Run through this quick test:
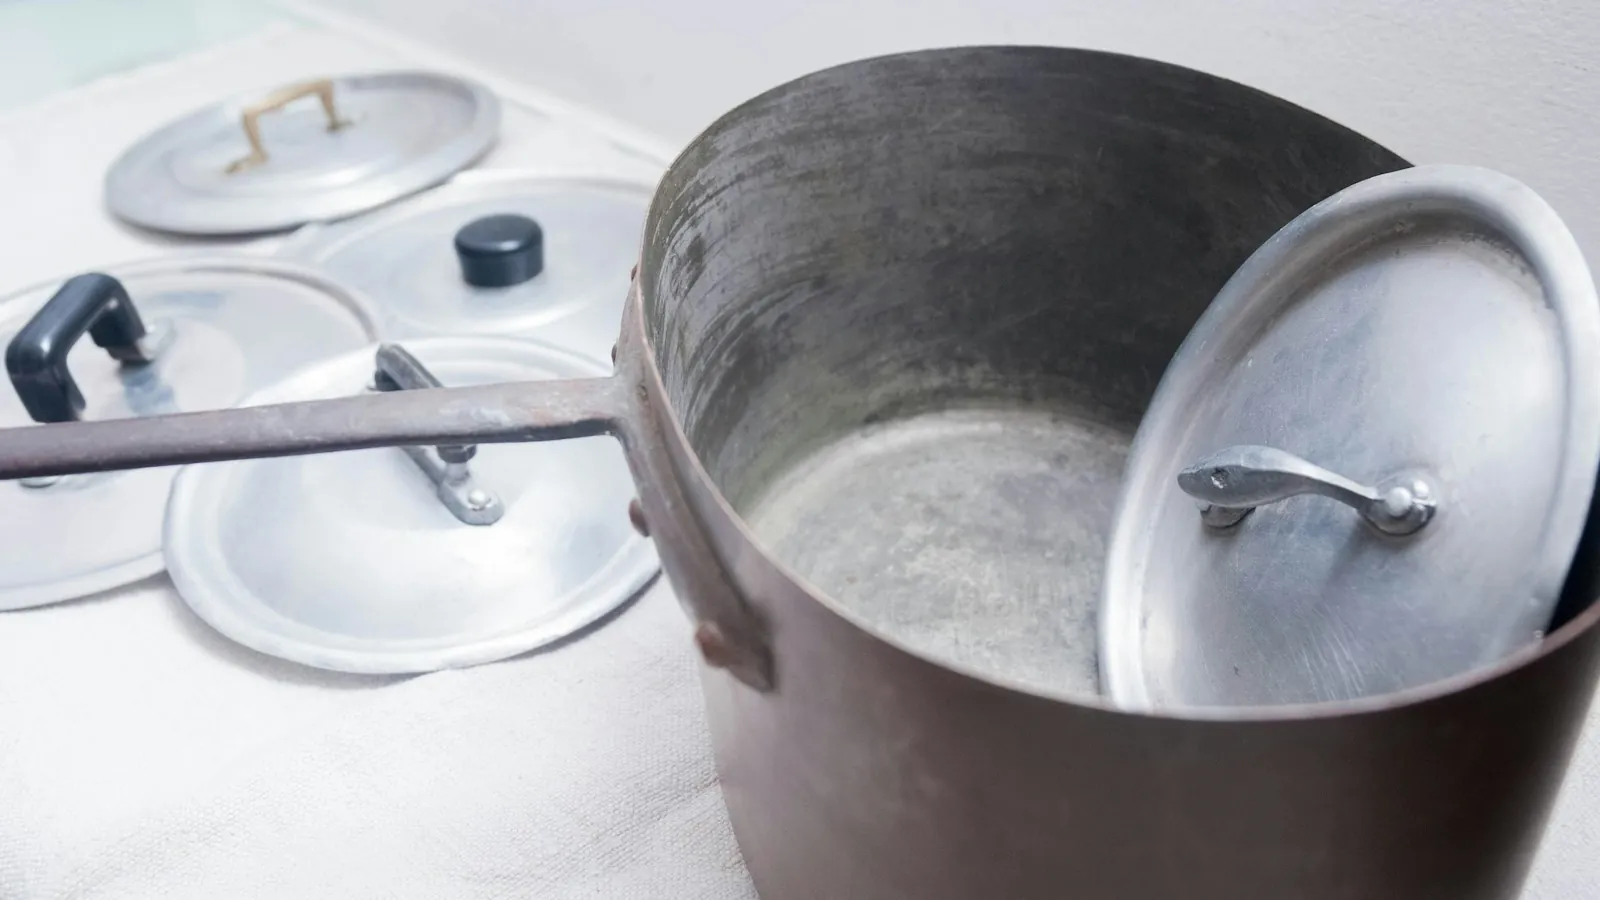
- Press on the base. If the bottom flexes or feels about as thick as a coin, it's a thin pot. A good substitute has a base you can't flex at all, often with a visible layered disc or fully clad sides.
- Check the handles and lid knob. Metal or cast iron is fine for the oven. Plastic, wood, or silicone usually isn't, or is rated only to a lower temperature. Look for an oven-safe mark on the bottom or the maker's website.
- Check the lid fit. Set the lid on and give it a light twist. If it rattles or sits loose, more steam will escape during a long cook. You can fix that with a sheet of foil pressed over the pot before the lid goes on.
- Measure the capacity. For a stew or braise that feeds 4 to 6, you want at least 5 to 6 quarts. Fill the pot with water from a measuring cup if you're unsure.
- Look at the shape. Wider is better than taller for searing and braising. A pot that's 10 to 12 inches across browns meat in fewer batches.
If your pot passes all five, it can stand in for a Dutch oven in nearly every recipe. If it fails only on the lid, use foil. If it fails on oven safety, you can still make most braises on the stove, just at the lowest heat that holds a bare simmer, stirring every 20 minutes or so.
Making a regular pot work like a Dutch oven
A few small adjustments close most of the gap.
- Sear in smaller batches. Leave about an inch between pieces of meat, and let the pot reheat for a minute between batches.
- Use a heat diffuser or the smallest burner. For long stovetop simmers, this evens out hot spots on a thin base.
- Seal the lid with foil. Lay a sheet of foil over the pot, press it down around the rim, then put the lid on. It works as well as a heavy lid.
- Braise on the stove instead of the oven if your handles aren't oven-safe. Keep it at a gentle simmer, where you see a few lazy bubbles, not a rolling boil.
- Use a roasting pan covered tightly with foil for big oven braises. It's not elegant, but a pork shoulder doesn't know the difference.
- Bake bread on a sheet pan with a steam pan. Put a metal pan on the lower rack, preheat, and pour in about 1 cup of hot water when the loaf goes in. You'll get less oven spring than in a covered pot, but a respectable crust.
Enameled or bare cast iron, if you do buy one
If you decide to get a Dutch oven, the main choice is the surface: enamel or bare iron.
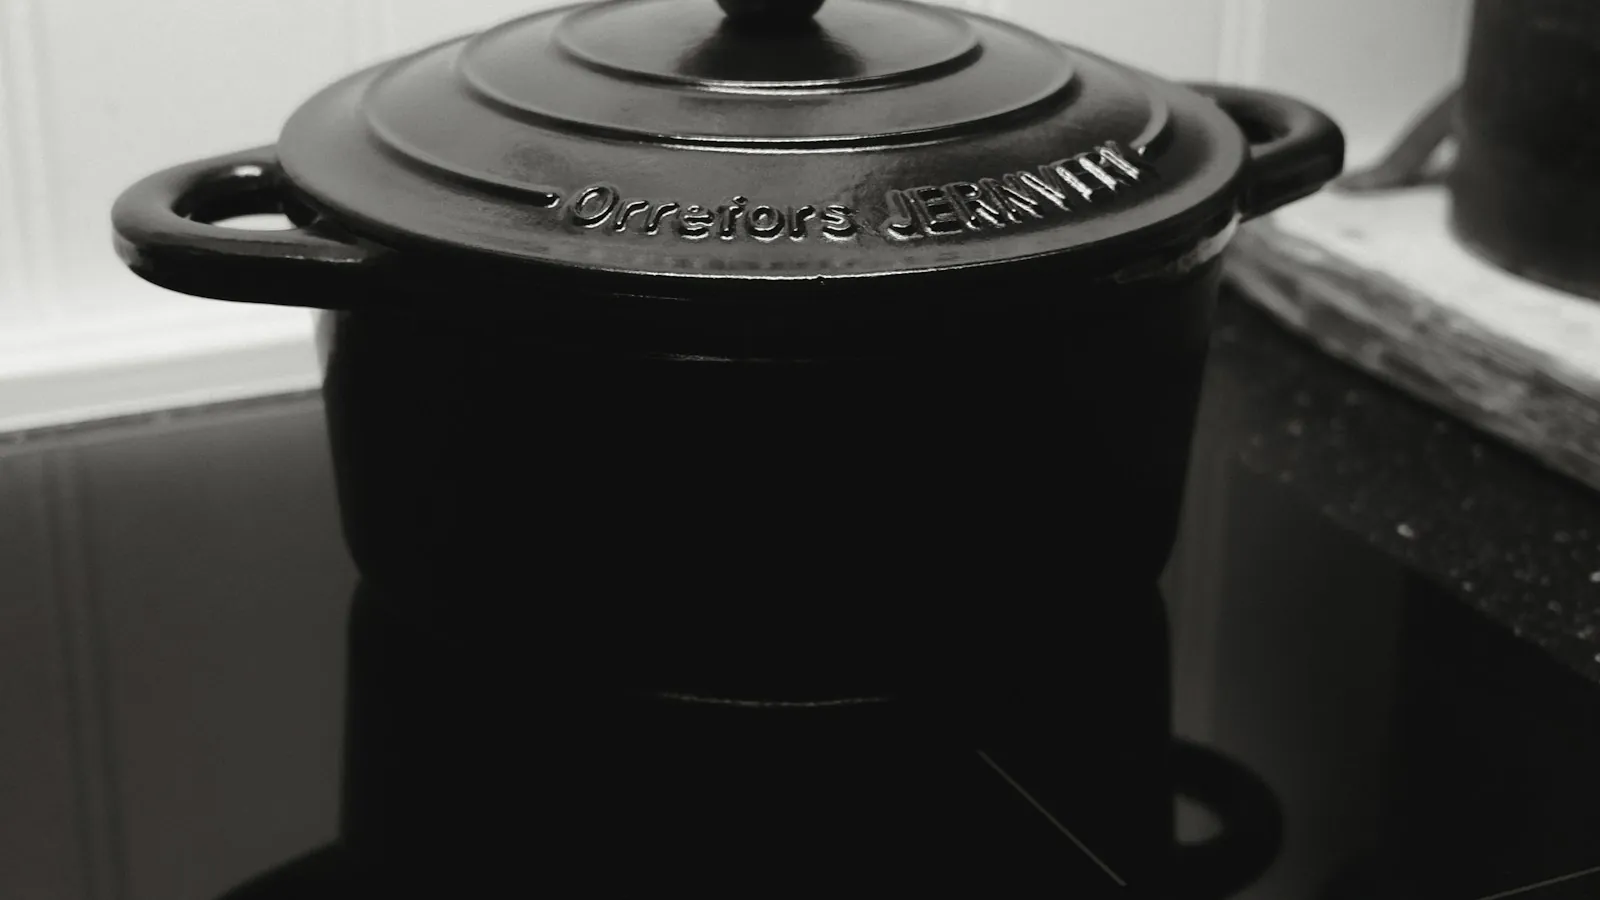
Enameled cast iron has a glassy coating inside and out. It doesn't need seasoning, handles tomato sauce and wine without any metallic taste, and can soak in soapy water. On the downside, the enamel can chip if you bang it or heat it empty on high, and the knob on some lids is rated to a lower oven temperature than the pot itself, so check before baking bread at 475°F.
Bare cast iron is seasoned like a skillet. It's tougher, can go over a campfire, and often costs less. It needs to be dried and lightly oiled after washing, and long simmers with acidic ingredients can strip some seasoning and leave a faint metallic flavor.
On size, about 5.5 to 7 quarts suits most households. It fits a 3 to 4 pound chuck roast or a whole chicken and a standard loaf of bread. Heavier pots with thicker walls tend to scorch less, so the extra weight helps, as long as you can lift it full from a hot oven.
A few safety points with any heavy pot
People often forget about cooling when they make a big pot of stew. A full 7-quart pot holds heat for hours, which keeps food in the 40 to 140°F danger zone far too long if you just put the lid on and leave it out.
- Refrigerate leftovers within 2 hours of cooking (1 hour if the room is above 90°F).
- Divide large batches into shallow containers so they cool quickly. Don't put the whole hot pot in the fridge.
- Reheat leftovers to 165°F before serving.
- When braising chicken, make sure the thickest part reaches 165°F. Most tough cuts of beef and pork go well past their safe minimum during a braise, since they need around 195 to 205°F to turn tender.
Also use dry, thick oven mitts. A cast iron lid that has been in a 450°F oven stays dangerously hot for a long time, and it's easy to grab out of habit.
 Seeing what a heavy pot adds in a side-by-side test
Wall thickness and lid fit show up in how food browns and braises, and that is hard to judge from a spec sheet. America's Test Kitchen compares how different Dutch ovens perform at searing, braising and baking.
Equipment Review: The Best Dutch Oven & Our Testing Winners
By America's Test Kitchen on YouTube. Their method may vary a little from ours. Watch on YouTube
- Compare the browning on the meat in each pot with the claim above that heavy walls hold heat and brown instead of steam.
- Notice how the lid sits on the pot, and think about the foil trick above if yours rattles or sits loose.
- Look at the bread results, then compare them with the covered-pot steam effect during the first 20 to 30 minutes.


