 Kitchen Tools
Is a Honing Steel Actually Sharpening Your Knife or Just Realigning It?
 By the CookClear writers
Checked against manufacturer instructions and test kitchen reviews
 Clear Answer
A honing steel mostly straightens the edge rather than sharpening it. A smooth steel removes essentially no metal, while grooved and ceramic rods scrape off a tiny amount, so they sit between honing and sharpening. None of them can rebuild a truly dull edge; for that you need a whetstone or a sharpener.
What is actually happening to the edge when you hone?
A knife edge is extremely thin at the very tip. When you cut on a board, hit a bone, or scrape food sideways with the blade, that thin strip of metal doesn't break off right away. It bends, rolls over to one side, or develops tiny waves along its length.
 On the menu11 questions
Under magnification, a knife that "feels dull" after a few days of use often still has plenty of edge. The problem is that the edge is pointing the wrong way. Instead of meeting the tomato skin head on, it's meeting it with a folded-over lip. Melon rind is another quick check: a well-honed edge bites into a smooth honeydew rind or a heavy watermelon instead of skating across it.
A honing steel works by pressing against that lip at a low angle and nudging it back to center, so the existing edge stands up again.
Honing vs. sharpening, side by side
The two words get used interchangeably, which is why the difference between honing and sharpening gets lost.
| Honing | Sharpening | |
|---|---|---|
| What it does | Realigns a bent or rolled edge | Grinds away metal to form a new edge |
| Metal removed | None to very little | A noticeable amount |
| Tool | Steel rod, ceramic rod | Whetstone, pull-through sharpener, electric sharpener, sharpening service |
| How often | Every few uses, or before each cooking session | A few times a year for most home cooks |
| Time | Under a minute | Several minutes to half an hour |
| Fixes a truly dull knife? | No | Yes |
| Fixes chips? | No | Yes, with enough grinding |
Think of honing as maintenance and sharpening as repair. You hone to keep a good edge working longer. You sharpen when the edge itself is worn away.
Do all honing rods work the same way?
No. The surface of the rod changes how much metal it removes.
- Smooth steel. Pure realignment. It burnishes the edge straight and removes virtually nothing. Gentle on the knife, but it does the least work.
- Grooved (ridged) steel. The most common kind sold in knife blocks. The ridges concentrate pressure into narrow lines, so they straighten the edge and also scrape off a small amount of metal. Used with heavy pressure, they can chew up an edge.
- Ceramic rod. Harder than knife steel, with a fine abrasive surface. It realigns and lightly sharpens at the same time. This is the closest a rod gets to true sharpening.
- Diamond-coated rod. Really a sharpening tool in rod form. It removes metal quickly and is too aggressive for daily touch-ups on most kitchen knives.
If you own one rod, a fine ceramic is the most forgiving all-rounder. It handles both softer Western knives and harder Japanese blades, which can chip on a ridged steel because they are less willing to bend back and more likely to crack instead.
Does honing work on every knife?
It works best on knives made from softer stainless steel, which is what most Western-style chef's knives use. That softer steel bends rather than breaks, so there's something to straighten.
Very hard Japanese knives are a different story. Their edges tend to chip or wear down rather than roll over, so a steel has less to fix. A light pass on a fine ceramic rod can still help, but many owners of these knives skip the rod and go to a fine stone instead.
Serrated knives don't need regular honing. The scalloped teeth do most of the work, and the points that cut rarely touch the board. Mandoline blades are another matter, and call for careful handling rather than honing.
How do you know when honing isn't enough?
Hone first and test. If the knife comes back to life, you're done. If it doesn't, the edge is worn, not bent, and no amount of rod work will fix it.
Signs your knife needs real sharpening:
- It slides off the skin of a tomato or a bell pepper instead of biting in, even right after honing.
- It crushes soft bread or herbs instead of slicing them cleanly.
- You can see a shiny line along the very edge when you hold it under a light, edge up. A sharp edge reflects almost nothing; flat, worn spots catch the light.
- It won't slice cleanly through a sheet of printer paper held by one corner.
- You need noticeably more pressure than you used to.
Bright spots along the edge are places where it has worn flat, and a rod can't put back an edge that isn't there.
The right way to hone a chef's knife
The method that keeps your fingers safest is the vertical one, with the tip of the rod planted on a towel or cutting board. The flashy over-the-hand style you see on TV works, but it's easier to slip.
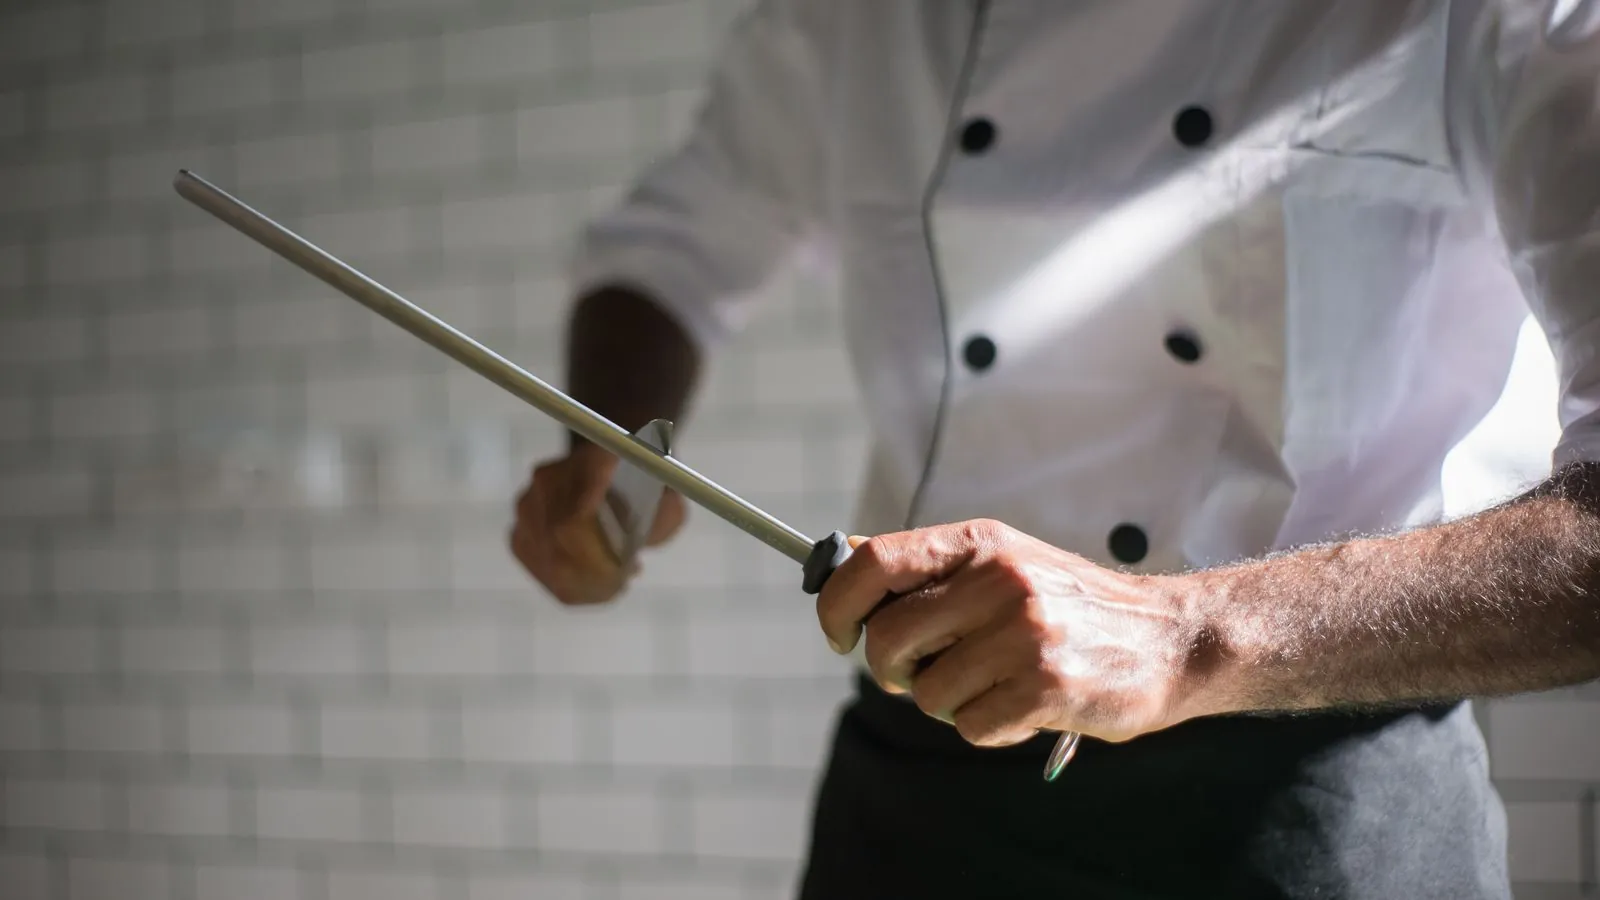
- Plant the rod. Hold the steel straight up and down with the tip resting on a folded damp towel so it can't skid.
- Find the angle. Place the heel of the knife against the top of the rod. Start with the blade perpendicular, halve that angle, then halve it again. That lands you near the shallow angle most kitchen knives are sharpened at: roughly 15 to 20 degrees per side for Western knives and lower, often 10 to 15, for Japanese knives. America's Test Kitchen suggests holding about 15 degrees.
- Draw down and back. Pull the knife down the rod while sliding it toward you, so the whole edge from heel to tip contacts the rod in one smooth stroke. Use light pressure, about the weight of the knife itself.
- Alternate sides. Do one stroke on one side, then one on the other. Alternating keeps you from pushing the edge too far in one direction.
- Keep it short. A handful of strokes per side is plenty. If it isn't working after that, more strokes won't help.
- Wipe the blade. Wipe the knife with a towel to remove any fine metal dust before it touches food. Then hand wash it; the dishwasher is as hard on knives as it is on cast iron pans.
Consistency beats precision. Holding a steady angle on every stroke does more than nailing an exact number on one and drifting on the next.
Four honing habits that make a knife duller
Honing done badly can make an edge worse. Most problems come from too much force or too steep an angle.
- Pressing hard. Heavy pressure on a grooved steel scrapes metal off unevenly and can roll the edge further instead of straightening it.
- Too steep an angle. If the knife sits nearly upright against the rod, you're hitting just behind the edge or creating a new, blunter micro-bevel.
- Only doing one side. You'll push the edge over to the other side and end up where you started.
- Using a worn-out rod. Grooved steels lose their bite over time and ceramic rods load up with metal. A ceramic rod can be cleaned with a gentle abrasive cleanser and a scrub pad; a grooved steel that feels slick usually needs replacing.
How often should you hone, and how often should you sharpen?
For a home cook, honing every time you pull out the knife for a real cooking session is a good habit. It takes seconds and keeps the edge in line before it bends too far. A sharp edge also crushes fewer cells, which helps you cry less over onions. Some people hone after each use instead; either works as long as it's regular.
Sharpening is a much rarer job. Regular honing stretches the time between sharpenings considerably. Most home cooks who hone consistently only need to sharpen a few times a year, depending on how much they cook and what they cut on.
Your cutting board plays a big part. Wood and soft plastic boards are kind to edges. Glass, marble, stone, and ceramic boards or plates roll and dull an edge fast, and no honing routine will keep up with them.
Can a honing rod replace a sharpener entirely?
Not for long. Every cut wears away a tiny bit of the edge. Honing slows the visible effects by keeping what's left lined up, but it can't add back metal that's gone. Eventually the edge widens and rounds over, and you need to grind a fresh one.
A fine ceramic rod blurs the line a bit because it removes a small amount of steel. Used regularly, it can keep a knife working for a long time. But it works in small increments, at whatever angle your hand happens to hold, and it won't fix a badly worn or chipped edge.
For most kitchens the setup is simple: a rod for weekly or daily maintenance, plus either a whetstone, a decent sharpener, or a local sharpening service for when honing stops bringing the knife back. A rod plus a sharpening method does more for your cooking than adding other kitchen tools.
A quick test to see which one your knife needs
Hone the knife with a few light strokes per side, then try it on a ripe tomato or a sheet of paper.
- Clean bite on the first touch: the edge was just bent. Honing did its job.
- Better, but still a bit draggy: the edge is starting to wear. Hone regularly and plan on sharpening soon.
- No change at all: the edge is worn out. Put the rod away and sharpen.
A rod keeps a sharp knife sharp, but it can't make a dull one sharp.
 Hone angle and pressure on a chef's knife
Honing is a hand motion, and the angle, the pressure, and the stroke are hard to learn from words alone. House of Knives shows the motion at a pace you can copy.
How to Use a Honing Steel - Two Different Methods
By House of Knives on YouTube. Their method may vary a little from ours. Watch on YouTube
- Compare the angle of the blade against the rod with the 15 to 20 degree range given above.
- Notice how light the pressure looks, since the steps above say to use about the weight of the knife itself.
- Watch whether the whole edge from heel to tip meets the rod in one smooth stroke, alternating sides.


