 Kitchen Tools
What Triggers the Instant Pot Burn Message Even With Plenty of Liquid?
 By the CookClear writers
Checked against manufacturer instructions and test kitchen reviews
 Clear Answer
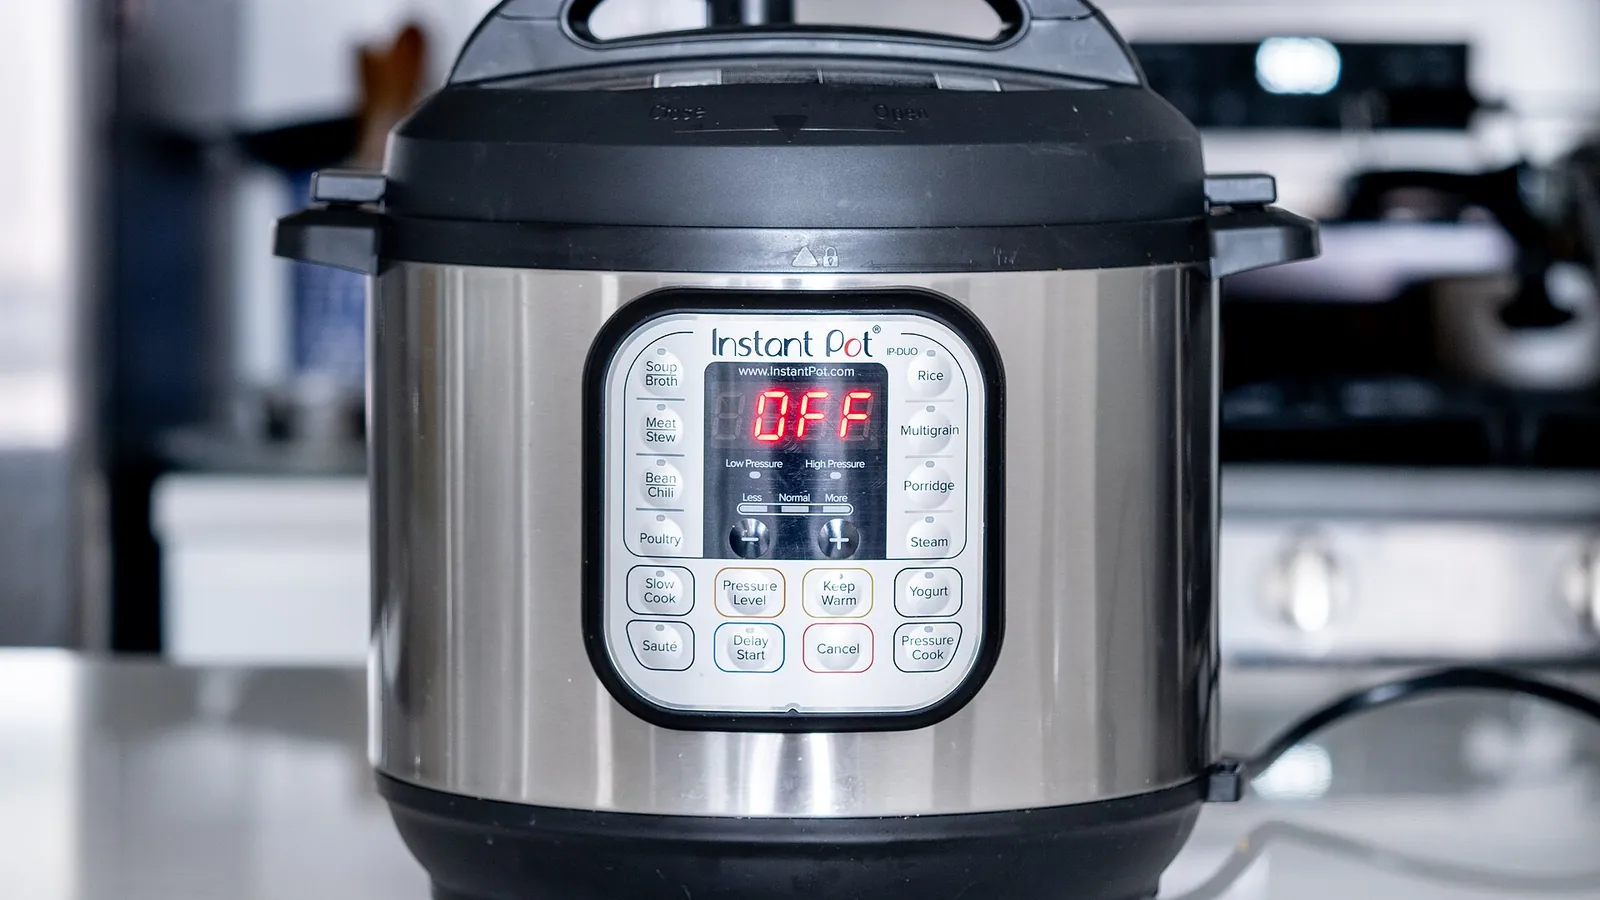
The Instant Pot burn message is triggered by the temperature of the pot's floor, not the amount of liquid. If a thick layer of food or stuck sautéed bits sits on the bottom, the floor overheats and the pot shuts off its heat, even with two cups of broth on top. Scrape the bottom, thin what's down there, and restart.
What the Burn message is actually measuring
An Instant Pot has no idea how much liquid is in it. It has a temperature sensor pressed against the bottom of the stainless inner pot, and the controller watches how fast and how high that reading climbs.
 On the menu10 questions
Water that is boiling freely keeps the metal it touches close to its boiling point. That's what lets the machine come up to pressure without scorching anything. When the layer touching the metal can't circulate (thick sauce, a starchy sludge, a cake of browned meat bits), heat builds up in that spot instead of being carried away by moving liquid. The floor gets hotter than the program expects, and the pot cuts heat and shows "Burn" or "Ovht" (overheat), depending on the model.
The sensor responds to what is touching the bottom, more than how much liquid sits above it.
The usual culprits when the pot looks full
Here are the situations that cause most Burn warnings in a pot that seems to have enough liquid:
- Stuck fond from sautéing. You browned onions or meat, then added broth without scraping. Those dark bits are glued to the floor and act as an insulating crust that scorches.
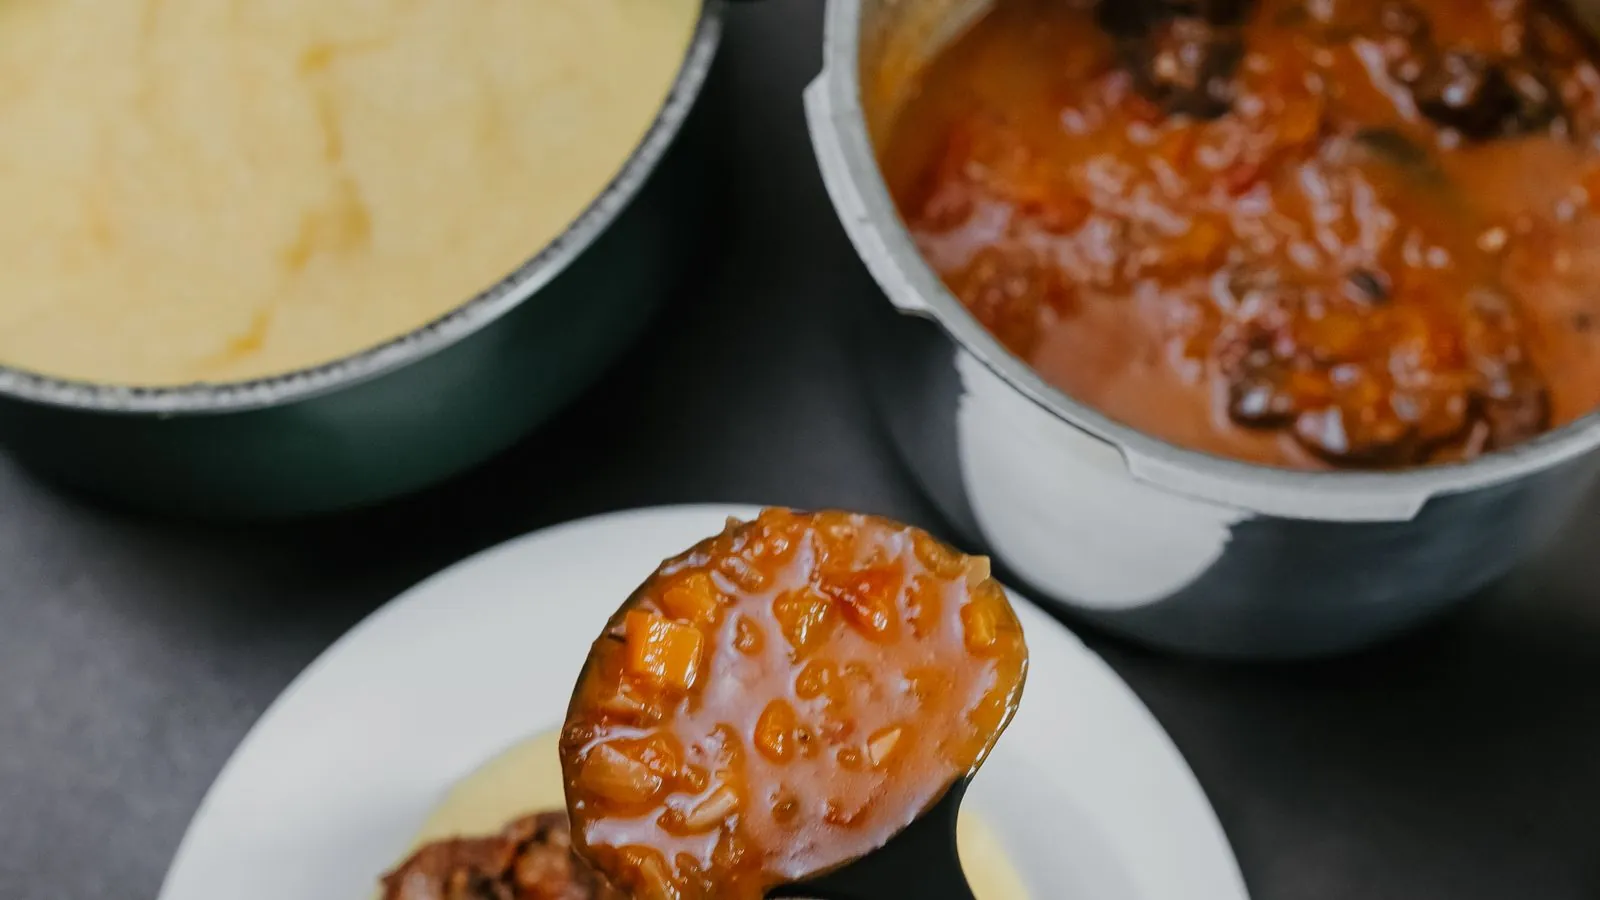
- Thick sauce on the bottom. Tomato sauce, crushed tomatoes, tomato paste, barbecue sauce, enchilada sauce, and cream soups are dense enough that they barely convect. If they're stirred in, the whole bottom layer is thick.
- Starch settling. Pasta, rice, oats, flour-dredged meat, and cornstarch all sink and form a paste on the floor. Dry pasta cooked right in sauce is a classic trigger.
- Dairy and cheese added before cooking. Milk, cream, and cheese scorch quickly and can curdle into a layer that sticks.
- Frozen food sitting on the floor. A frozen block pressed flat against the bottom keeps liquid from reaching that area. The metal under it heats with nothing wet against it.
- Liquid that's mostly fat. Oil and rendered fat don't make steam. A pot that looks full of "liquid" may be half fat.
- A bad seal. If the sealing ring is cracked, missing, or the valve is set to Venting, steam escapes. The liquid boils off, and the pot runs low even though you started with plenty.
How to fix it once the Burn warning pops up
Dinner is usually still fine. The pot has stopped heating to protect itself, and what's inside is usually fine apart from a thin scorched layer on the bottom.
- Turn the pot off with Cancel or Keep Warm off.
- Release the pressure. If it built any, use quick release. Keep your hand and face away from the valve.
- Open the lid and look at the bottom. Tilt some food aside with a wooden spoon and check the floor.
- Move the food out if the bottom is scorched. Scoop everything into a bowl, leaving any blackened layer behind. Don't scrape burnt bits back into the food or the whole dish will taste acrid.
- Clean the floor. Add 1/2 cup water or broth and scrape until the bottom is smooth. If the scorched layer is bad, wash the inner pot quickly.
- Add thin liquid. Pour in at least 1 cup of water or broth on the bottom (1 1/2 cups for an 8-quart pot). If it burns again, go up to the 2 cups most manuals call for.
- Return the food, layering thick things on top. Put the meat or vegetables back in, then spoon any tomato sauce or thick liquid over the top. Don't stir.
- Restart the program. Shave a few minutes off the cook time if the food already had time at or near pressure.
If the warning comes back right away, the issue is likely the sealing ring or the valve, not the food. Check that the ring is seated all the way around the lid and that the valve is set to Sealing.
How much liquid does an Instant Pot really need?
Instant Brands' manuals set a minimum amount of thin liquid for pressure cooking, and recent Duo and Duo Plus manuals give one number for every size: at least 500 ml (about 2 cups, listed as 18 fl oz). Many tested recipes use less, often 1 cup in a 6-quart pot, and that usually works when the liquid stays thin and on the bottom. If you keep getting the Burn message, go back to the manual's number. Check your own manual, since minimums differ between models.
| Pot size | Manual minimum (Duo, Duo Plus) | Common recipe practice |
|---|---|---|
| 3 quart | 500 ml (about 2 cups) | 1 cup |
| 6 quart | 500 ml (about 2 cups) | 1 cup |
| 8 quart | 500 ml (about 2 cups) | 1 1/2 cups |
Only thin liquid counts. Water, broth, stock, juice, wine, and beer count. Tomato sauce, cream soup, and salsa don't count toward the minimum, even though they're wet. Treat them as food, not cooking liquid.
Meat and vegetables release their own juices as they cook, but that happens after the pot is already heating. The minimum needs to be in the pot at the start.
Why tomato sauce sets off the Burn message so often
Tomato products are the single most common reason people see Burn with a pot that's clearly full. They're dense, they contain sugar that caramelizes and then scorches, and they sink.
A pot of chili with 2 cups of broth and a 28-ounce can of crushed tomatoes stirred in can easily trigger the warning, because once mixed, the bottom inch is thick tomato rather than broth. The same pot with the broth on the bottom and the tomatoes poured over the top, unstirred, usually cooks without trouble.
The rule many experienced Instant Pot cooks follow: thin liquid on the bottom, solids next, thick sauces last, and don't stir until after pressure cooking. Stir it all together once the lid comes off.
Preventing it next time
Most Burn warnings come from a few habits. Change these and you'll rarely see it.
Deglaze every time you sauté
After browning, add 1/2 cup of broth, water, or wine and scrape the whole bottom with a flat wooden spatula until you can't feel anything sticking. This takes about a minute. It prevents more Burn warnings than any other step, and it also puts all that browned flavor into the dish instead of leaving it on the metal.
Layer instead of stirring
Put the thin liquid down first. Add meat and sturdy vegetables. Pour thick sauces on top. Starches like rice or pasta should be submerged in the thin liquid, pressed down gently, but not stirred into a paste.
Add thickeners and dairy after cooking
Cornstarch slurry, flour, cream, milk, and cheese go in after pressure cooking. Use the Sauté function to simmer for 2 to 3 minutes to thicken a sauce once the lid is off. This keeps them from settling and scorching while the pot builds pressure.
Use a trivet or a pot-in-pot setup
For dishes that are thick by nature (cheesecake, mac and cheese, refried beans, some curries), put a cup of water in the inner pot, set the metal trivet in, and cook the food in a smaller oven-safe dish on top. The water makes steam and the food never touches the floor.
Don't freeze food flat against the floor
When cooking from frozen, put the liquid in first and set the frozen block on a trivet, or at least break it up so liquid can get underneath. Add 5 to 10 minutes to the cook time for frozen meat compared to thawed, depending on the size of the pieces.
Is it safe to eat food after a Burn warning?
Usually, yes. The warning is a protective shutoff and says nothing about whether the food has spoiled. If the cook time didn't finish, the food is just undercooked, so finish cooking it after you clear the bottom.
Two things to watch. First, taste a bit from the middle of the pot. If the scorched layer was heavy, smoky or bitter flavor can spread through a thin sauce, and there's no fixing that. Second, make sure meat reaches a safe temperature when you finish. USDA recommends 165°F for poultry and ground poultry, 160°F for ground beef and pork, and 145°F (with a 3-minute rest) for whole cuts of beef, pork, veal, and lamb. Check with an instant-read thermometer in the thickest piece.
If the pot sat warm but unheated for a while because you didn't notice the warning, keep the 2-hour rule in mind. Food that spends more than 2 hours between 40°F and 140°F should be thrown out.
When the problem is the pot, not the recipe
Sometimes you've done everything right and it still says Burn. A few hardware issues can cause that.
The sealing ring. Rings stretch, crack, and absorb odors over time. Instant Brands recommends replacing them every 12 to 18 months, or sooner if you see damage. A ring that doesn't seal lets steam leak and liquid boil away.
The inner pot isn't seated. Food, water, or a stray grain of rice between the inner pot and the heating plate keeps it from sitting flat. The sensor then reads unevenly. Lift the pot out, wipe the heating plate and the bottom of the inner pot with a dry cloth, and set it back in.
A warped or dented inner pot. If the bottom isn't flat, it won't make full contact with the heating element and sensor. Set it on a flat counter and see if it rocks. Replacement inner pots are inexpensive.
Altitude. At high elevations water boils at a lower temperature, and some cooks find they need a little more liquid. A widely used rule of thumb (not something in most Instant Pot manuals) is to add about 5 percent to the cook time for every 1,000 feet above 2,000 feet, which also means slightly more evaporation over the longer cook.
If the warning shows up with plain water in the pot, contact the manufacturer. That points to a sensor or heating plate problem.
Quick checks before you press Start
Run through this short list and you'll head off most Burn messages before they happen:
- Did you deglaze and scrape the bottom smooth after sautéing?
- Is there at least 1 cup of thin liquid (1 1/2 cups for an 8-quart) on the bottom?
- Are tomato products and thick sauces on top, unstirred?
- Are dairy, cheese, and thickeners held back until after cooking?
- Is the sealing ring seated and the valve set to Sealing?
- Is the bottom of the inner pot and the heating plate clean and dry?
The checks take about two minutes, and most of the time the deglazing step alone solves it. If another appliance is acting up, check your countertop appliances for similar fixes.
 Spotting what sticks to an Instant Pot floor
Burn messages come from what is on the bottom of the pot, which is hard to see once the lid is closed. America's Test Kitchen covers where the Instant Pot excels and trips people up, including the pot's bottom.
The Best and Worst Way To Use Your Instant Pot | Joe vs. The Test Kitchen
By America's Test Kitchen on YouTube. Their method may vary a little from ours. Watch on YouTube
- Watch how the bottom of the pot is treated after sauteing, and compare it with the deglazing step above.
- Notice the order that thin liquid, solids and thick sauces go in, matching the layering rule of thin first and thick last.
- Look at how much thin liquid goes in before the lid closes, and compare it with the 1 cup and 1 1/2 cup figures above.


